
About this codelab
1. Introduction
On 25th March 2025, Google launched Gemini 2.5. One of the most memorable aspects of this launch was that it allowed everyone to try the "Advanced Coding" feature [ video]:
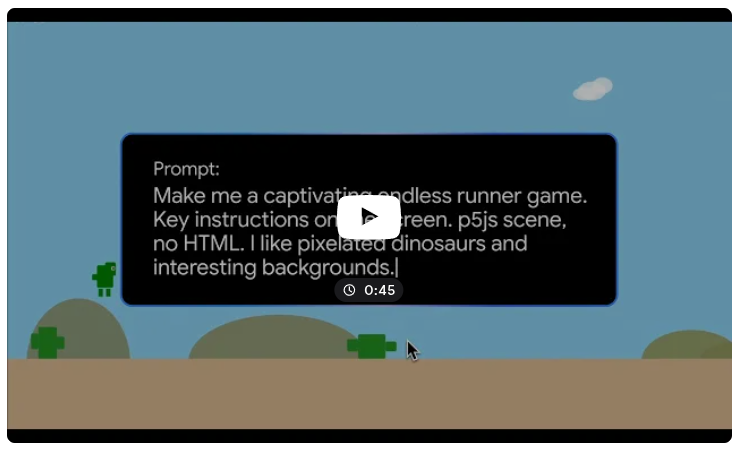
Gemini 2.5: Create your own dinosaur game from a single line prompt
In this codelab, you will learn about "vibe coding" a simple kids app, starting from a common prompt and then customizing to your own liking. We will test the app on p5.js. Finally, we will push these changes to Firebase Hosting.The most spectacular thing about this, the whole stack is currently free!
What you'll learn
- Use Gemini 2.5 to vibe-code a game app.
- Test the code on p5js.org
- How to iterate and refine your prompt / app.
- How to host a static application on Firebase
Note that this codelab uses AI-generated code; this is non-deterministic so this codelab contains guidelines as your output is unknown to the author. Also please do NOT use this code in production!
If you like this codelab, make sure to check out 🔥 Firebase Studio which offers a sleek and integrated vibe-coding experience!
2. Prerequisites
This codelab is in two phases:
- Web-only development. This is where you will have the most fun and no coding ability is required. For it, we will use our Gemini UI ( gemini.google.com) and p5.js.
- Local coding environment. This is where a little coding / scripting skill is needed, plus the install and use of
npm/npxand a local editor, likevscodeor IntelliJ or anything. This second part is optional and only needed if you want to persist your application to have your friends and family play with it from mobile or their computers.
The only prerequisite for phase 1 is a Browser and a computer (a big screen will help). For phase 2, read on.
Gemini UI
gemini.google.com is an great platform where you can try all your latest Gemini models, and you can also create your own images and videos! It comes super charged with Google integrations, such as Google Maps and Hotels/Flights/Reviews, making it the ideal companion to plan your next holiday!

Tip: If you are into coding, consider also playing with AI Studio, a similar interface where you can prototype an LLM interaction (eg, create an image), and get the python code straight away from the page!
p5.js
p5.js is a free, open-source JavaScript library that makes creative coding accessible and inclusive for artists, designers, educators, and anyone else. It's based on the Processing language and simplifies the process of creating interactive visual and interactive content using code in the web browser.
Local coding [optional]
If you want to persist your application, more set up is required:
- A local code editor ( Visual Studio code, IntelliJ, ..)
- A git account ( github / gitlab / bitbucket) where to persist your code.
- A
npmlocally installed, better if in user space (vianpxor equivalent tech).
Additionally, we will set up a Firebase account later.
We also require some coding skill, like:
- Ability to install a
npmpackage - Ability to interact with file system (create folder and files)
- Ability to interact with
git(git add,git commit,git push).
If anything here is daunting, remember: LLMs are great to help you here. You can use the "Gemini 2.0 flash" or equivalent model, for instance, to get suggestions. If this is still too hard, you can skip the phase 2 entirely. Phase 1 should be rewarding enough.
3. Let's create our first game!
Open gemini.google.com and choose a code-capable model, eg 2.5. This choice might vary by availability, cost, anda date. At the time of writing, the best chose would be:
- Gemini 2.5 Flash (faster iteration)
- Gemini 2.5 Pro (better output).
More information about our Gemini models is available here.
Our first game prompt
As you can observe from this video, an initial prompt can be as simple as this:
Make me a captivating endless runner game. Key instructions on the screen.
p5js scene, no HTML. I like pixelated dinosaurs and interesting backgrounds.
Feel free to customize this a bit:
- Medieval / futuristic / cyberpunk settings
- Full of emojis, or one particular emoji?
- You love the color yellow or various hues of purple.
- Maybe your kid loves unicorns or dinosaurs or pokemon.
Once you paste the prompt into your browser, you should observe Gemini thinking.That's right, Gemini 2.5 is a thinking model, so it will start a number of tasks which you can observe change over time. You can click on the changing dropdown to see what's happening, or you can just wait for the result:

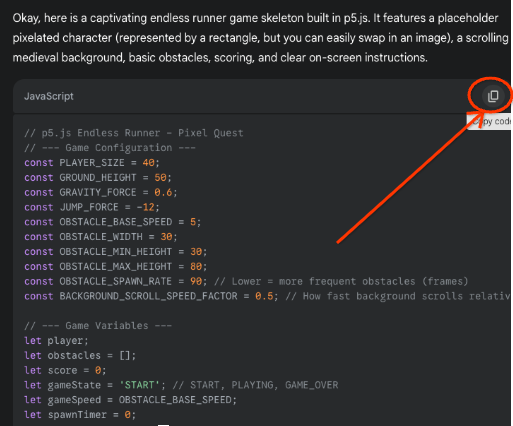
In the end, you should have a working javascript.
You can now click on the copy button on top:
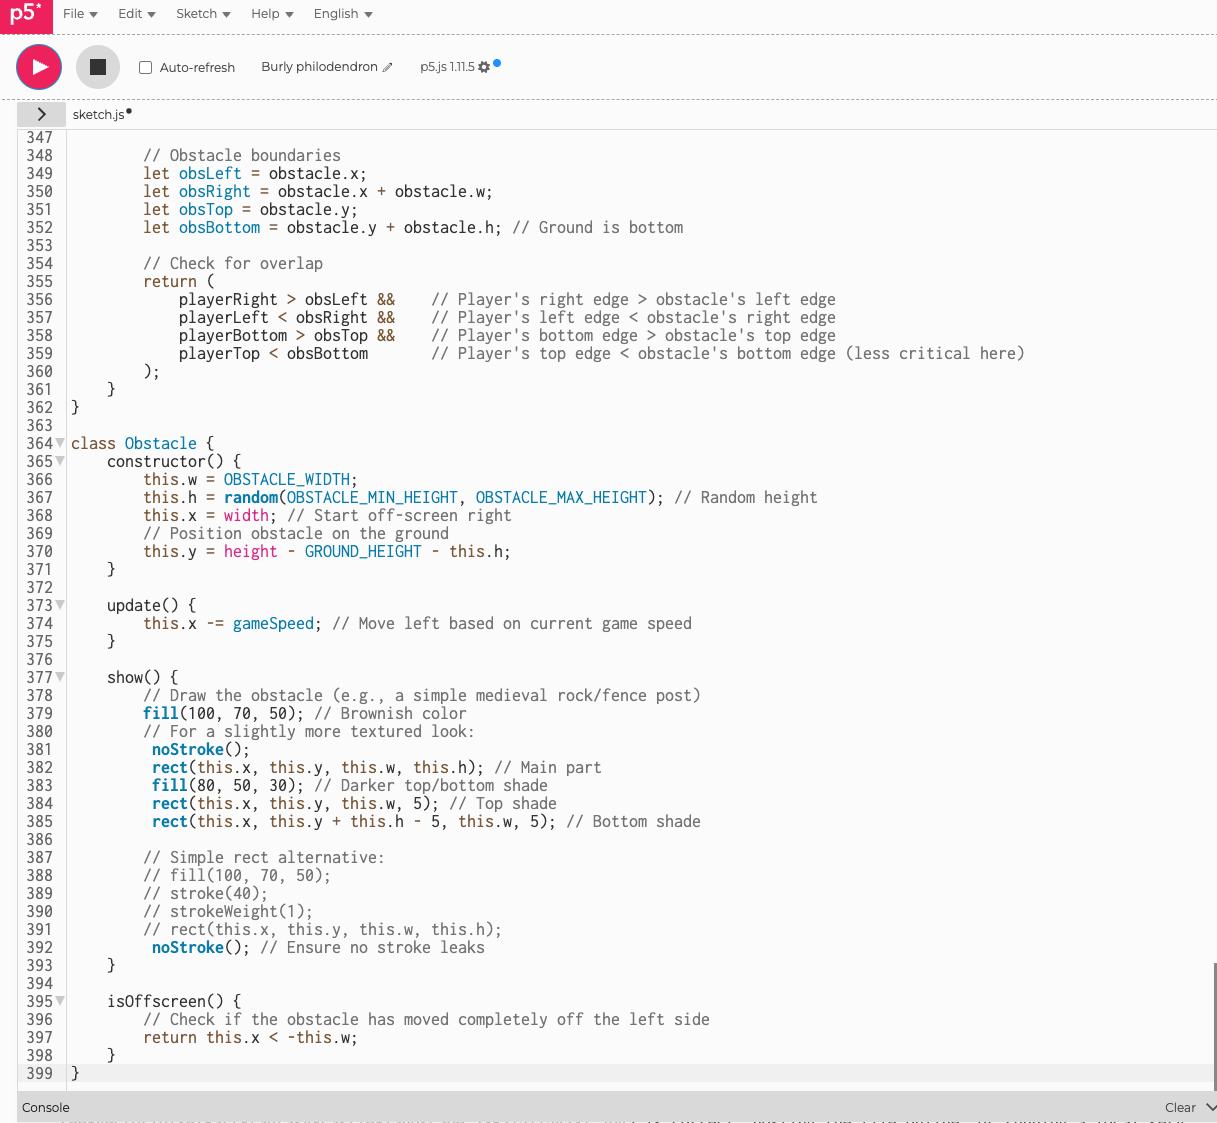
Testing the game on p5.js
Now it's time to test the game!
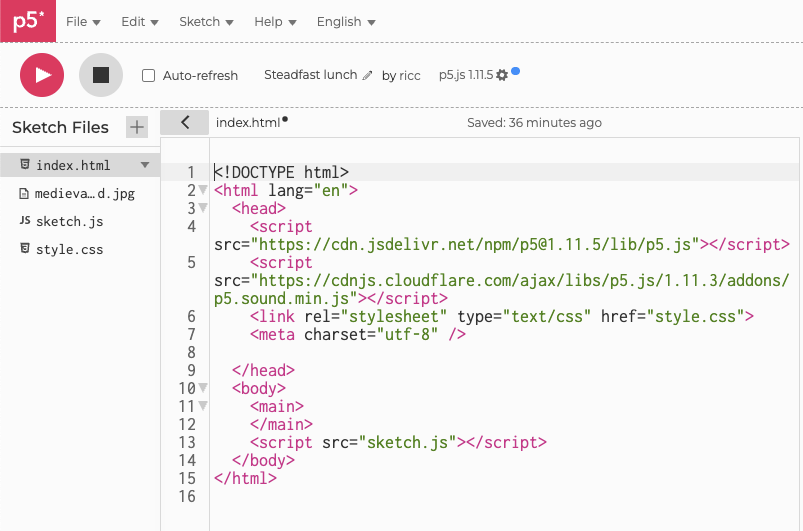
- Open the p5.js editor here: https://editor.p5js.org/
- Select and delete the existing sketch.js code.
- Paste your code
Your page should look like this:
Finally, you can press the PLAY button.
Now two things can happen: either your code works or it fails. Let's follow the instructions depending on both cases:
- Your code fails
- Your code works at the first try!
Let's see in the next two paragraph how to mange both conditions.
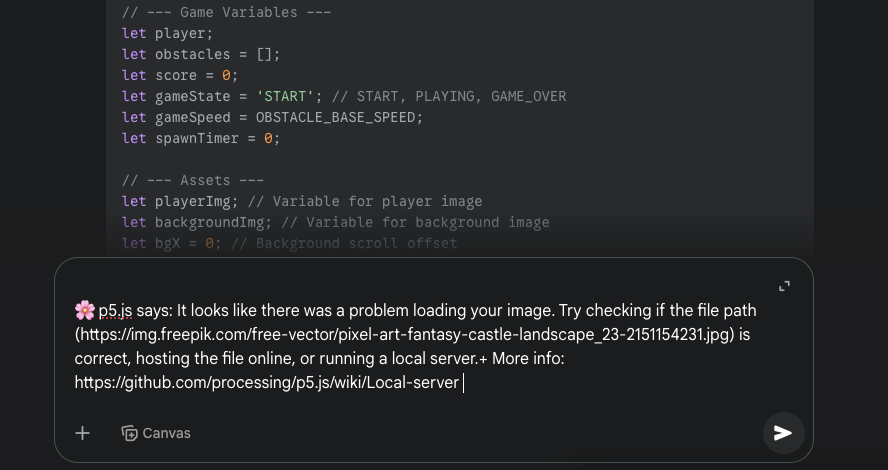
(case 1) My code fails!
If you get an error like this, you can simply copy it and paste it to Gemini. Let him fix the code for you!
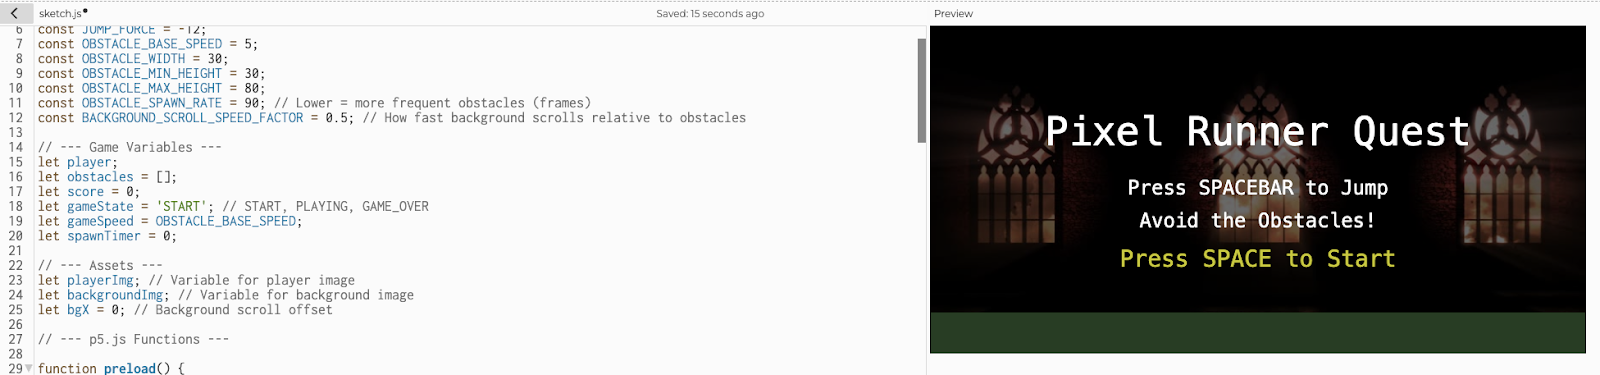
(case 2) My code works!
If your code works, you should see a visual game on the right end of the page.
👏 Congratulations, you're running your first AI game!
Note: While you have the code, the app works only in your browser. If you want to show the app to your family and friends, you need a hosting solution. Luckily, we have a great option for you! Keep reading.
You are now ready for the next chapter.
Further iterations
It is time now to save your code somewhere, in case you break it. If you want, you can iterate once. For instance, the author really likes the Super Mario double jump, so you could add something like this:
The game is great, thanks! Please allow for my character to double jump.
You can tweak anything you want, the sky is the limit! Maybe you want to save character name for higher scores, or increase the speed over time to make it harder, and so on. English language is the limit to your prompt!
Tip: Gemini tends to give you only the change you need to apply (eg this is the change for function XYZ). You might want to set the prompt so it gives you the whole updated code instead, with something like
"Please give me the entire updated code, not just the changed function"
. This will make the cut-pasting experience easier for you.
Caveats
You might want to bookmark your Gemini chat. Maybe you want to rename it to "p5js my first game", or write down the permalink to Gemini, such as " https://gemini.google.com/app/abcdef123456789" for later.
4. Let's run this code locally
At this point, you should have:
- An open Gemini browser window with some working code.
- An open p5.js browser window with a working game
- A local coding environment with
npminstalled.
This is the harder part of the codelab. Some basic coding experience is required.
Install dependencies
If you're missing npm and node, your best bet is to install npm via some version manager, such as nvm . Follow the Installation instructions for your operative system.
We're also assuming you are using a coding IDE. We'll use Visual Studio code in our screenshots and examples, but anything works.
Set up the local environment
This is the moment where you can create your own file structure.
A set up script is given for illustration purposes. You can do this manually by creating folders and files:
# This works for Mac and Linux. For Windows, please use other tools.
mkdir my-first-vibecoding-project/
cd my-first-vibecoding-project/
git init
touch README.md PROMPT.md
mkdir public/
cd public/
touch index.html sketch.js style.css
git add .
# Skipping quotes which can be tricky
git commit -a -m committing_empty_skeleton
The final folder structure should look like this:
my-first-vibecoding-project/
├── PROMPT.md
├── README.md
└── public
    ├── index.html
    ├── sketch.js
    └── style.css
You should be able to find this also here.
Now open up your favorite code editor (eg code my-first-vibecoding-project/ ) and start pasting the content of editor.p5js.org onto the 3 files under public/:
README.md← Here you can put the Gemini chat permalink and here you'll put the landing page for the app when it will come.PROMPT.md← Here you might want to add all your prompts, separated by a H2 paragraph. If you want to explain why you gave a certain prompt, you can enclose your prompt in 3 backticks ( example).- **
public/index.html** ← copy your HTML code here - **
public/sketch.js** ← copy your JS code here - **
public/style.css** ← copy your CSS code here
The public folder might host additional assets, like a custom PNG.
5. Set up and deploy to Firebase
Set up Firebase (first time only)
Make sure to have npm installed in your machine.
In a terminal, type one of the following (either works):
# to install on the machine (requires privilege)
npm install -g firebase-tools
# to install locally (low privilege needed but might need to repeat a few times)
npm install firebase-tools
Now you should be able to call the firebase command. If you have issues, follow the public docs.
Firebase initialization
In this section, we will set up Firebase hosting. This is a very simple flow, but it might take a while to familiarize yourself with it the first time.
Make sure you are in the directory directly above the public/ directory which contains your files. The listing (ls -al or dir) should show something like this:
$ ls
PROMPT.md
README.md
public/
- [step 1] On console, type:
firebase init
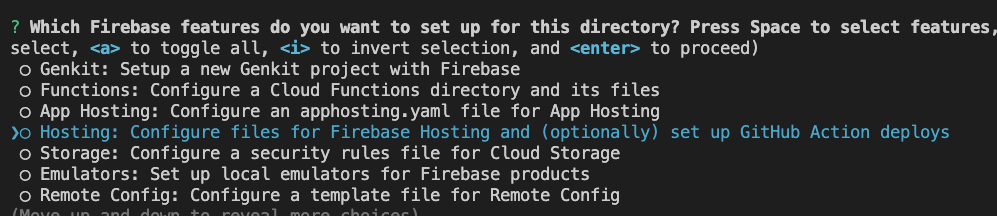
- Navigate with cursors down to "Hosting: .." and type SPACE and then ENTER. (Why? Since this a multi-choice, you need to both select and go to next page)
- [step 2] Now you can chose an existing project (option 1) or create a new one (option 2):

- Note: if you have an existing Cloud Project, it might not be a Firebase project. Firebase projects are a subset of GCP projects. You need additional work to make them Firebase project, which is what (option 3) is for.
- If undecided, use the "Create a new project" and add some name like "p5js-YOURNAME-YOURAPP" (eg, "p5js-riccardo-tetris").

- [step 3]
What would you like to call your project? (defaults to your project ID) (p5js-riccardo-tetris) - Press ENTER.

- [step 4]
? What do you want to use as your public directory? (public) - Press ENTER (we set up
public/on purpose)

- [step 5]
? Configure as a single-page app (rewrite all urls to /index.html)? No - press ENTER (no)

- [step 6]
? Set up automatic builds and deploys with GitHub? No - Press ENTER - NO

- [step 7]
? File public/index.html already exists. Overwrite? (y/N) - Press ENTER (no).
- WARNING This might be error prone; if you overwrite it the new index.html will be incompatible with p5js!
If everything works fine, you should see this:
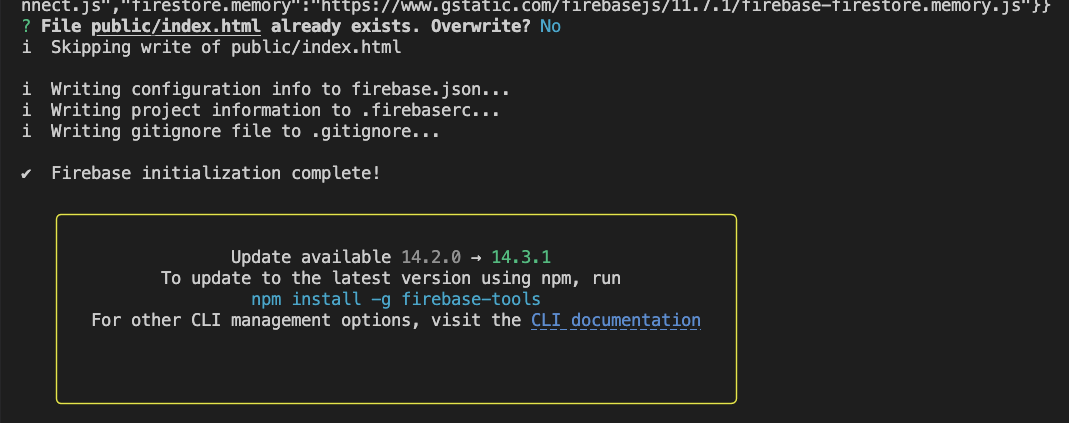
These actions should have created a few files:
.firebaserc
.gitignore
firebase.json
public/404.html
In particular, .firebaserc should have your project id which you can programmatically pull with this: cat .firebaserc | jq .projects.default -r
Warning: Check the index.html. If it's longer than 16 lines, and/or has the word firebase in it, you mistakenly overwrote p5js files. No problem, just remember to take the old index.html back from git or from the p5js editor.
Local testing
To tighten the feedback loop latency, you might want to try things locally first.
To do so, you can try the powerful CLI suite from the Firebase team. For example:
$ firebase emulators:start
should start a webserver on port 5000 ( http://127.0.0.1:5000/ ) so you can test locally before pushing.
Deploy to Firebase
Now it's time for the final command:
$ firebase deploy

This should trigger a number of actions. The last few lines should read something like this:
$ firebase deploy
[...]
✔  hosting[YOUR_PROJECT]: release complete
✔  Deploy complete!

Project Console: https://console.firebase.google.com/project/YOUR_PROJECT/overview
Hosting URL: https://YOUR_PROJECT.web.app
This should give you the hosting URL. Try it out!
If the deployment succeeds, but you observe some blank page or otherwise broken deployment, you can do a few things:
- Open your browser "Developers Tools" and find the error, and ask Gemini to help you fix it, with a prompt like this:
I've deployed the script correctly with Firebase, but I now see a blank page with this error:

[ paste detailed JS console error ]
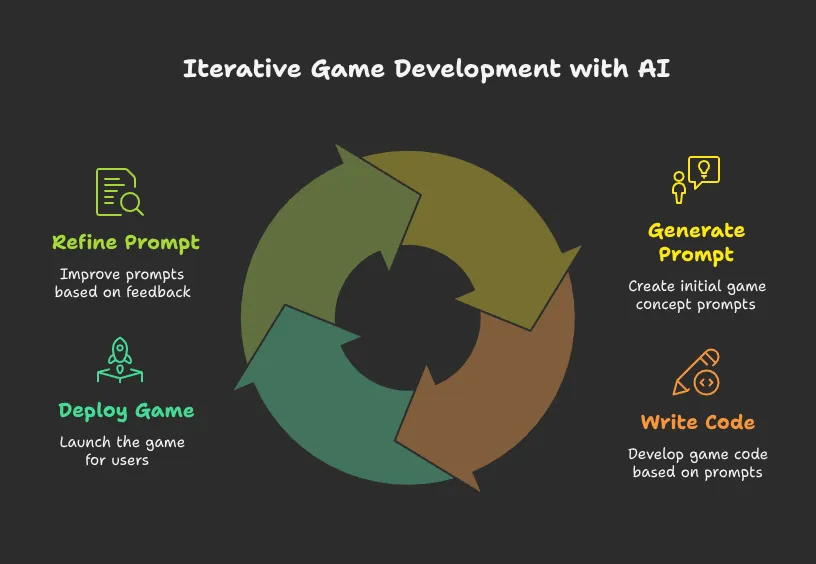
♾️ Iterate!
You can iterate these steps as many times as you wish. You can continue prompting until you're satisfied with the results.
It's important to note a few things:
- The iteration loop is much faster in the Gemini > p5.js > Gemini loop than in the Gemini > local host > deploy to cloud run > test app on browser (hit refresh).
- Use git for versioning both prompt and code. You might want to be able to go back to prompt N and code N. Particularly you want to git commit every single
sketch.jsyou push, since bugs could be lurking undetected there.
Note that some games work well with a keyboard but don't work well with mouse or tap on the mobile phone. This is a great moment to improve the code.
6. Prompting Tips
Some tips from having creating quite a few games already.
Version your prompt
You will likely find mistakes on your original prompt. Having a git version of it. There are a few code paths here:
- If you love what you see and want to iterate with gemini with subsequent sub prompts, it might be interesting to track them all down somewhere (prompt 1,2,3 - 3-shot example1 - example2).
- If you are not precious about the app created by prompt1, instead, you might want to perfect the prompt, throw away the code, and restart with the modified code (prompt 1 v1, prompt1 v2, prompt1, v3, ..)
You can of course mix the 2 approaches.
Mobile functionality
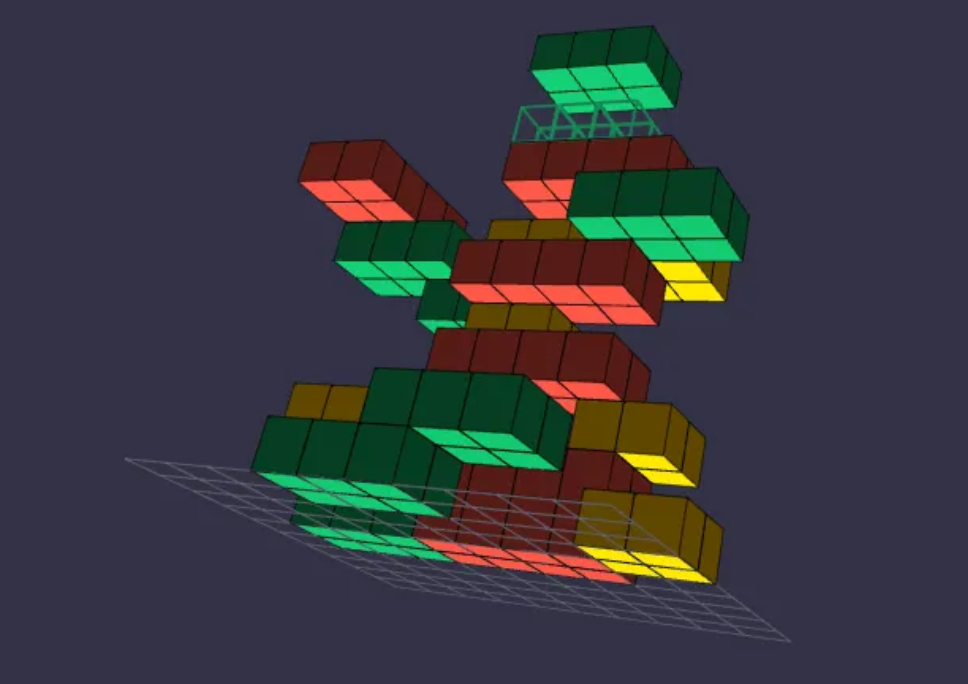
Depending on the game you create, you might need some interaction with the user. Does this interaction need a keyboard? Or can it be used by just tapping on the screen (eg, with a mobile)? Make sure to be explicit about this on the prompt. You might have to create some buttons on your keyboard (see my Tetris 3D example). See also dungemoji hassle for mobile compatibility.
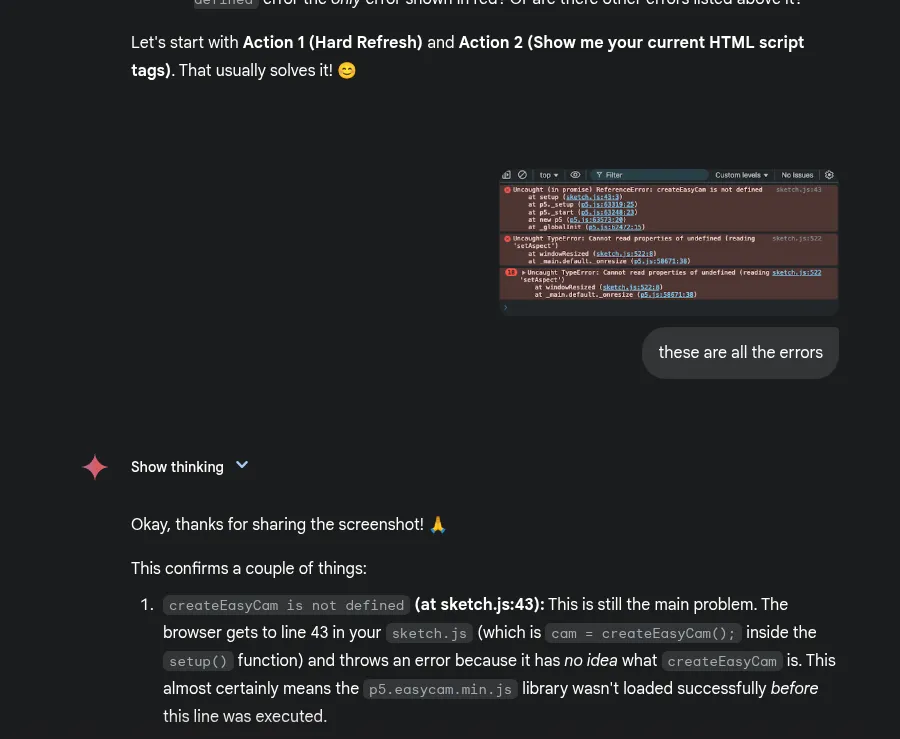
Feedback Javascript errors / screenshots directly onto Gemini
Since Gemini can't see your interaction with p5js, make sure to paste onto Gemini any Javascript errors. Note that Gemini is multimodal, so if you have UI changes (like make the title smaller, or bring down the score) you can also attach screenshots of the game! The coding feedback look has never been this fun!
7. Congratulations!
🎉 Congratulations for completing the codelab.
We've seen how easy it is to create a game with Gemini, and how Firebase provides an easy hosting solution to persist and share your game with others.

What we've covered
- Create a game via Gemini 2.5.
- Deploy to Firebase
Now time to 👥 brag about it! Why don't you share your latest game (your-project.web.app) on Linkedin or Twitter with the hashtag #VibeCodeAGameWithGemini (and maybe tag the author on Linkedin)? This will allow us to know how catchy this codelab is, and possible write more of this kind!
I want more!
If you're looking for additional resources, check these games and prompts:
- Code five kid games with Gemini 2.5 and p5.js in a weekend! This article will guide you through the thought process of vibe coding a game with 6 examples.
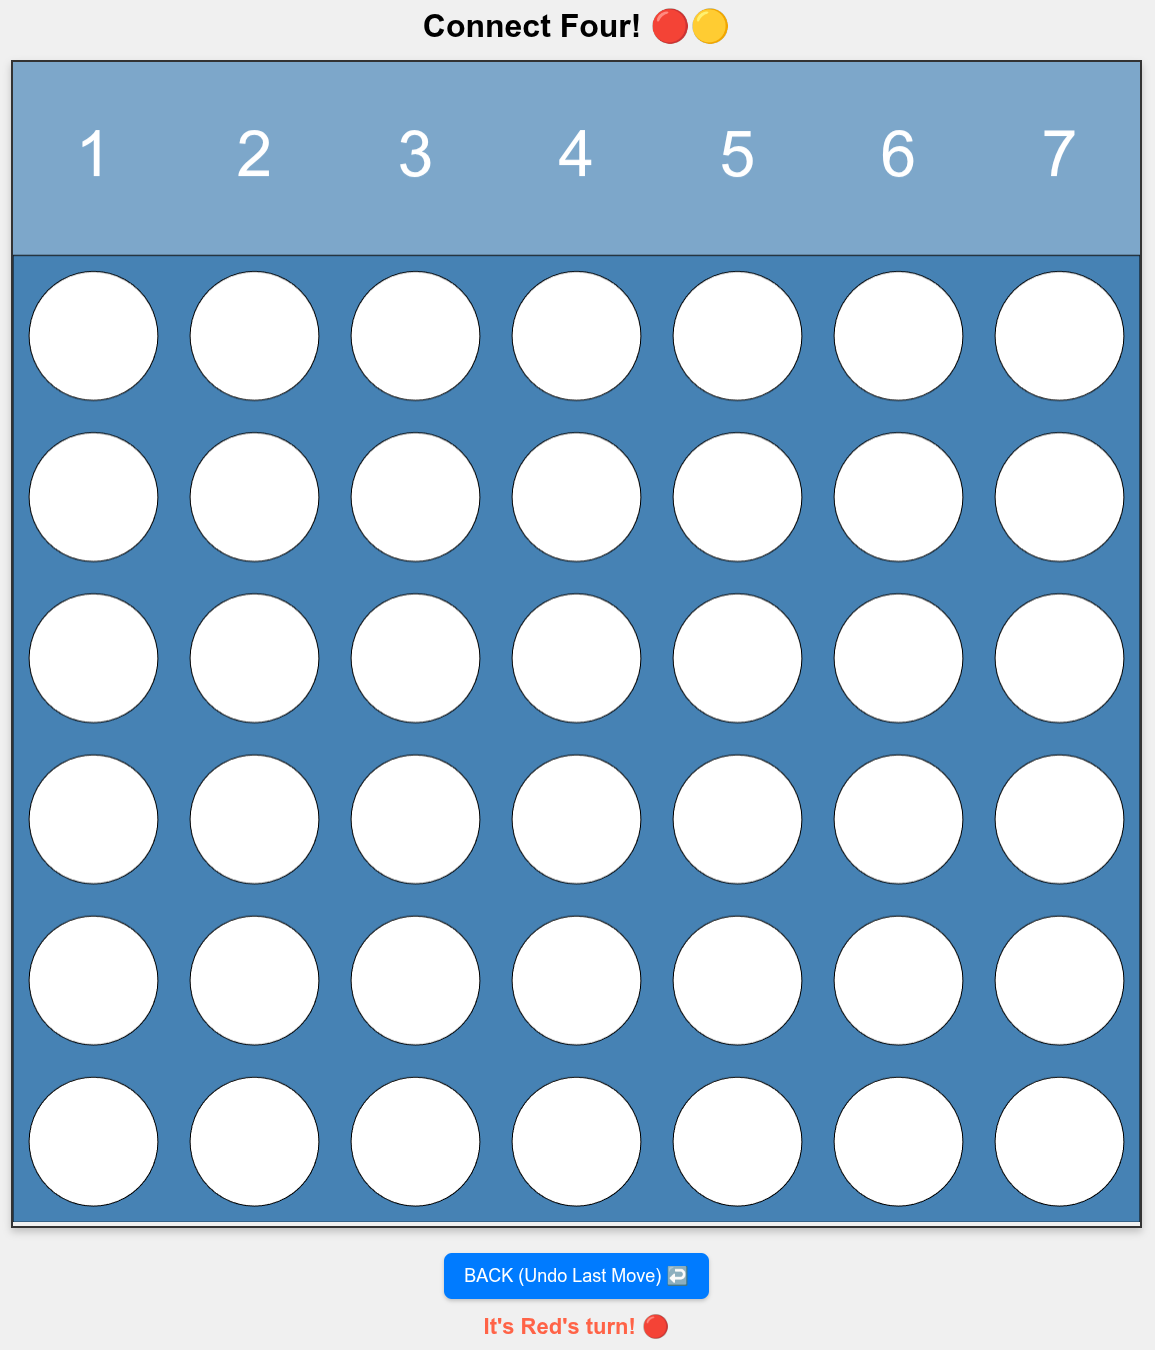
- palladius/genai-googlecloud-scripts (github repo with ~10 apps - code and prompt): Tetris, Pacman, Connect 4 and even a Rogue clone for nostalgics! This contains the prompts of all these games. Grab your favorite, adapt the prompt, and vibe out!
If what you've done today sounds like too much effort, you can also try 🔥 Firebase Studio where the idea > prompt > code > app loop is all contained in a single browser window.
Some sample games you can create:
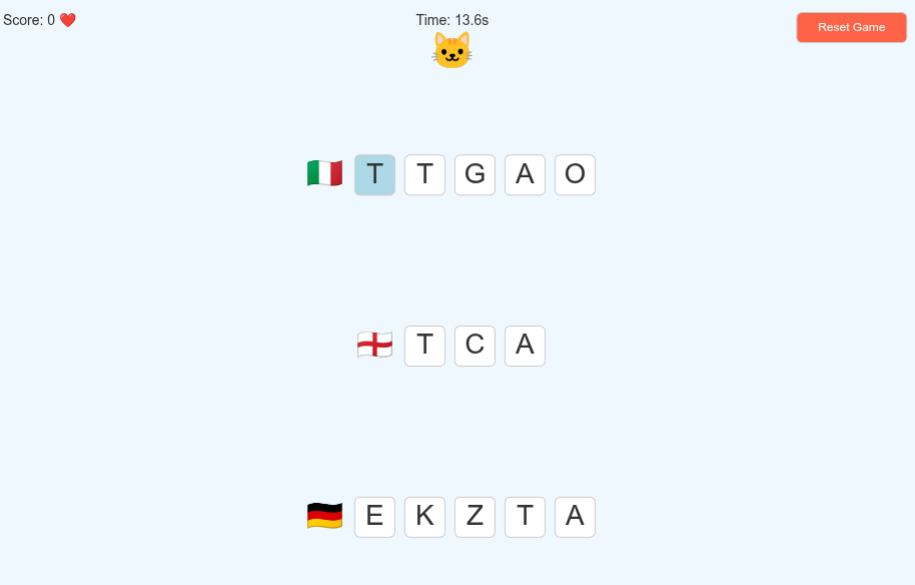
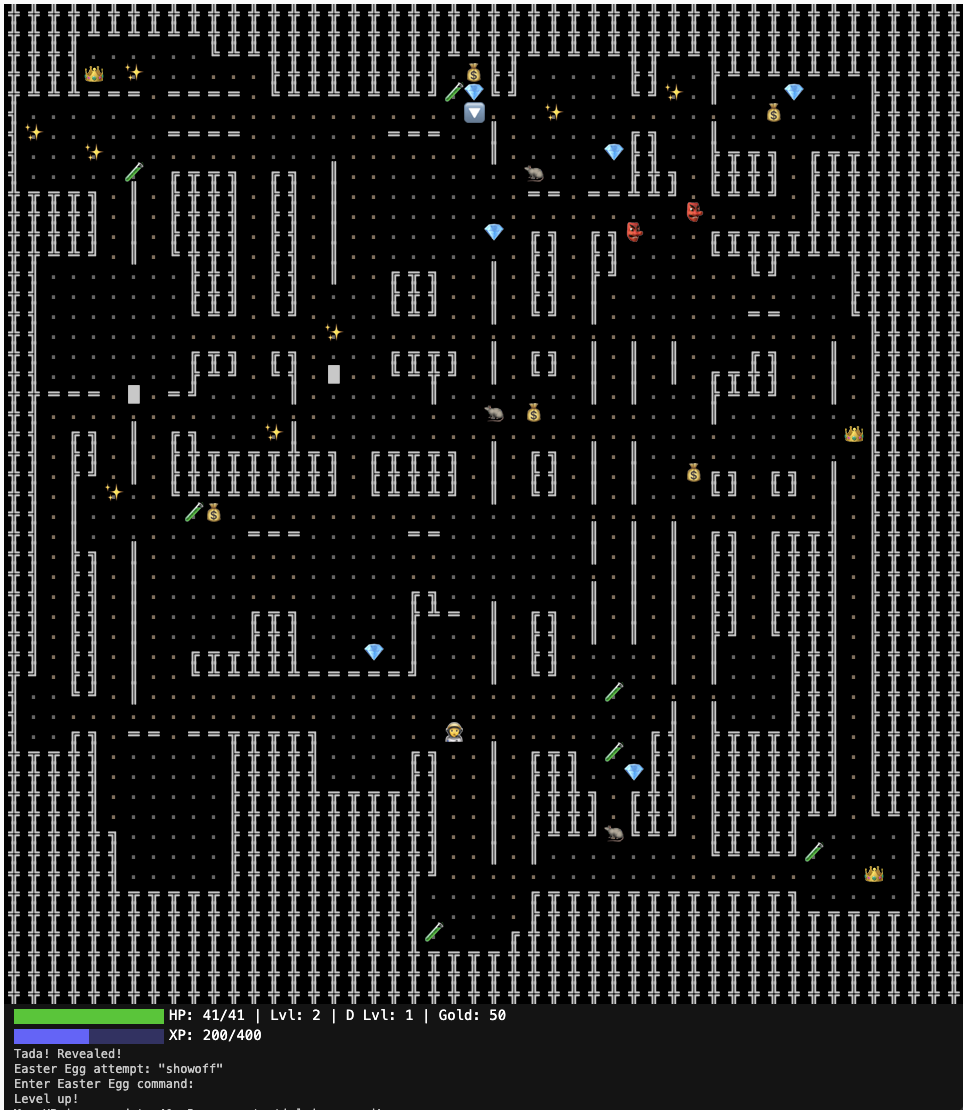
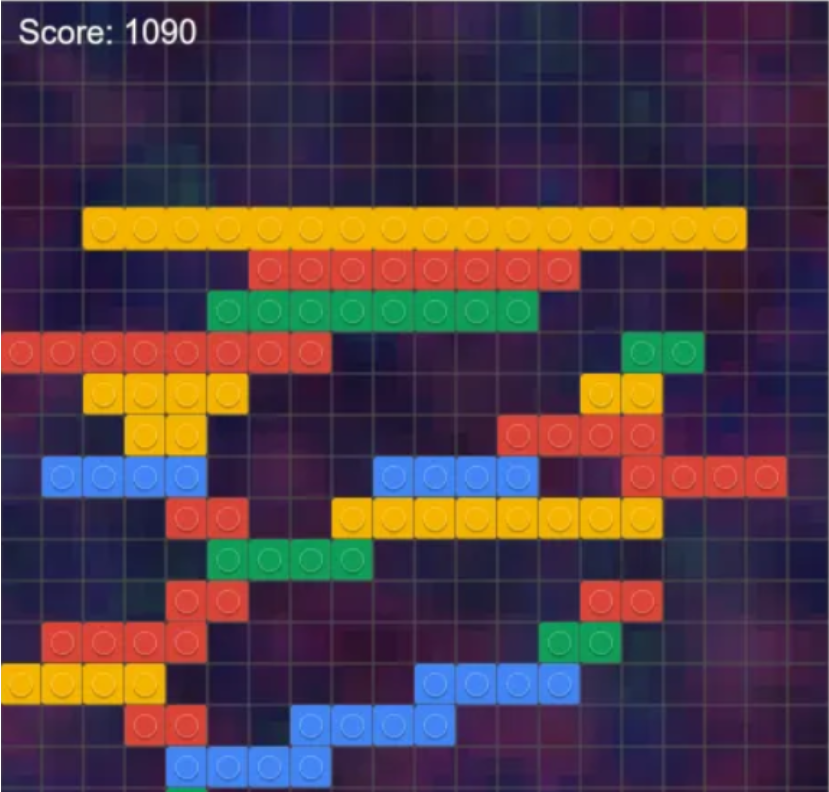
The final game might look like this:
- A 3D tetris
- A language game
- A rogue clone
- A pacman clone.
Again, English is the limit!
|
|
|
|
|
|

🎉 Happy coding!