1. Before you begin
Android 10 and 11 give users more control over their apps' access to their device locations.
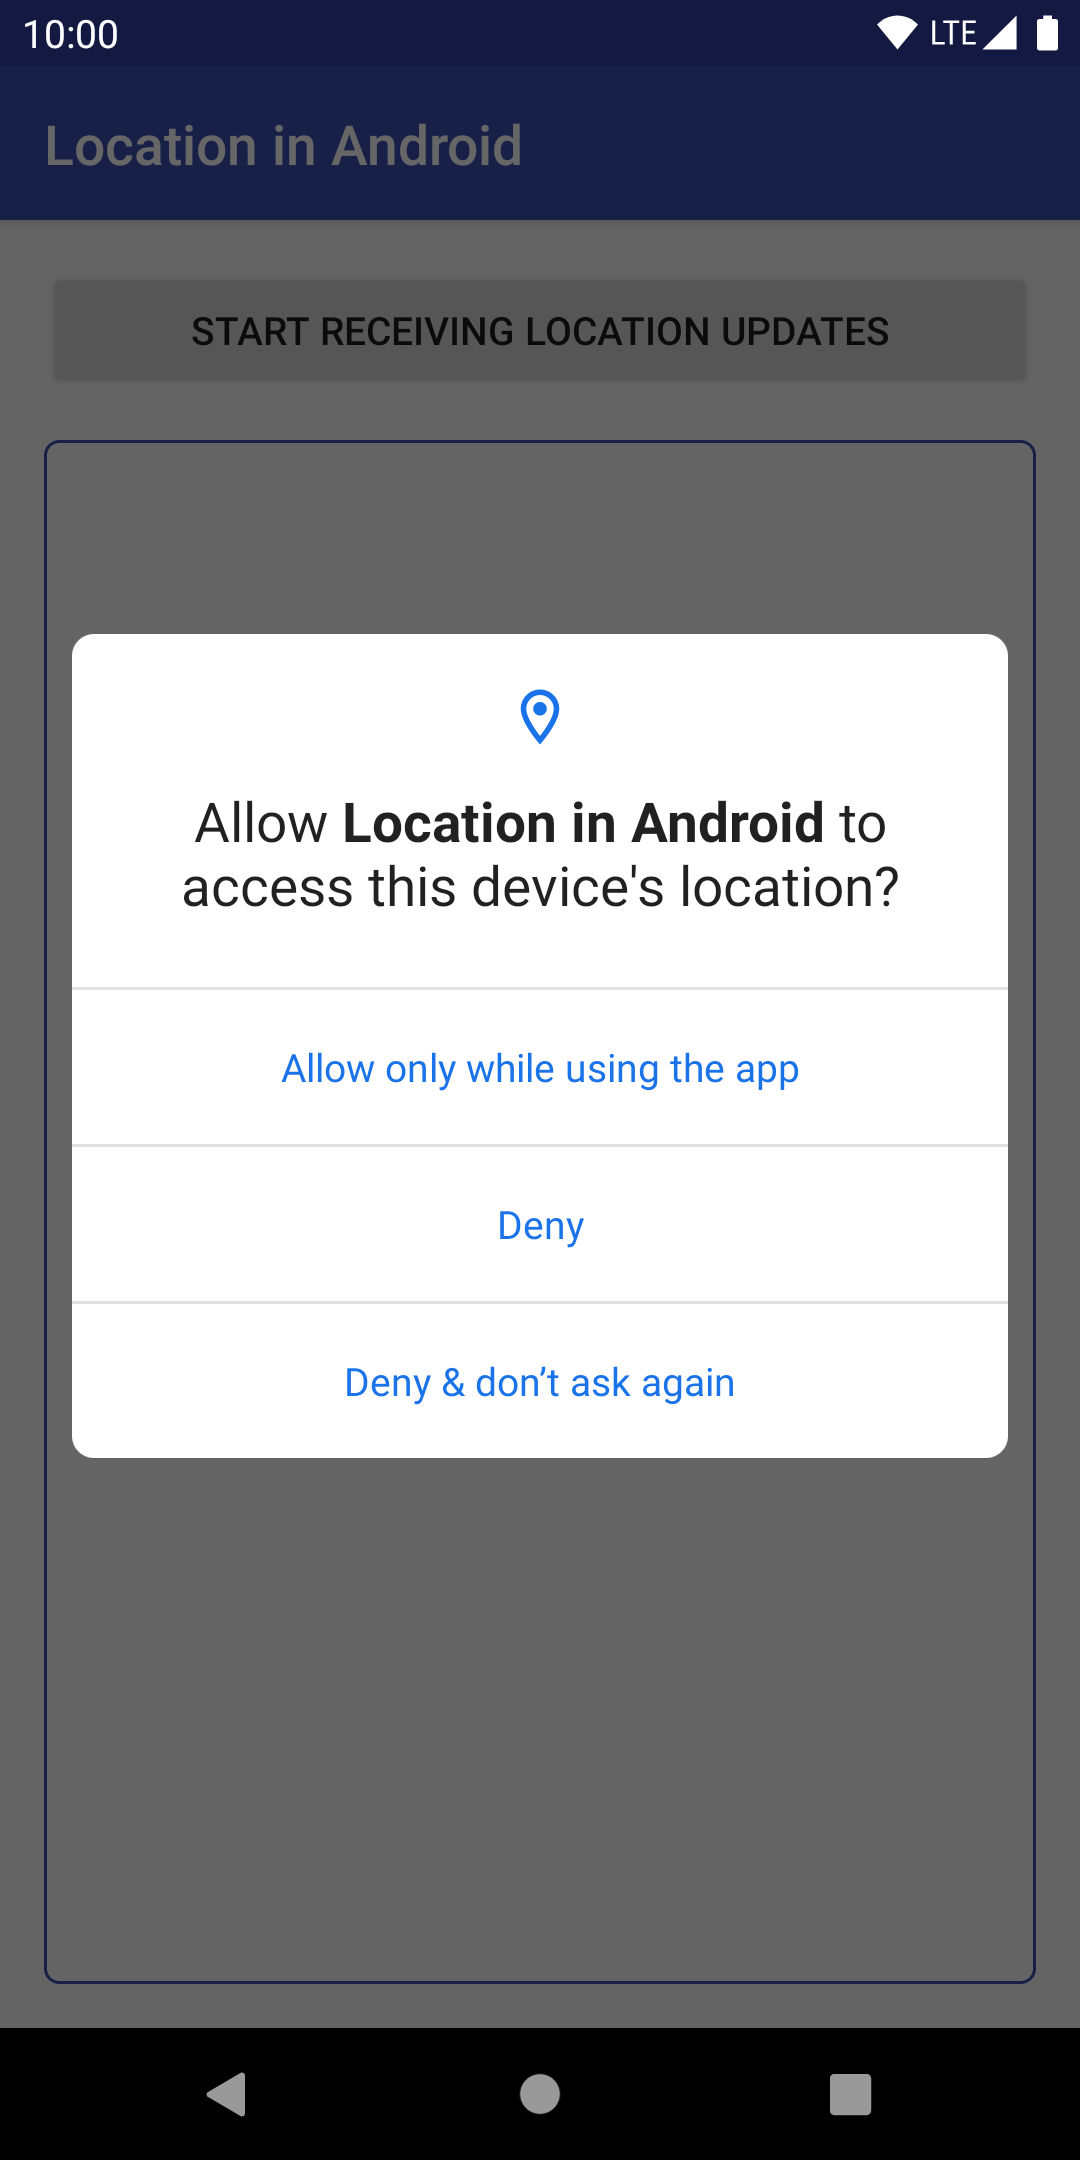
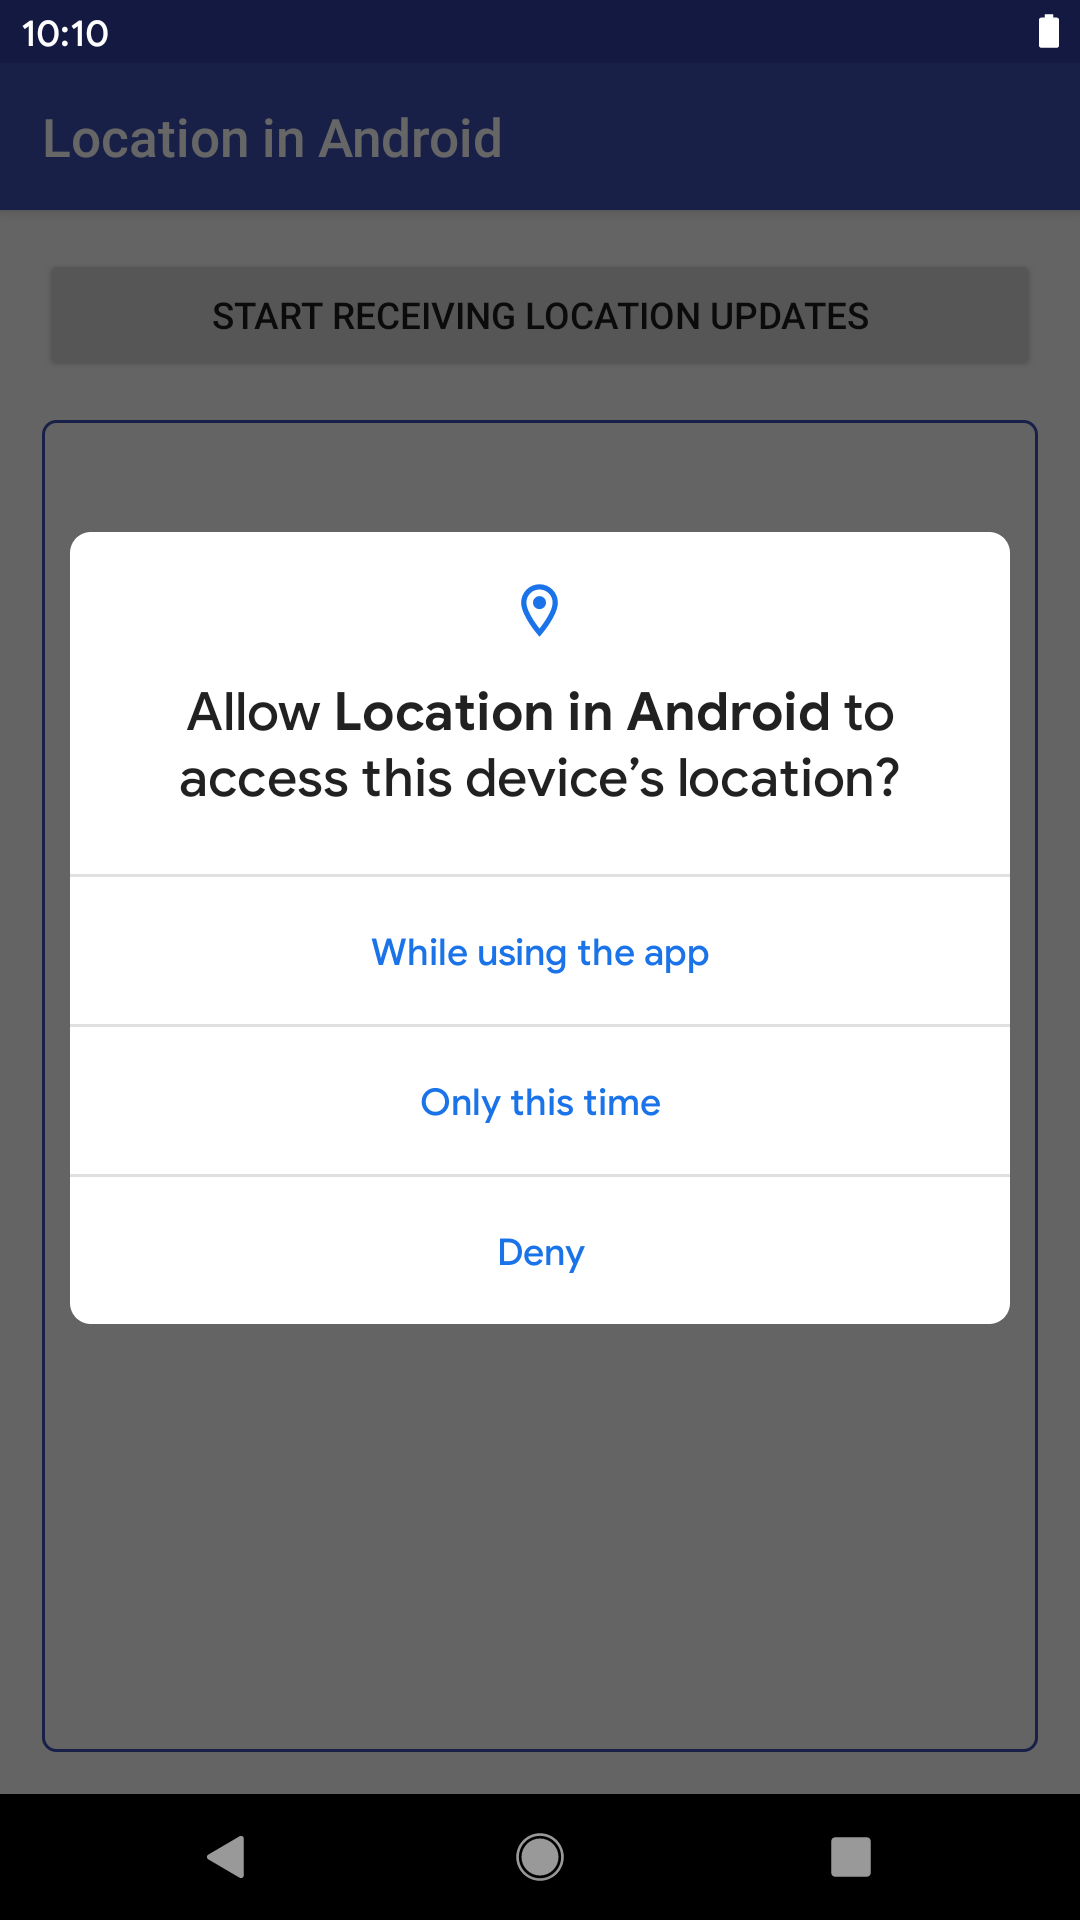
When an app running on Android 11 requests location access, users have four options:
- Allow all the time
- Allow only while using the app (in Android 10)
- One time only (in Android 11)
- Deny
Android 10
Android 11
In this codelab, you learn how to receive location updates and how to support location on any version of Android, particularly Android 10 and 11. At the end of the codelab, you can expect to have an app that follows the current best practices for retrieving location updates.
Prerequisites
- Familiarity with Android development
- Some familiarity with activities, services, and permissions
What you'll do
- Follow best practices for location in Android.
- Handle foreground location permissions (when the user requests that your app access device location while your app is in use).
- Modify an existing app to add support for requesting location access by adding code for subscribing and unsubscribing to location.
- Add support to the app for Android 10 and 11 by adding logic to access location in the foreground location or while in use.
What you'll need
- Android Studio 3.4 or later to run the code
- A device/emulator running a developer preview of Android 10 and 11
2. Getting Started
Clone the starter project repo
To get you started as quickly as possible, you can build on this starter project. If you have Git installed, you can simply run the following command:
git clone https://github.com/android/codelab-while-in-use-location
Feel free to visit the GitHub page directly.
If you do not have Git, you can get the project as a zip file:
Import the project
Open Android Studio, select "Open an existing Android Studio project" from the welcome screen, and open the project directory.
After the project has loaded, you may also see an alert that Git isn't tracking all your local changes. You can click Ignore. (You won't be pushing any changes back to the Git repo.)
In the upper-left corner of the project window, you should see something like the image below if you are in the Android view. (If you are in the Project view, you need to expand the project to see the same thing.)
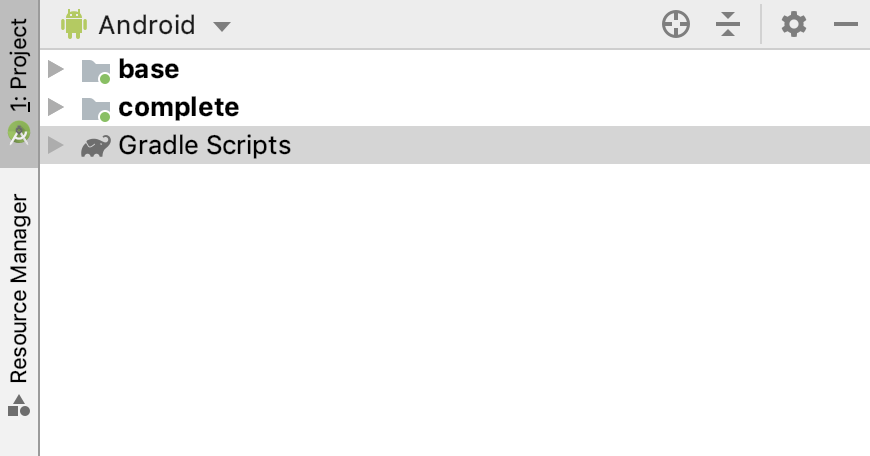
There are two folders (base and complete). Each is known as a "module".
Please note that Android Studio might take several seconds to compile the project in the background for the first time. During this time, you see the following message in the status bar at the bottom of Android Studio:

Wait until Android Studio has finished indexing and building the project before making code changes. This will allow Android Studio to pull in all the necessary components.
If you get a prompt saying Reload for language changes to take effect? or something similar, select Yes.
Understand the starter project
You're set up and ready to request location in the app. Use the base module as the starting point. During each step, add code to the base module. By the time you're done with this codelab, the code in the base module should match the contents of the complete module. The complete module can be used for checking your work or for you to reference if you encounter any issues.
The key components include the following:
MainActivity—UI for the user to allow the app to access the device's locationLocationService—service that subscribes and unsubscribes to location changes, and promotes itself to a foreground service (with a notification) if the user navigates away from the app's activity. You add location code here.Util—Adds extension functions for theLocationclass and saves location inSharedPreferences(simplified data layer).
Emulator setup
For information about setting up an Android emulator, see Run on an emulator.
Run the starter project
Run your app.
- Connect your Android device to your computer or start an emulator. (Make sure that the device is running Android 10 or higher.)
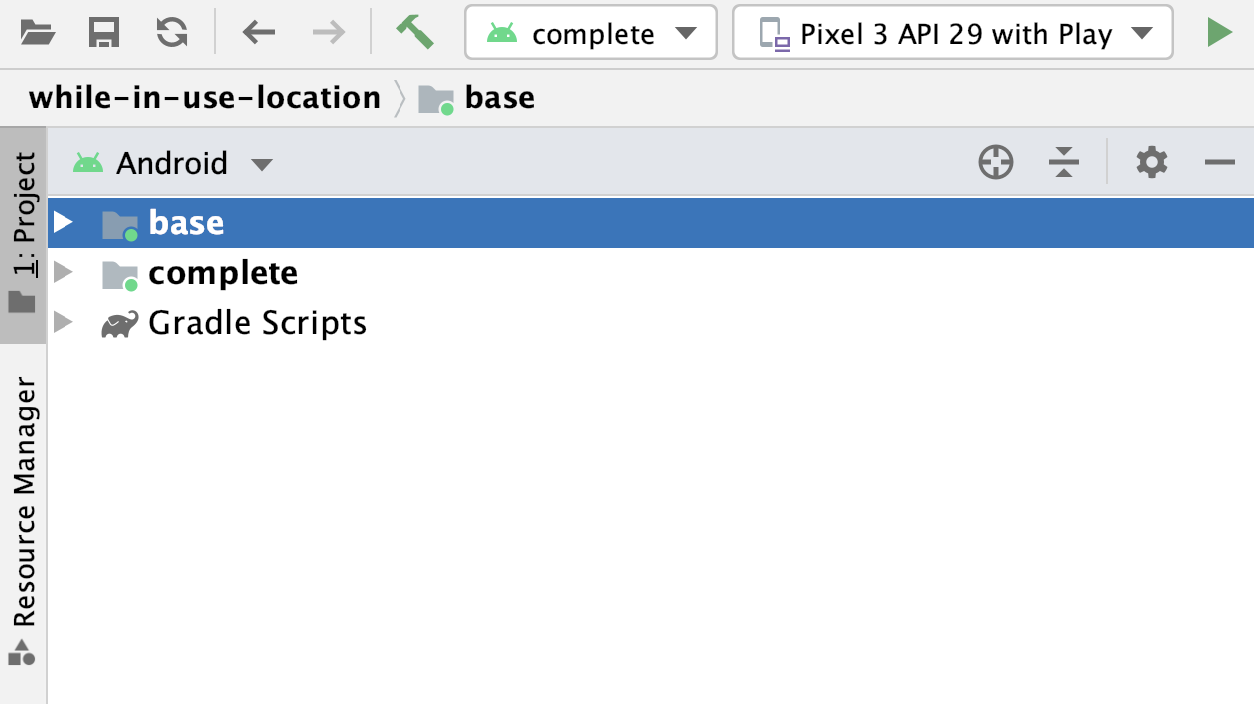
- In the toolbar, select the
baseconfiguration from the drop-down selector and click Run:
- Notice the following app appear on your device:
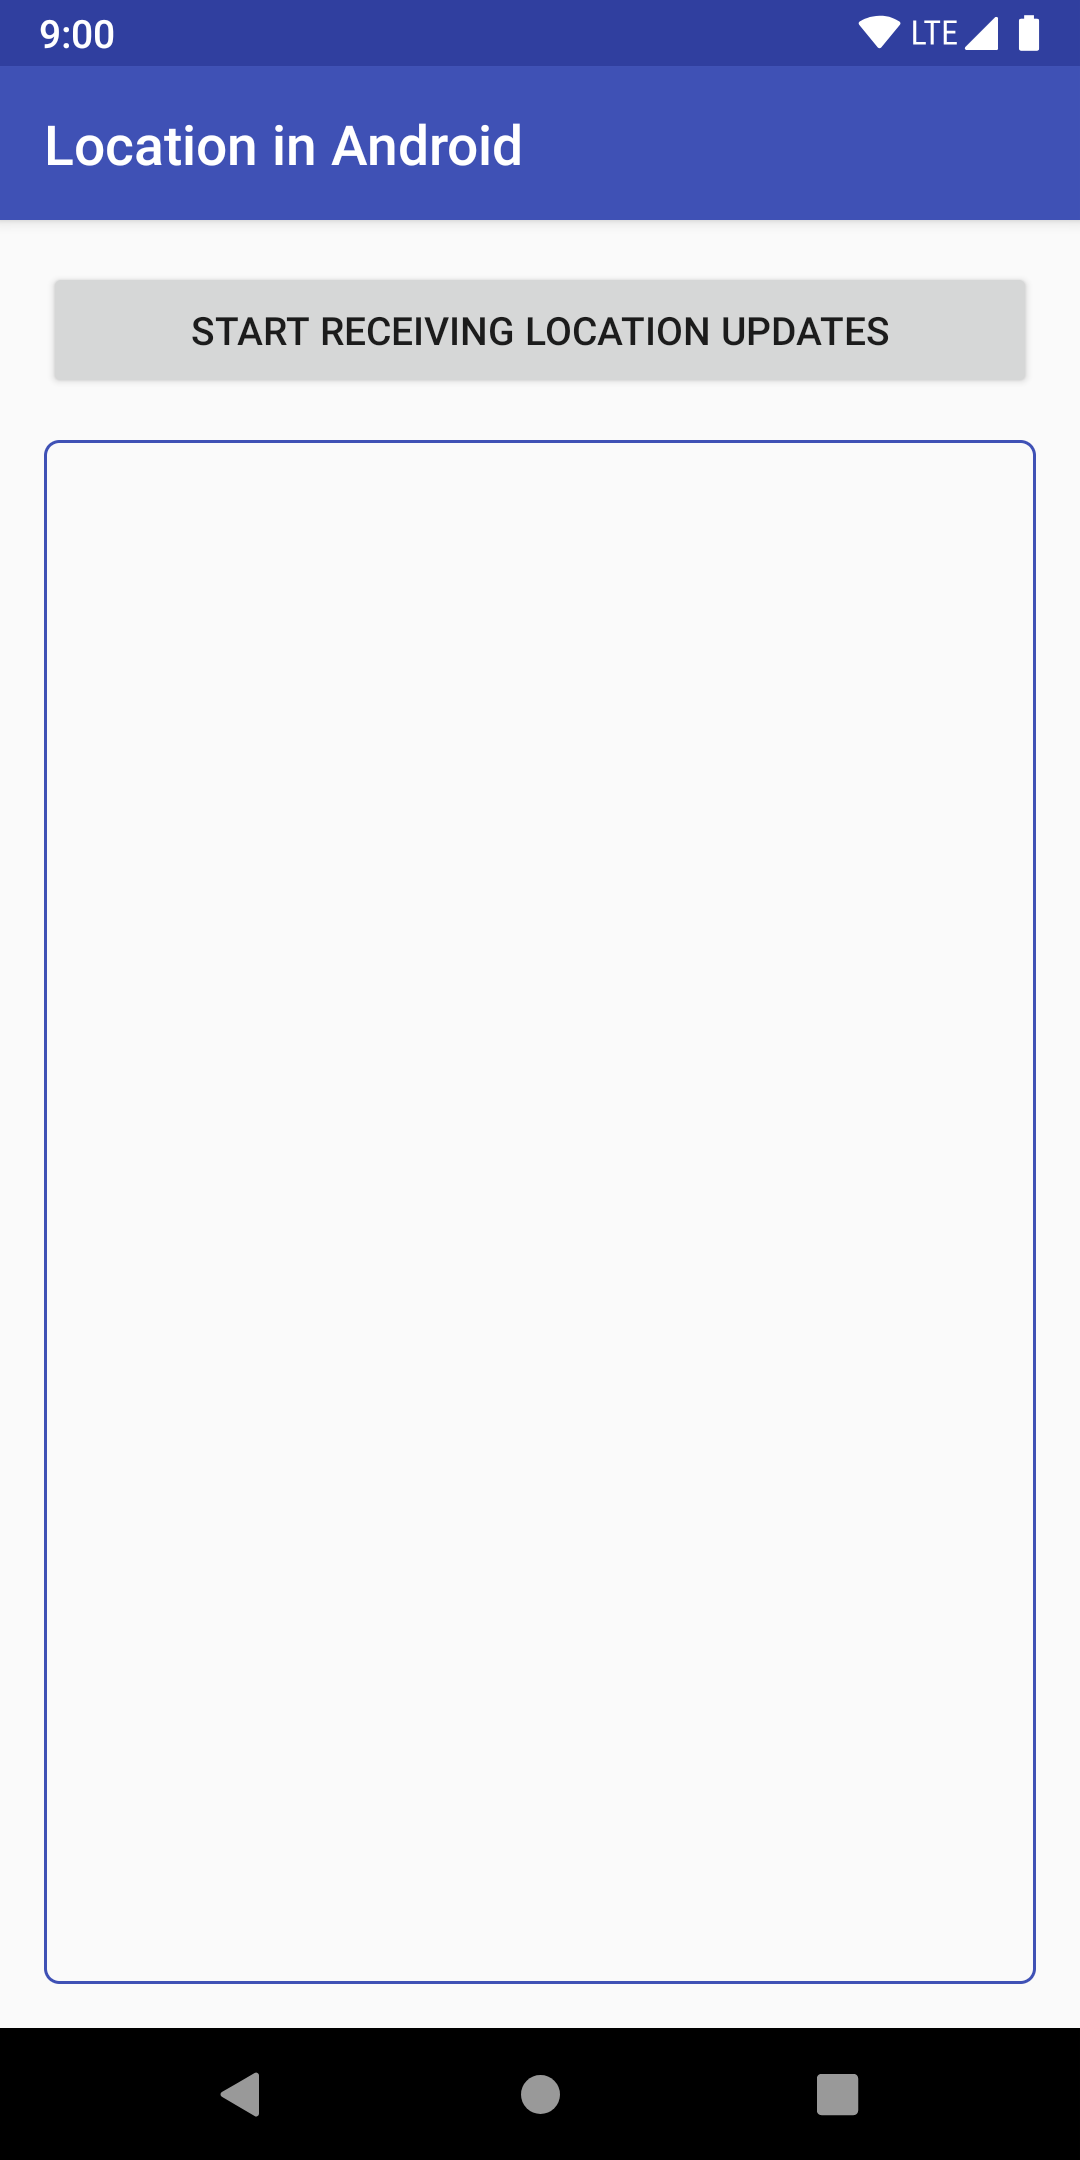
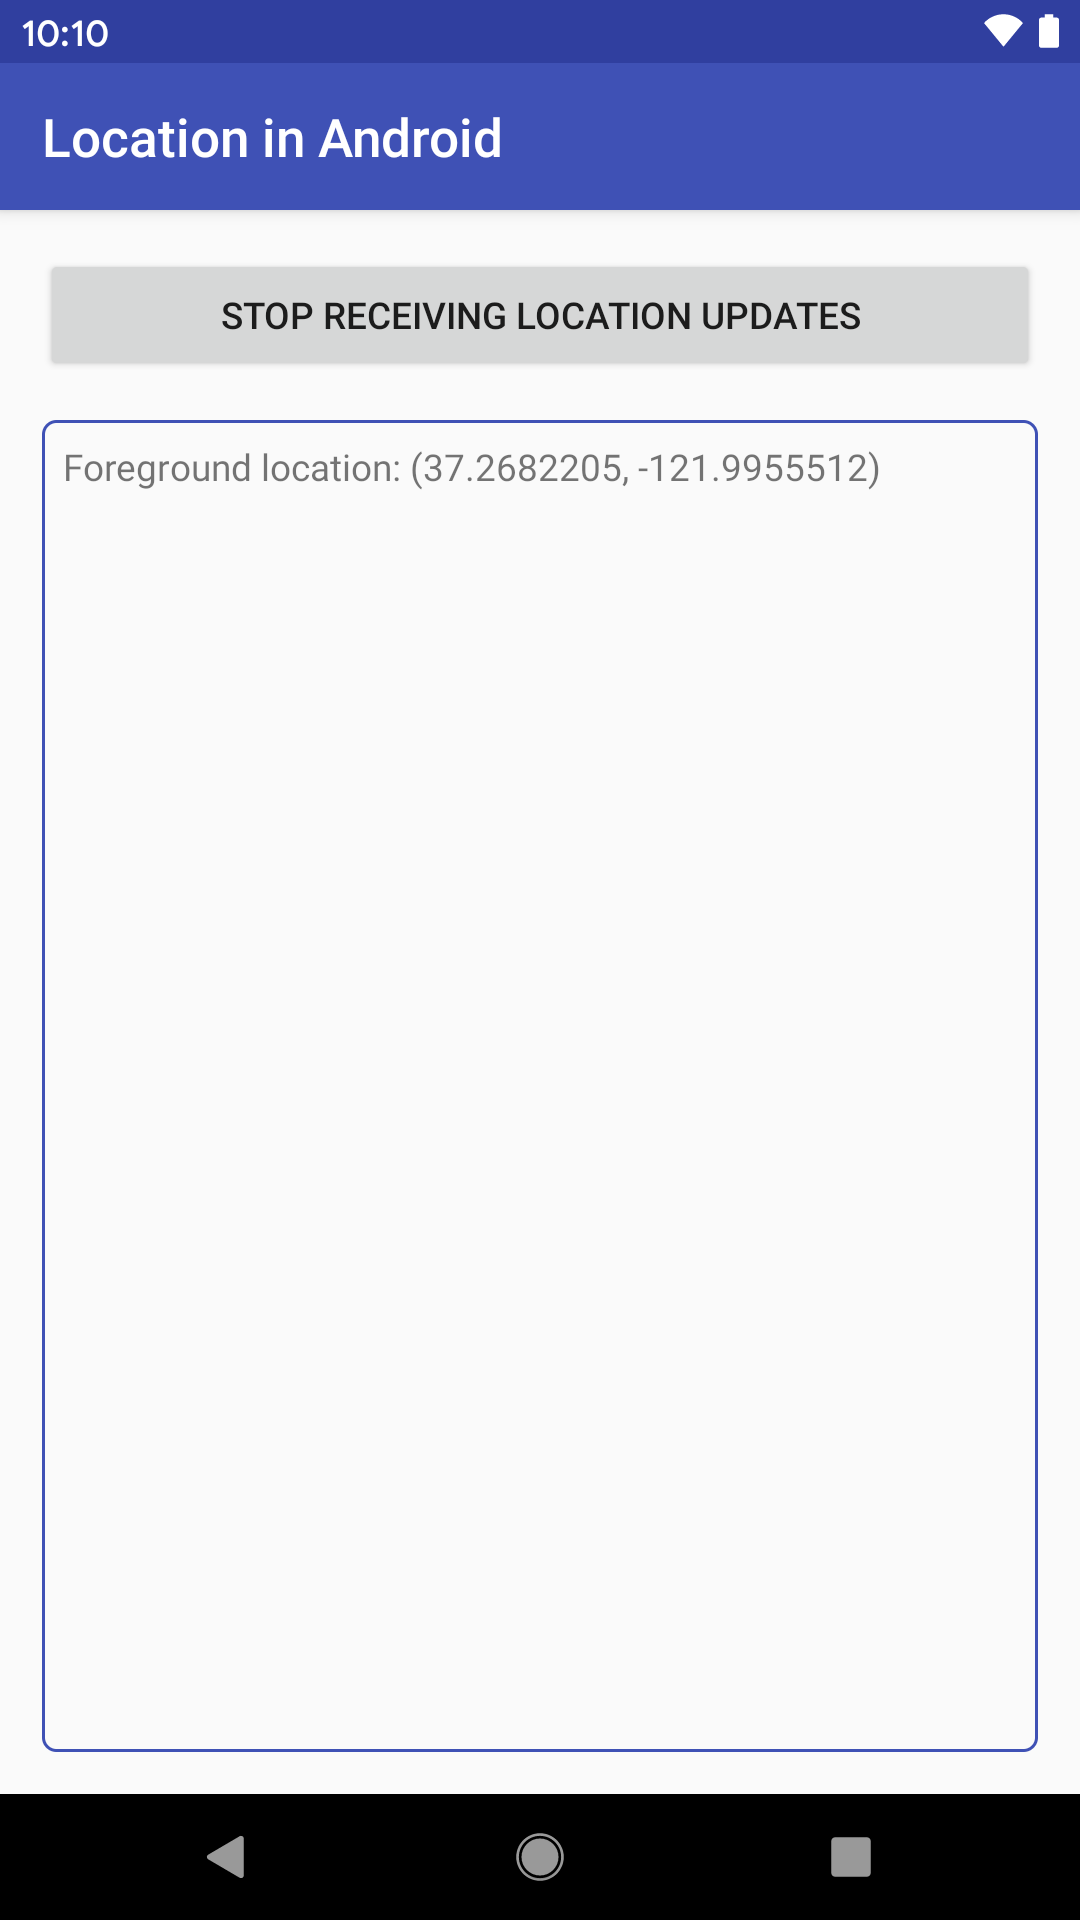
You may notice that no location information appears in the output screen. That's because you haven't added the location code yet.
3. Adding location
Concepts
The focus of this codelab is to show you how to receive location updates, and eventually support Android 10 and Android 11.
However, before you get started coding, it makes sense to review the basics.
Types of location access
You may remember the four different options for location access from the beginning of the codelab. Take a look at what they mean:
- Allow only while using the app
- This option is the recommended option for most apps. Also known as "while-in-use" or "foreground only" access, this option was added in Android 10 and allows developers to retrieve location only while the app is actively being used. An app is considered to be active if either of the following is true:
- An activity is visible.
- A foreground service is running with an ongoing notification.
- One time only
- Added in Android 11, this is the same as Allow only while using the app, but for a limited amount of time. For more information, see One-time permissions.
- Deny
- This option prevents access to location information.
- Allow all the time
- This option allows location access all the time, but requires an extra permission for Android 10 and higher. You must also make sure you have a valid use case and comply with location policies. You won't cover this option in this codelab, as it's a rarer use case. However, if you have a valid use case and want to understand how to properly handle all-the-time location, including accessing location in the background, review the LocationUpdatesBackgroundKotlin sample.
Services, foreground services, and binding
To fully support Allow only while using the app location updates, you need to account for when the user navigates away from your app. If you wish to continue receiving updates in that situation, you need to create a foreground Service and associate it with a Notification.
In addition, if you want to use the same Service to request location updates when your app is visible and when the user navigates away from your app, you need to bind/unbind that Service to the UI element.
Because this codelab focuses only on getting location updates, you can find all the code you need in the ForegroundOnlyLocationService.kt class. You can browse through that class and the MainActivity.kt to see how they work together.
For more information, see Services overview and Bound services overview.
Permissions
In order to receive location updates from a NETWORK_PROVIDER or GPS_PROVIDER, you must request the user's permission by declaring either the ACCESS_COARSE_LOCATION or ACCESS_FINE_LOCATION permission, respectively, in your Android manifest file. Without these permissions, your app won't be able to request access to location at runtime.
Those permissions cover the One time only and Allow only while using the app cases when your app is used on a device running Android 10 or higher.
Location
Your app can access the set of supported location services through classes in the com.google.android.gms.location package.
Look at the main classes:
FusedLocationProviderClient- This is the central component of the location framework. Once created, you use it to request location updates and get the last known location.
LocationRequest- This is a data object that contains quality-of-service parameters for requests (intervals for updates, priorities, and accuracy). This is passed to the
FusedLocationProviderClientwhen you request location updates. LocationCallback- This is used for receiving notifications when the device location has changed or can no longer be determined. This is passed a
LocationResultwhere you can get theLocationto save in your database.
Now that you have a basic idea of what you're doing, get started with the code!
4. Add location features
This codelab focuses on the most-common location option: Allow only while using the app.
To receive location updates, your app must either have a visible activity or a service running in the foreground (with a notification).
Permissions
The purpose of this codelab is to show how to receive location updates, not how to request location permissions, so the permission-based code is already written for you. Feel free to skip it if you already understand it.
The following are the permission highlights (no actions are required for this portion):
- Declare what permission you use in the
AndroidManifest.xml. - Before attempting to access location information, check whether the user has given your app permission to do so. If your app hasn't received permission yet, request access.
- Handle the user's permission choice. (You can see this code in the
MainActivity.kt.)
If you search for TODO: Step 1.0, Review Permissions in the AndroidManifest.xml or the MainActivity.kt, you see all the code written for permissions.
For more information, see Permissions overview.
Now, start writing some location code.
Review the key variables needed for location updates
In the base module, search for TODO: Step 1.1, Review variables in the
ForegroundOnlyLocationService.kt file.
No actions are needed in this step. You just need to review the following code block, along with the comments, to understand the key classes and variables you use to receive location updates.
// TODO: Step 1.1, Review variables (no changes).
// FusedLocationProviderClient - Main class for receiving location updates.
private lateinit var fusedLocationProviderClient: FusedLocationProviderClient

// LocationRequest - Requirements for the location updates, i.e., how often you
// should receive updates, the priority, etc.
private lateinit var locationRequest: LocationRequest

// LocationCallback - Called when FusedLocationProviderClient has a new Location.
private lateinit var locationCallback: LocationCallback

// Used only for local storage of the last known location. Usually, this would be saved to your
// database, but because this is a simplified sample without a full database, we only need the
// last location to create a Notification if the user navigates away from the app.
private var currentLocation: Location? = null
Review the FusedLocationProviderClient initialization
In the base module, search for TODO: Step 1.2, Review the FusedLocationProviderClient in the ForegroundOnlyLocationService.kt file. Your code should look something like this:
// TODO: Step 1.2, Review the FusedLocationProviderClient.
fusedLocationProviderClient = LocationServices.getFusedLocationProviderClient(this)
As mentioned in the previous comments, this is the main class for getting location updates. The variable is already initialized for you, but it's important to review the code to understand how it is initialized. You add some code here later to request location updates.
Initialize the LocationRequest
- In the
basemodule, search forTODO: Step 1.3, Create a LocationRequestin theForegroundOnlyLocationService.ktfile. - Add the following code after the comment.
The LocationRequest initialization code adds the extra quality of service parameters you need for your request (intervals, max wait time, and priority).
// TODO: Step 1.3, Create a LocationRequest.
locationRequest = LocationRequest.create().apply {
   // Sets the desired interval for active location updates. This interval is inexact. You
   // may not receive updates at all if no location sources are available, or you may
   // receive them less frequently than requested. You may also receive updates more
   // frequently than requested if other applications are requesting location at a more
   // frequent interval.
   //
   // IMPORTANT NOTE: Apps running on Android 8.0 and higher devices (regardless of
   // targetSdkVersion) may receive updates less frequently than this interval when the app
   // is no longer in the foreground.
   interval = TimeUnit.SECONDS.toMillis(60)

   // Sets the fastest rate for active location updates. This interval is exact, and your
   // application will never receive updates more frequently than this value.
   fastestInterval = TimeUnit.SECONDS.toMillis(30)

   // Sets the maximum time when batched location updates are delivered. Updates may be
   // delivered sooner than this interval.
   maxWaitTime = TimeUnit.MINUTES.toMillis(2)

   priority = LocationRequest.PRIORITY_HIGH_ACCURACY
}
- Read through the comments to understand how each one works.
Initialize the LocationCallback
- In the
basemodule, search forTODO: Step 1.4, Initialize the LocationCallbackin theForegroundOnlyLocationService.ktfile. - Add the following code after the comment.
// TODO: Step 1.4, Initialize the LocationCallback.
locationCallback = object : LocationCallback() {
    override fun onLocationResult(locationResult: LocationResult) {
        super.onLocationResult(locationResult)

        // Normally, you want to save a new location to a database. We are simplifying
        // things a bit and just saving it as a local variable, as we only need it again
        // if a Notification is created (when the user navigates away from app).
        currentLocation = locationResult.lastLocation

        // Notify our Activity that a new location was added. Again, if this was a
        // production app, the Activity would be listening for changes to a database
        // with new locations, but we are simplifying things a bit to focus on just
        // learning the location side of things.
        val intent = Intent(ACTION_FOREGROUND_ONLY_LOCATION_BROADCAST)
        intent.putExtra(EXTRA_LOCATION, currentLocation)
        LocalBroadcastManager.getInstance(applicationContext).sendBroadcast(intent)

        // Updates notification content if this service is running as a foreground
        // service.
        if (serviceRunningInForeground) {
            notificationManager.notify(
                NOTIFICATION_ID,
                generateNotification(currentLocation))
        }
    }
}
The LocationCallback you create here is the callback that the FusedLocationProviderClient will call when a new location update is available.
In your callback, you first get the latest location using a LocationResult object. After that, you notify your Activity of the new location using a local broadcast (if it is active) or you update the Notification if this service is running as a foreground Service.
- Read through the comments to understand what each part does.
Subscribe to location changes
Now that you initialized everything, you need to let the FusedLocationProviderClient know that you want to receive updates.
- In the
basemodule, search forStep 1.5, Subscribe to location changesin theForegroundOnlyLocationService.ktfile. - Add the following code after the comment.
// TODO: Step 1.5, Subscribe to location changes.
fusedLocationProviderClient.requestLocationUpdates(locationRequest, locationCallback, Looper.getMainLooper())
The requestLocationUpdates() call lets the FusedLocationProviderClient know that you want to receive location updates.
You probably recognize the LocationRequest and LocationCallback that you defined earlier. Those let the FusedLocationProviderClient know the quality-of-service parameters for your request and what it should call when it has an update. Finally, the Looper object specifies the thread for the callback.
You may also notice that this code is within a try/catch statement. This method requires such a block because a SecurityException occurs when your app doesn't have permission to access location information.
Unsubscribe from location changes
When the app no longer needs access to location information, it's important to unsubscribe from location updates.
- In the
basemodule, search forTODO: Step 1.6, Unsubscribe to location changesin theForegroundOnlyLocationService.ktfile. - Add the following code after the comment.
// TODO: Step 1.6, Unsubscribe to location changes.
val removeTask = fusedLocationProviderClient.removeLocationUpdates(locationCallback)
removeTask.addOnCompleteListener { task ->
   if (task.isSuccessful) {
       Log.d(TAG, "Location Callback removed.")
       stopSelf()
   } else {
       Log.d(TAG, "Failed to remove Location Callback.")
   }
}
The removeLocationUpdates() method sets up a task to let the FusedLocationProviderClient know that you no longer want to receive location updates for your LocationCallback. The addOnCompleteListener() gives the callback for completion and executes the Task.
As with the previous step, you may have noticed that this code is within a try/catch statement. This method requires such a block because a SecurityException occurs when your app doesn't have permission to access location information
You may wonder when the methods that contain the subscribe/unsubscribe code are called. They are triggered in the main class when the user taps the button. If you wish to see it, have a look at the MainActivity.kt class.
Run app
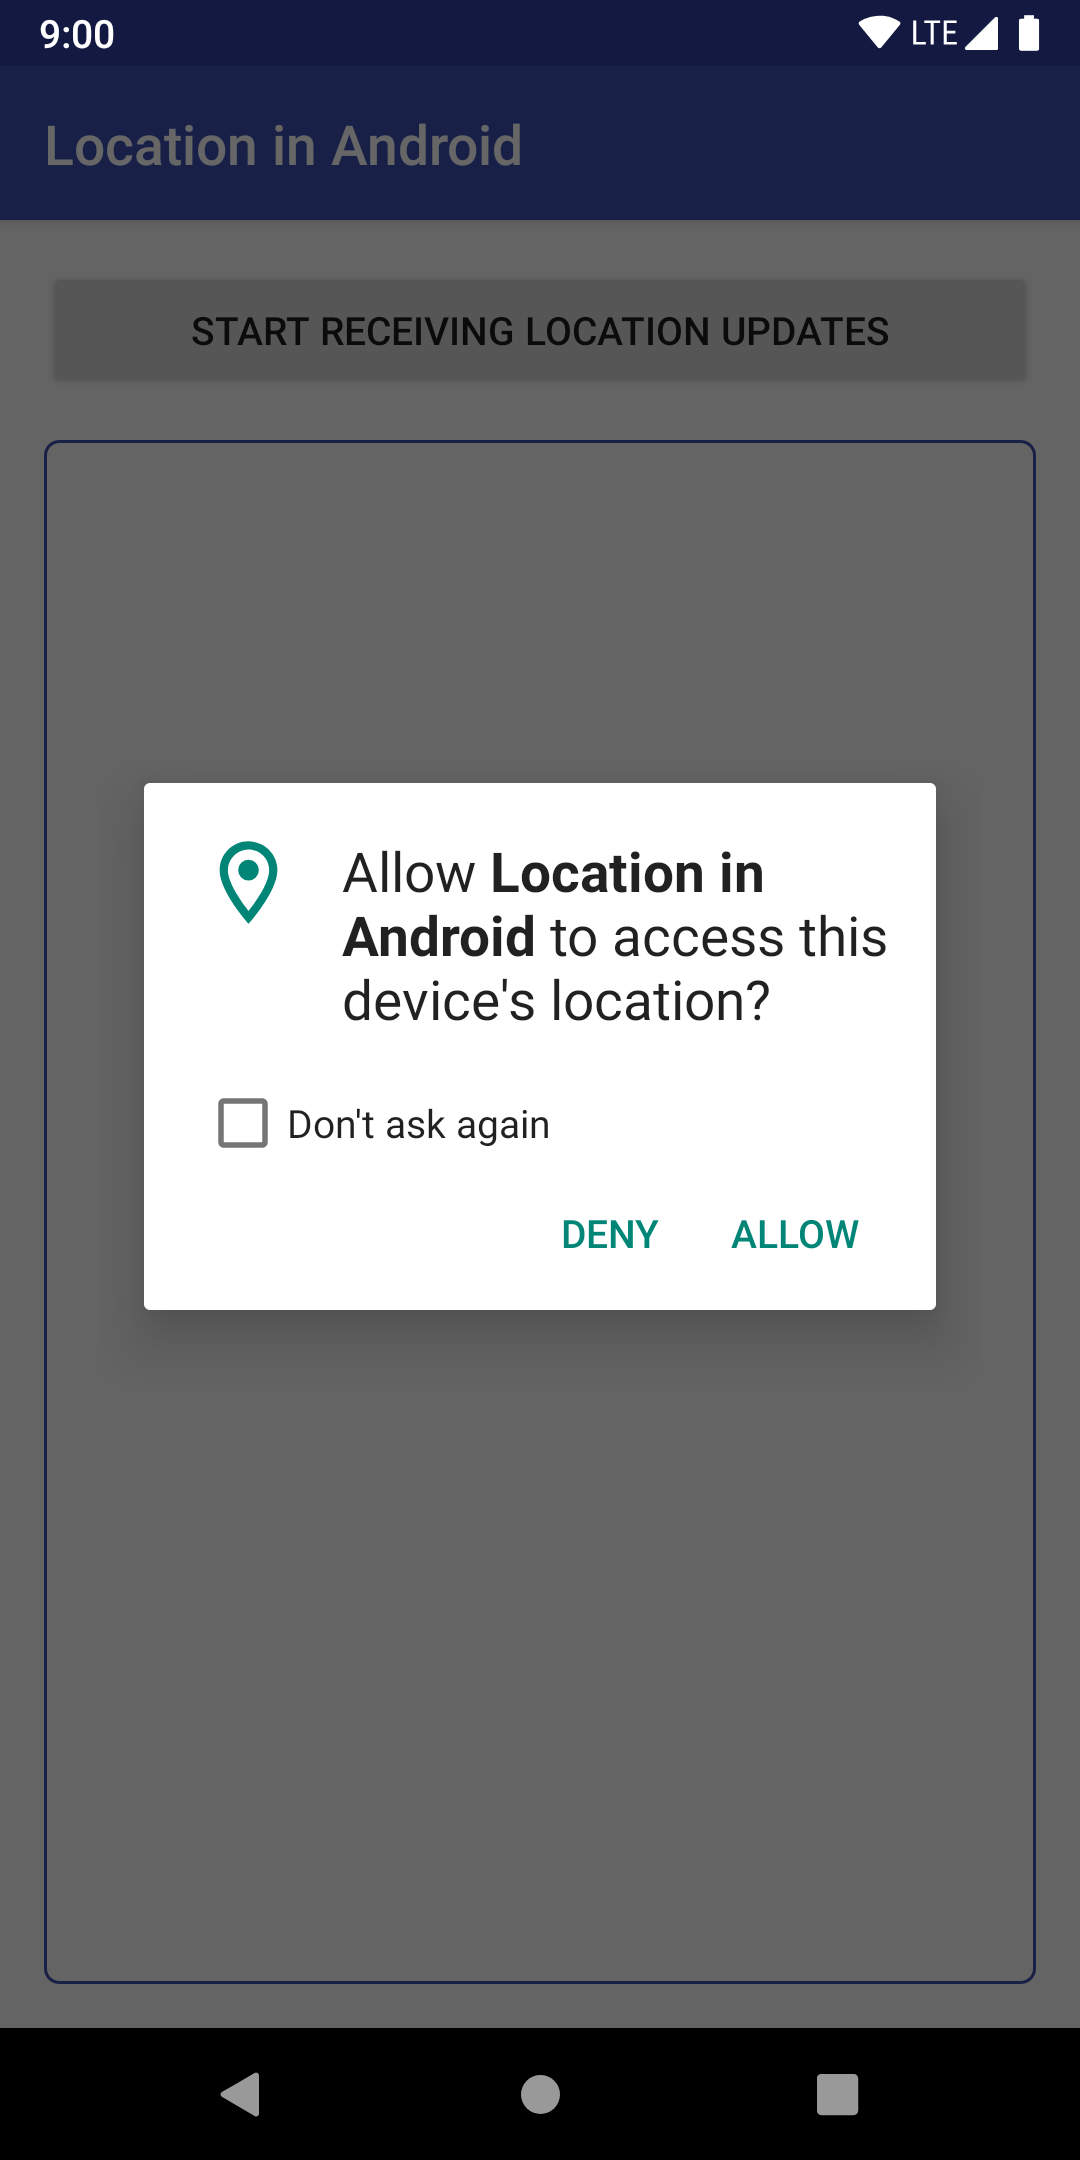
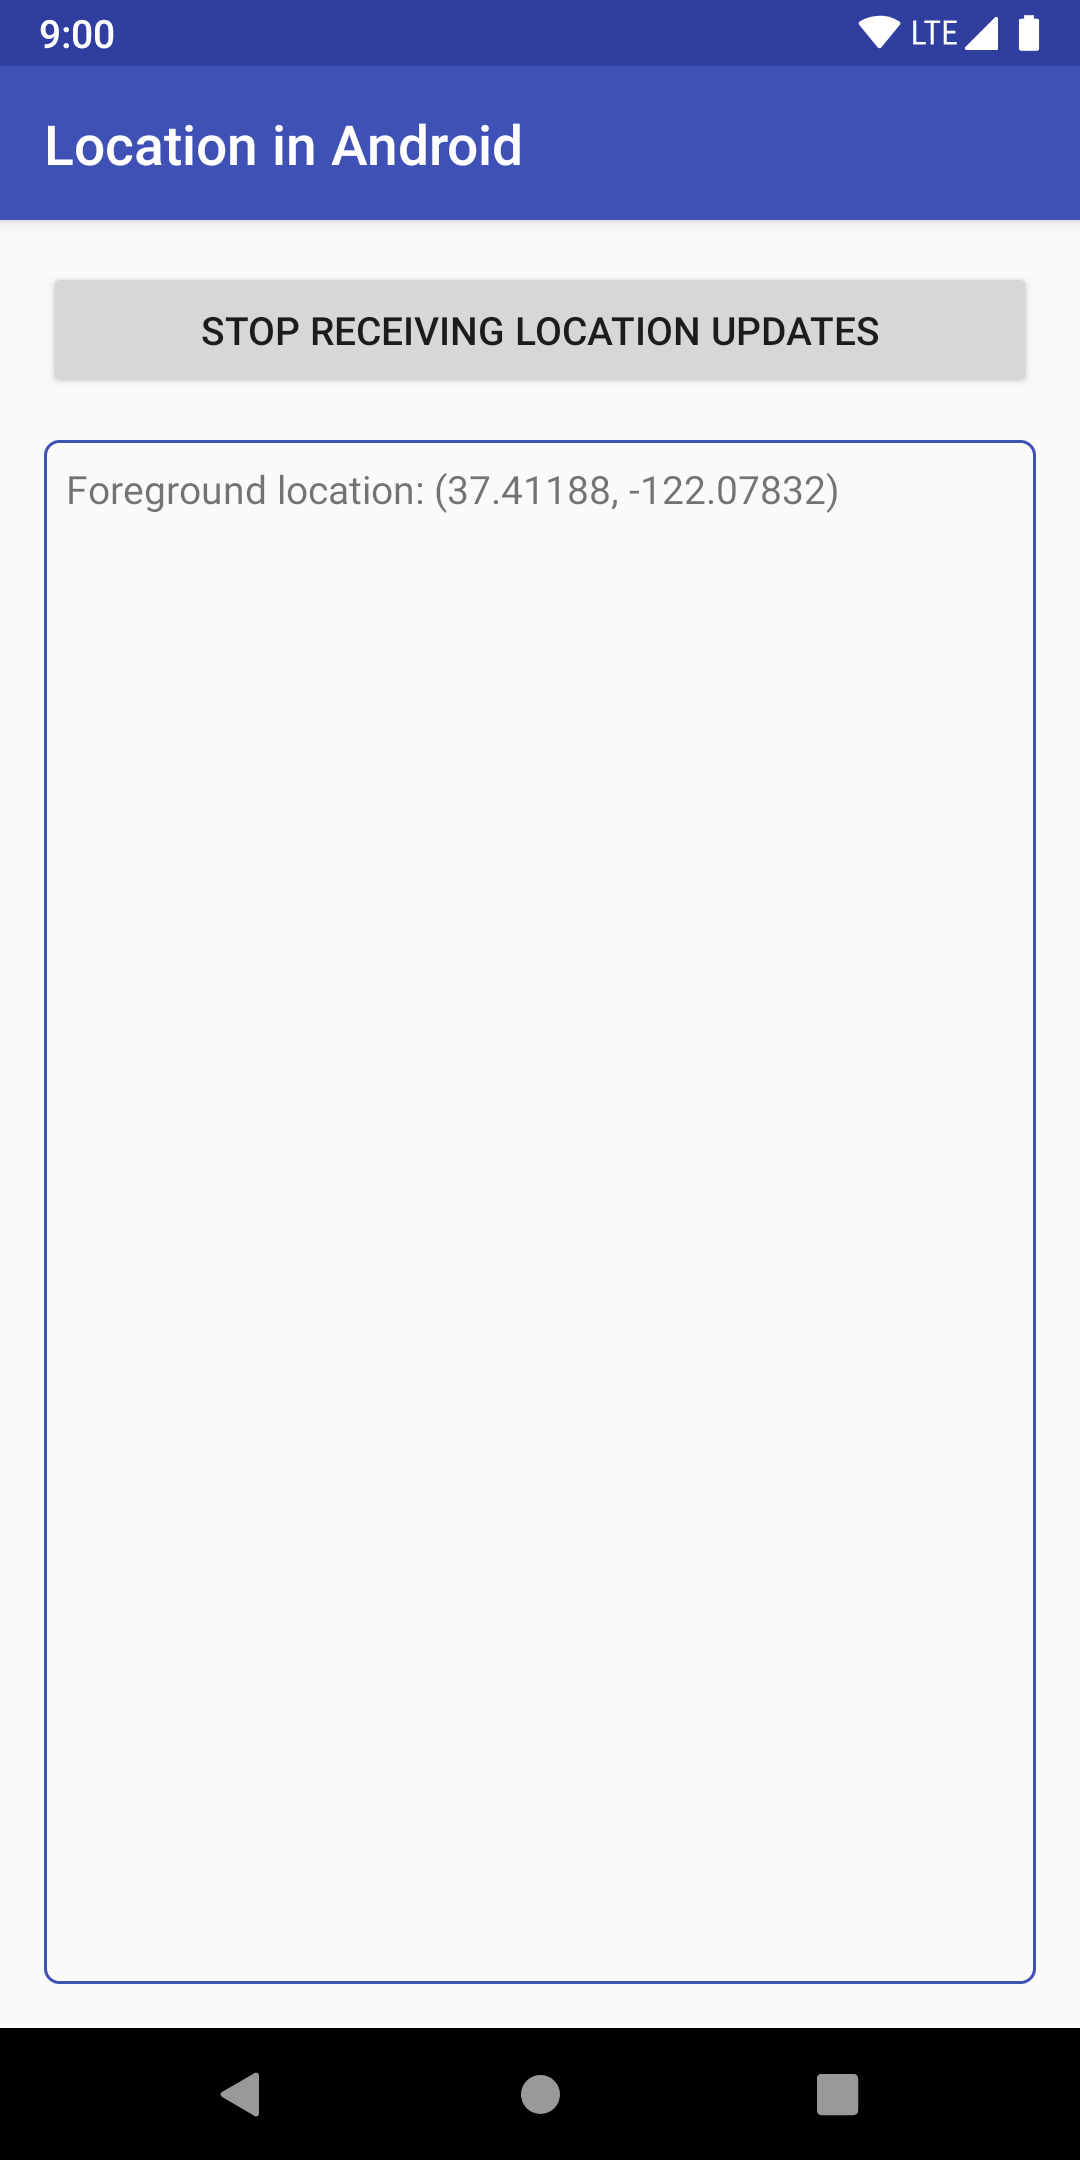
Run your app from Android Studio and try the location button.
You should see location information in the output screen. This is a fully functional app for Android 9.
5. Support Android 10
In this section, you add support for Android 10.
Your app already subscribes to location changes, so there isn't a lot of work to do.
In fact, all you have to do is specify that your foreground service is used for location purposes.
Target SDK 29
- In the
basemodule, search forTODO: Step 2.1, Target Android 10 and then Android 11.in thebuild.gradlefile. - Make these changes:
- Set
targetSdkVersionto29.
Your code should look something like this:
android {
   // TODO: Step 2.1, Target Android 10 and then Android 11.
   compileSdkVersion 29
   defaultConfig {
       applicationId "com.example.android.whileinuselocation"
       minSdkVersion 26
       targetSdkVersion 29
       versionCode 1
       versionName "1.0"
   }
...
}
After you do this, you will be asked to sync your project. Click Sync Now.

After that, your app is almost ready for Android 10.
Add Foreground Service Type
In Android 10, you are required to include the type of your foreground service if you need while-in-use location access. In your case, it is being used to get location information.
In the base module, search for TODO: 2.2, Add foreground service type in the AndroidManifest.xml and add the following code to the <service> element:
android:foregroundServiceType="location"
Your code should look something like this:
<application>
   ...

   <!-- Foreground services in Android 10+ require type. -->
   <!-- TODO: 2.2, Add foreground service type. -->
   <service
       android:name="com.example.android.whileinuselocation.ForegroundOnlyLocationService"
       android:enabled="true"
       android:exported="false"
       android:foregroundServiceType="location" />
</application>
That's it! Your app supports Android 10 location for "while-in-use" by following the best practices for location in Android.
Run app
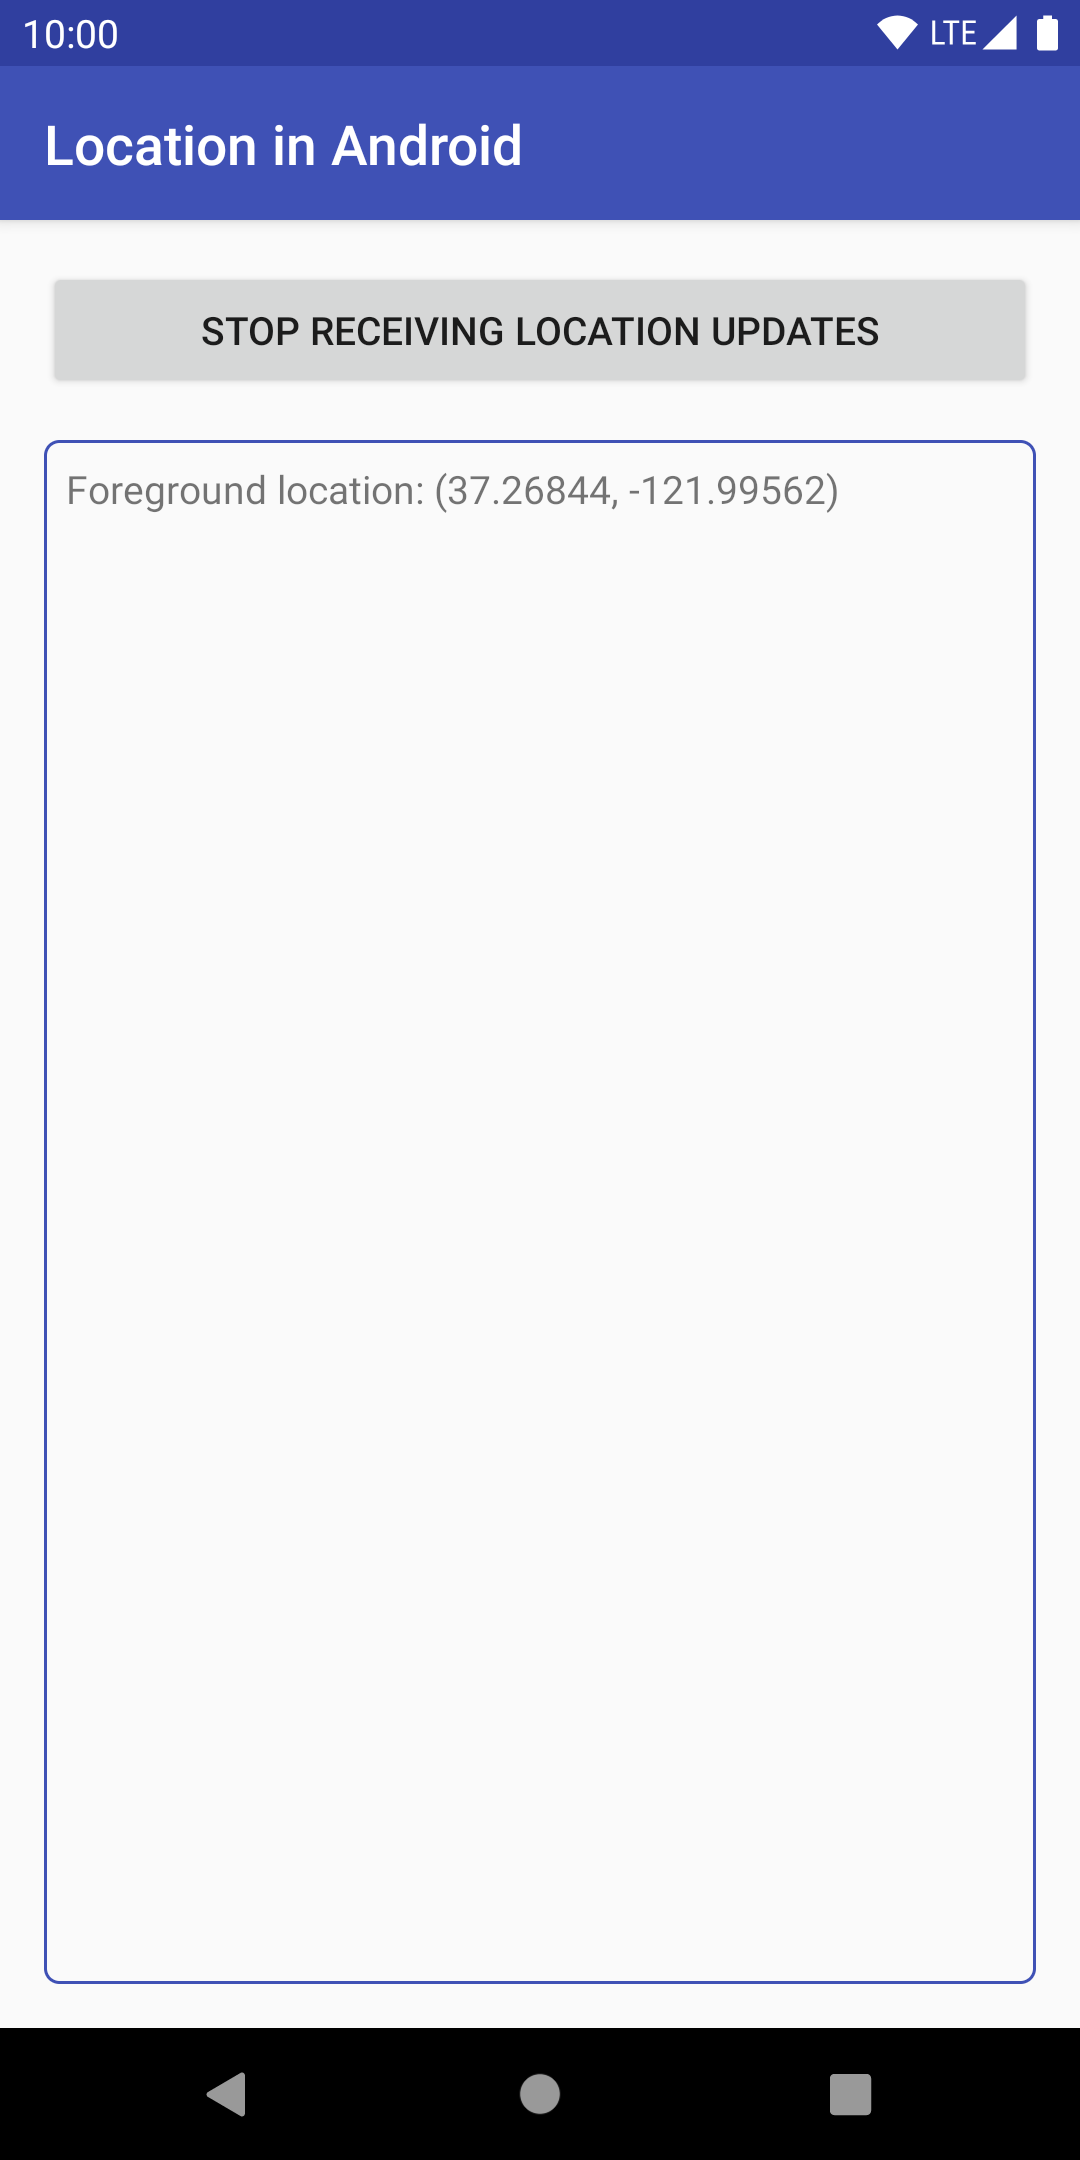
Run your app from Android Studio and try the location button.
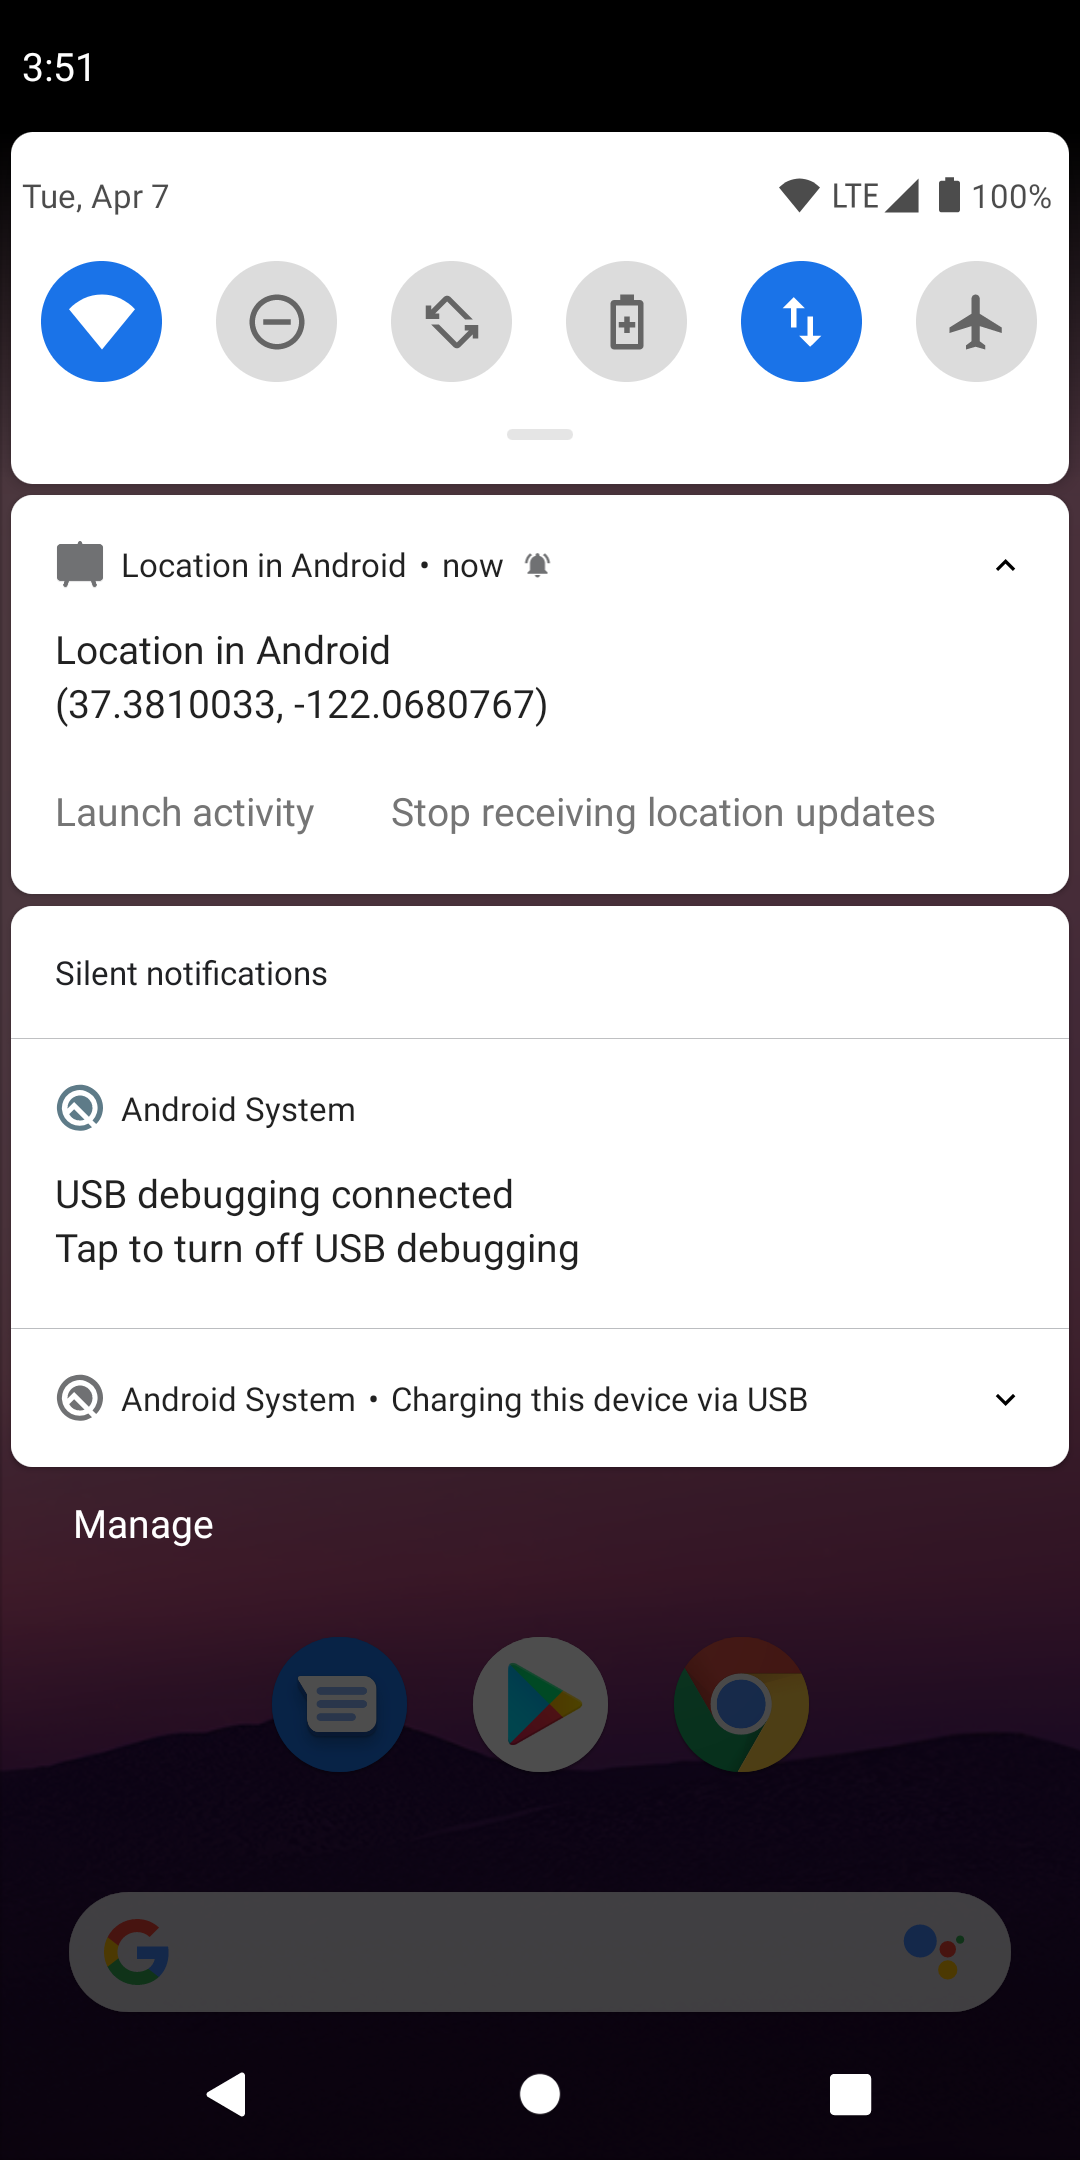
Everything should work as it did before, but now it works on Android 10. If you didn't accept the permissions for locations before, you should now see the permission screen!

6. Support Android 11
In this section, you target Android 11.
Great news, you don't need to make changes to any files except for the build.gradle file!
Target SDK 11
- In the
basemodule, search forTODO: Step 2.1, Target SDKin the thebuild.gradlefile. - Make these changes:
compileSdkVersionto30targetSdkVersionto30
Your code should look something like this:
android {
   TODO: Step 2.1, Target Android 10 and then Android 11.
   compileSdkVersion 30
   defaultConfig {
       applicationId "com.example.android.whileinuselocation"
       minSdkVersion 26
       targetSdkVersion 30
       versionCode 1
       versionName "1.0"
   }
...
}
After you do this, you will be asked to sync your project. Click Sync Now.

After that, your app is ready for Android 11!
Run app
Run your app from Android Studio and try clicking the button.
Everything should work as it did before, but now it works on Android 11. If you didn't accept the permissions for locations before, you should now see the permission screen!

7. Location strategies for Android
By checking and requesting location permissions in the ways shown in this codelab, your app can successfully keep track of its access level regarding the device location.
This page lists a few key best practices related to location permissions. For more information about how to keep your users' data safe, see App permissions best practices.
Ask only for the permissions you need
Ask for permissions only when needed. For example:
- Don't request a location permission at app startup unless absolutely necessary.
- If your app targets Android 10 or later and you have a foreground service, declare a
foregroundServiceTypeof"location"in the manifest. - Don't request background location permissions unless you have a valid use case as described in the Safer and More Transparent Access to User Location.
Support graceful degradation if permission isn't granted
To maintain a good user experience, design your app so that it can gracefully handle the following situations:
- Your app doesn't have any access to location information.
- Your app doesn't have access to location information when running in the background.
8. Congratulations
You learned how to receive location updates in Android, keeping best practices in mind!
Learn more
- Full sample for using background location if you have a valid use case
- Request location updates
