
1. Introduction

TensorFlow is a multipurpose machine learning framework. TensorFlow can be used anywhere from training huge models across clusters in the cloud, to running models locally on an embedded system like your phone.
This codelab uses TensorFlow Lite to run an image recognition model on an iOS device.
What you'll Learn
- How to optimize your model using the TFLite converter.
- How to run it in a pre-made iOS app using the TFLite interpreter.
What you will build
A simple camera app that runs a TensorFlow image recognition program to identify flowers.
Prerequisites
If you're doing this codelab on your own hardware, please make sure you have the following installed:
- Xcode 10 or higher
- CocoaPods 1.8.0 or higher
License: Free to use
2. Train a flower recognizer using Colab
This codelab will be using Colaboratory and Xcode.
Open the Colab which uses TensorFlow Lite Model Maker to train a classifier to recognize flowers using transfer learning and export a TFLite model to be used in the mobile app.
3. Setup the working directory
Clone the Git repository
The following command will clone the Git repository containing the files required for this codelab:
git clone https://github.com/tensorflow/examples.git
Now cd into the Xcode project root of the clone you just created. That's where you will be working for the rest of this codelab:
cd examples/lite/examples/image_classification/ios
4. Setup the iOS app
Install Dependencies
Using CocoaPods, install the iOS app's dependencies (including TensorFlow Lite). Once the install command finishes, open ImageClassification.xcworkspace to open the project in Xcode.
pod install --repo-update
open ImageClassification.xcworkspace
5. Test run the app
In order to use the camera the app must be run on a real device, since the iOS Simulator does not have access to your Mac's camera. To build to an iOS device, you must be enrolled in the Apple Developer Program or have access to a device that someone else has provisioned for you.
If you'd like to run this codelab in the simulator, you will need to copy images to pasteboard from Safari in the simulator itself. Here are the steps for processing an image in the simulator:
- Build the app to a simulator target of your choice.
- In the iOS simulator, press Cmd+Shift+H to minimize the app.
- Tap on Safari on the bottom of the home screen and search for an image.
- In the Google Image search results, tap on a result and long-press the image. In the dialogue that pops up, select "Copy".
- Return to the TFL Classify app. The copied image should show automatically along with the inference results. If it doesn't, make sure you copied the image data itself and not the URL to the image.
Test Build and install the app
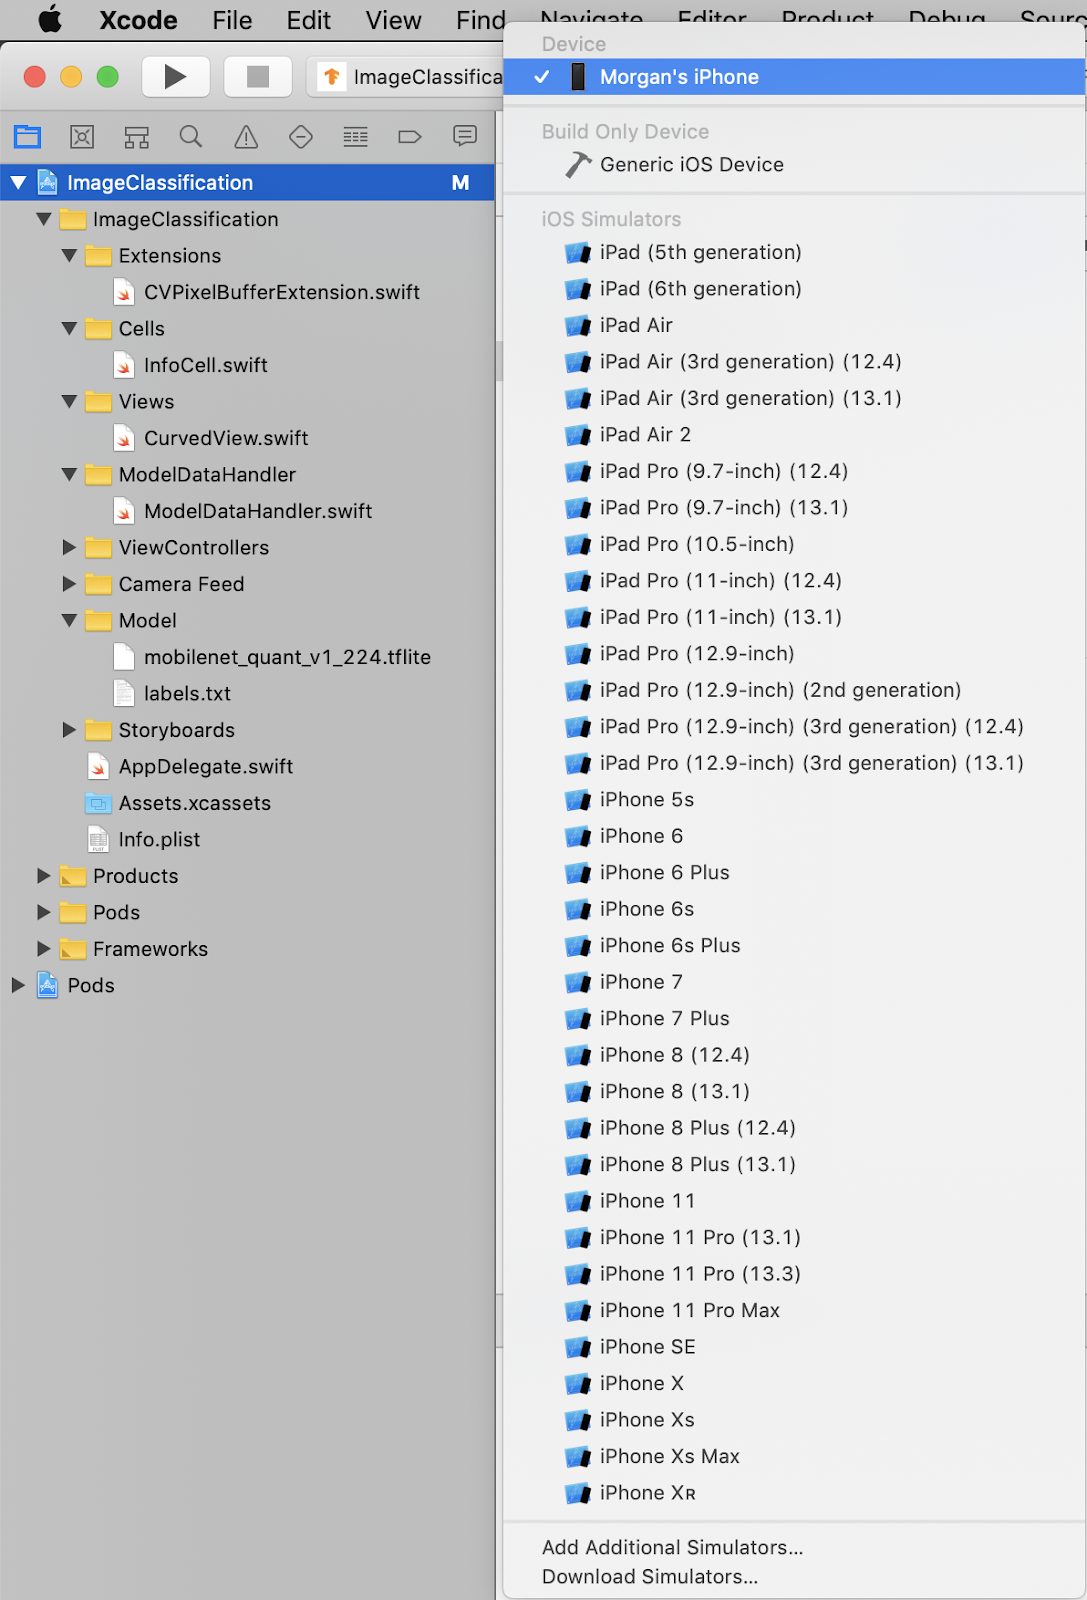
Before making any changes to the app let's run the version that ships with the repository. Select your iOS device from the top-left dropdown menu:
Then press Cmd+R or hit the Play  button in Xcode to build the app to your device. The app should launch automatically once it's installed to your device.
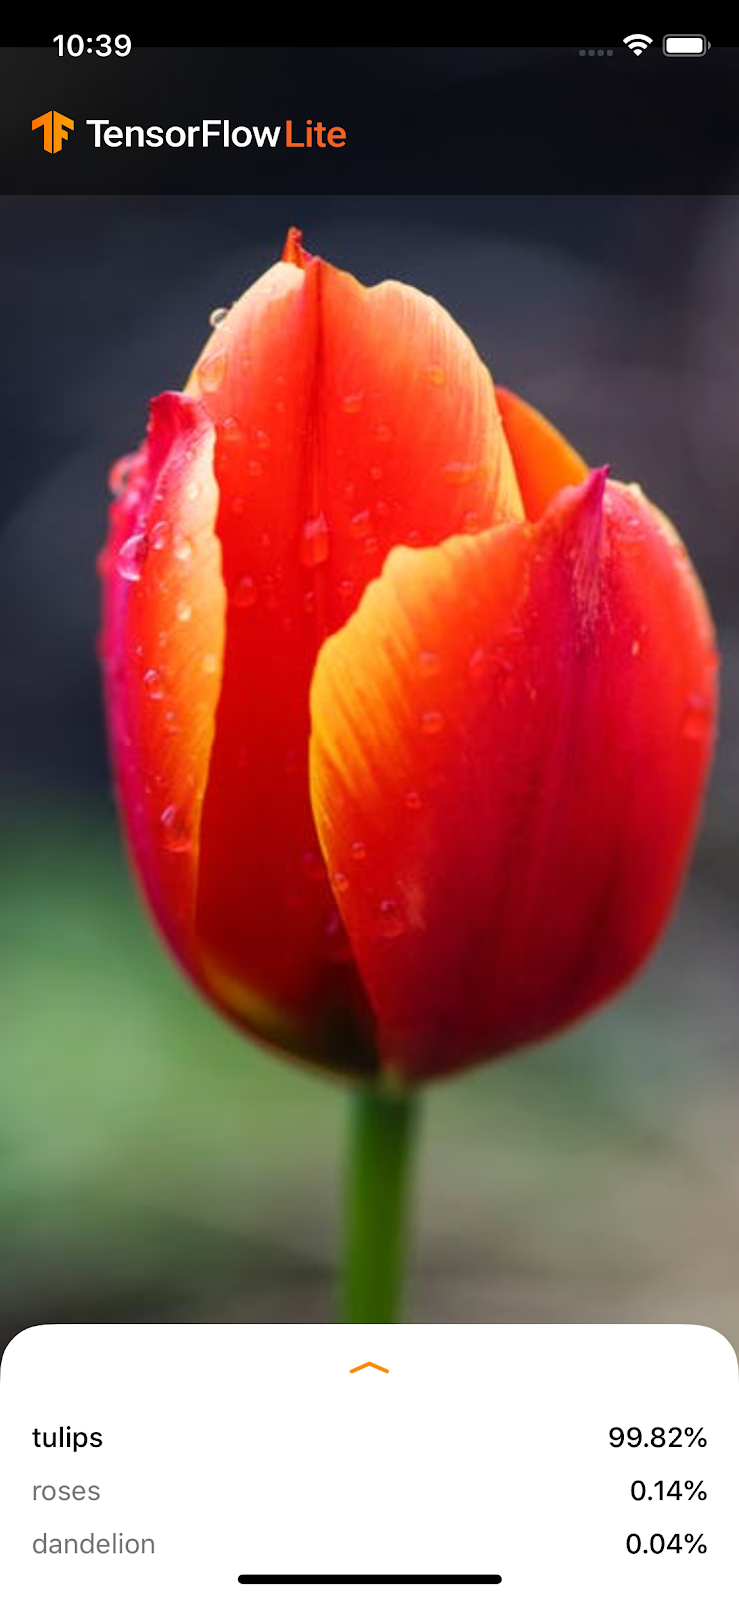
This version of the app uses the standard MobileNet, pre-trained on the 1000 ImageNet categories. It should look something like this:
6. Run the customized app
The default app setup classifies images into one of the 1000 ImageNet classes, using the standard MobileNet.
Now let's modify the app so that the app will use our retrained model for our custom image categories trained in the Colab.
7. Convert the app to run your model
Add your model files to the project
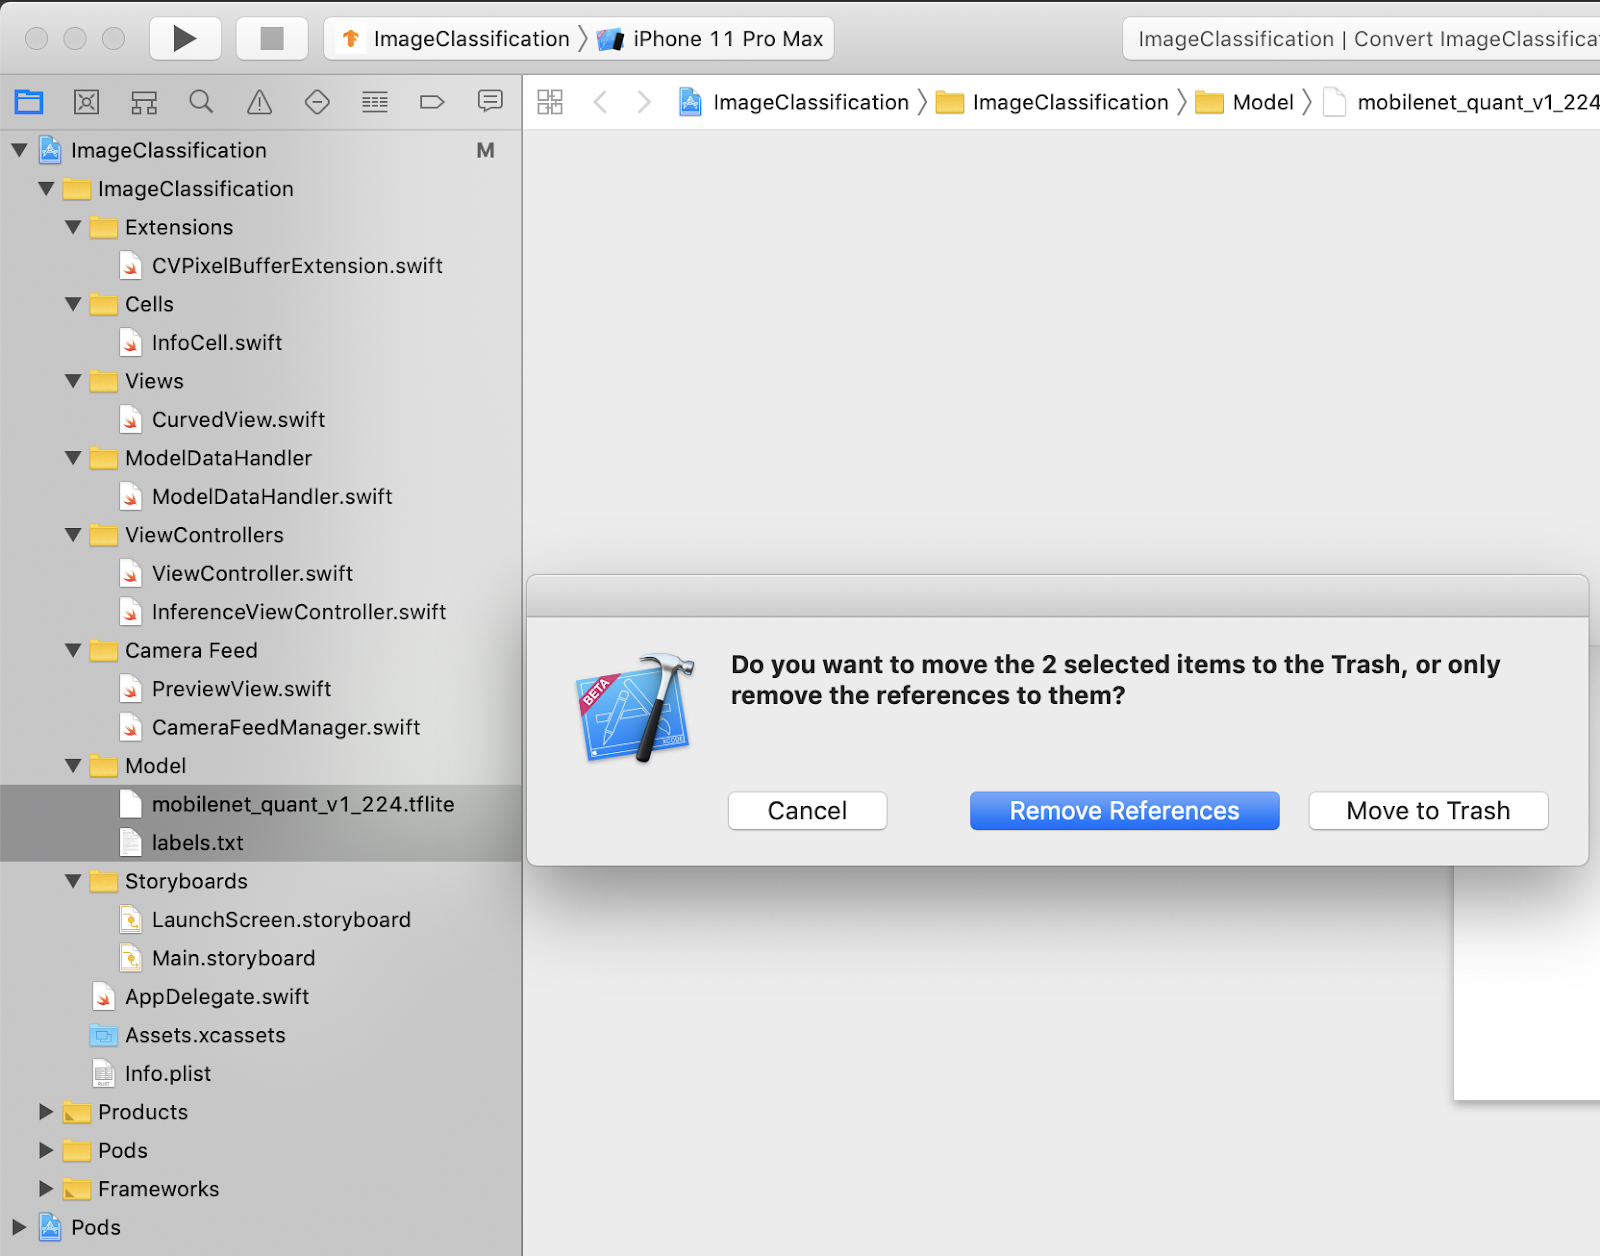
The project's model resources are located in ImageClassification > Model in the Xcode project navigator. To replace them, first delete the two existing files in the Model group. When prompted, select "Move to Trash":
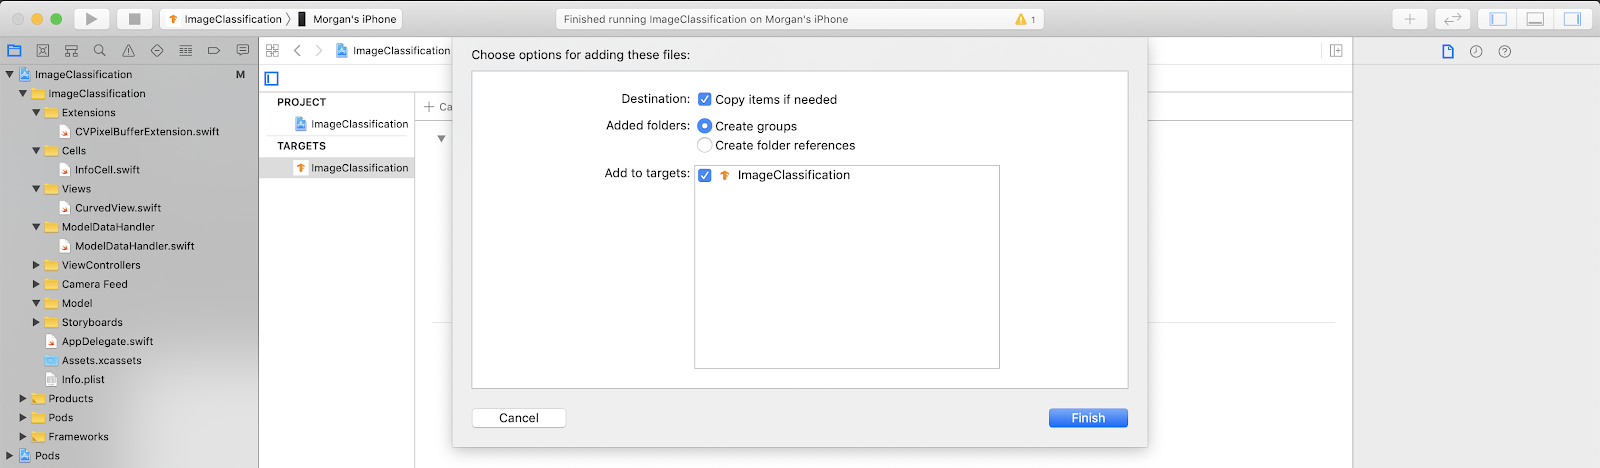
Then, drag the model.tflite and labels.txt files you downloaded from Colab into the Model group. When prompted, make sure Copy items if needed and Add to targets are both selected.
Modify the app's code
In order to make our app work, we need to update the path of the model loading logic to point to the new model we added.
Open ModelDataHandler.swift (Xcode navigator path: ImageClassification -> ModelDataHandler -> ModelDataHandler.swift) and Change line 36 to
// before
static let modelInfo: FileInfo = (name: "mobilenet_quant_v1_224", extension: "tflite")

// after
static let modelInfo: FileInfo = (name: "model", extension: "tflite")
Make sure to save all the changes.
8. Run the customized app
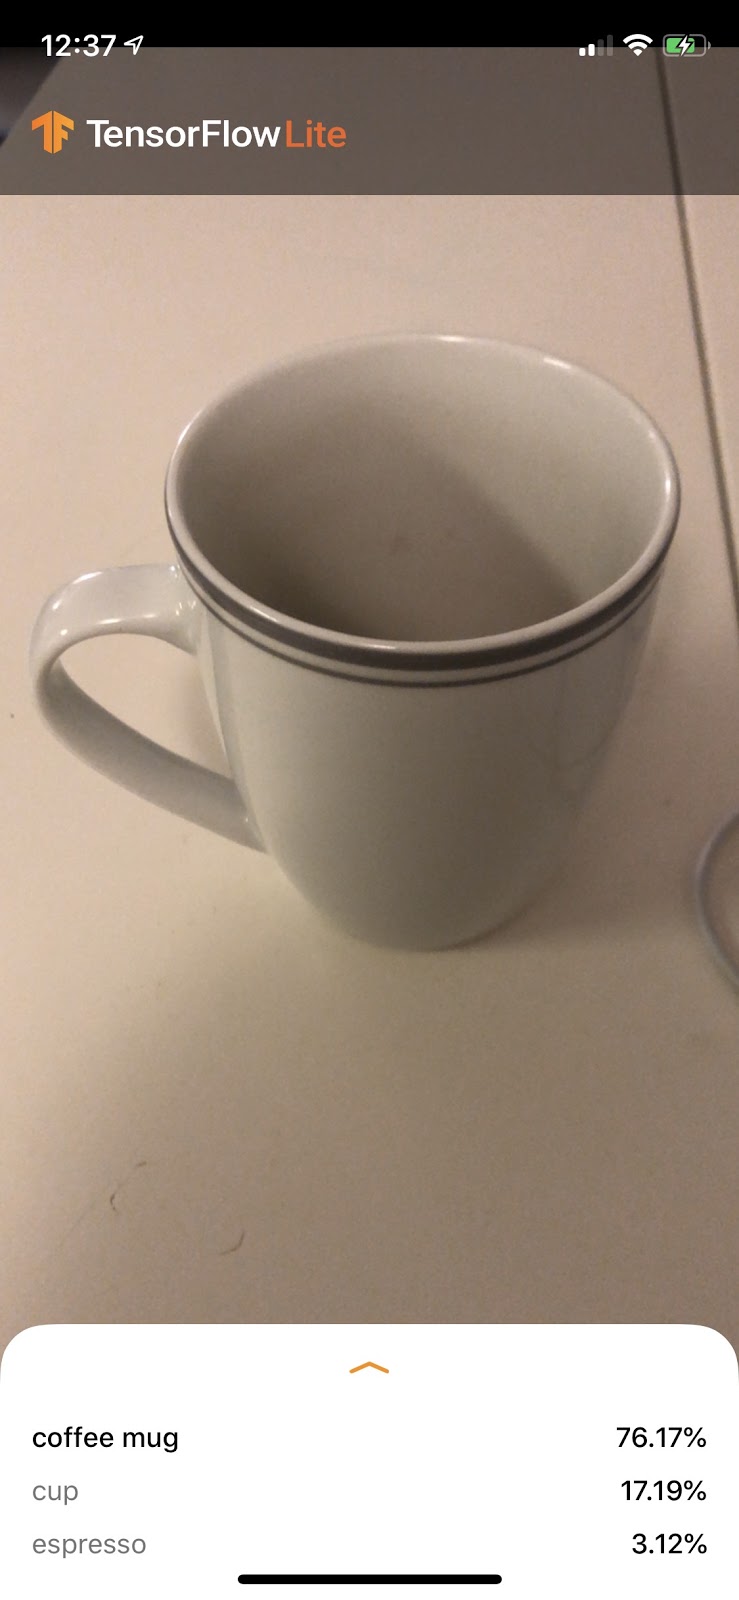
Press Cmd+B or hit the Play button in Xcode to build the app to your device. Once the app launches, it should look something like this:
You can hold the power and volume-up buttons together to take a screenshot.
Now try a web search for flowers, point the camera at the computer screen, and see if those pictures are correctly classified.
Or have a friend take a picture of you and find out what kind of TensorFlower you are 

 !
!
9. How does it work?
So now that you have the app running, let's look at the TensorFlow Lite specific code.
TensorFlowLiteSwift
This app uses the TensorFlowLite Swift library via CocoaPods. The Swift library is a thin wrapper over the TFLite C API, which is itself a wrapper of the TFLite C++ library.
The following lines in the module's Podfile file pulls the newest version of the pod global CocoaPods specs repository into the project.
target 'ImageClassification' do
  use_frameworks!

  # Pods for ImageClassification
   pod 'TensorFlowLiteSwift'
end
Using the TensorFlow Lite Swift API
The code interacting with TensorFlow Lite is all contained in ModelDataHandler.swift.
Setup
The first block of interest is the initializer for the ModelDataHandler:
/// A failable initializer for `ModelDataHandler`. A new instance is created if the model and
/// labels files are successfully loaded from the app's main bundle. Default `threadCount` is 1.
init?(modelFileInfo: FileInfo, labelsFileInfo: FileInfo, threadCount: Int = 1) {
  let modelFilename = modelFileInfo.name

  // Construct the path to the model file.
  guard let modelPath = Bundle.main.path(
    forResource: modelFilename,
    ofType: modelFileInfo.extension
  ) else {
    print("Failed to load the model file with name: \(modelFilename).")
    return nil
  }

  // Specify the options for the `Interpreter`.
  self.threadCount = threadCount
  var options = InterpreterOptions()
  options.threadCount = threadCount
  do {
    // Create the `Interpreter`.
    interpreter = try Interpreter(modelPath: modelPath, options: options)
    // Allocate memory for the model's input `Tensor`s.
    try interpreter.allocateTensors()
  } catch let error {
    print("Failed to create the interpreter with error: \(error.localizedDescription)")
    return nil
  }
  // Load the classes listed in the labels file.
  loadLabels(fileInfo: labelsFileInfo)
}
There are a few lines that should be discussed in more detail.
The following line creates the TFLite interpreter:
interpreter = try Interpreter(modelPath: modelPath, options: options)
The interpreter is responsible for passing raw data inputs through the TensorFlow graph. We pass the interpreter the path to our model on disk, and the interpreter then loads it as a FlatBufferModel.
The last line loads the label list:
loadLabels(fileInfo: labelsFileInfo)
All this does is load strings from a text file into memory.
Run the model
The second block of interest is the runModel method. It takes a CVPixelBuffer as input, runs the interpreter and returns the text to print in the app.
try interpreter.copy(rgbData, toInputAt: 0)
// ...
try interpreter.invoke()
// ...
outputTensor = try interpreter.output(at: 0)
10. What's Next?
Here are some links for more information:
- Learn more about TFLite from the docs on tensorflow.org and the source repository.
- Try some other TFLite pretrained models including a speech hotword detector and an on-device version of smart-reply.
- Learn more about TensorFlow in general with our getting started docs.