
在 Android 裝置上使用 TensorFlow Lite 辨識花朵
程式碼研究室簡介
subject上次更新時間:4月 7, 2025
1. 簡介


注意:本程式碼研究室需要實體裝置才能進行測試
TensorFlow 是多用途機器學習架構。TensorFlow 可用於各種情境,從在雲端叢集中訓練大型模型,到在手機等嵌入式系統上本機執行模型。
這個程式碼研究室使用 TensorFlow Lite 在 Android 裝置上執行圖片辨識模型。
安裝 Android Studio 4.1 以上版本
如果您尚未安裝 Android Studio,請在訓練 TensorFlow Lite 模型時下載並安裝 Android Studio 4.1 以上版本。
課程內容
- 如何使用 TensorFlow Lite Model Maker 訓練自訂圖片分類器。
- 如何使用 Android Studio 匯入 TensorFlow Lite 模型,以便透過 CameraX 在 Android 應用程式中整合自訂模型。
- 如何在手機上使用 GPU 加速模型。
建構目標
簡單的相機應用程式,可執行 TensorFlow 圖像辨識程式來辨識花朵。
授權:可自由使用
2. 使用 Colab 訓練花朵辨識器
開始訓練模型前,請先下載並安裝 Android Studio 4.1 以上版本。
開啟 Colab,瞭解如何使用 Keras 訓練分類器,以便透過 TensorFlow Lite 轉移學習功能辨識花卉。
3. 設定工作目錄
複製 Git 存放區
下列指令會複製 Git 存放區,其中包含本程式碼研究室所需的檔案:
git clone https://github.com/hoitab/TFLClassify.git
接著,前往您剛剛複製存放區的目錄。您將在本程式碼研究室的其餘部分中完成以下工作:
cd TFLClassify
4. 設定 Android 骨架應用程式
安裝 Android Studio 4.1 以上版本
如果您尚未安裝,請安裝 Android Studio 4.1 以上版本。
使用 Android Studio 開啟專案
如要使用 Android Studio 開啟專案,請按照下列步驟操作:
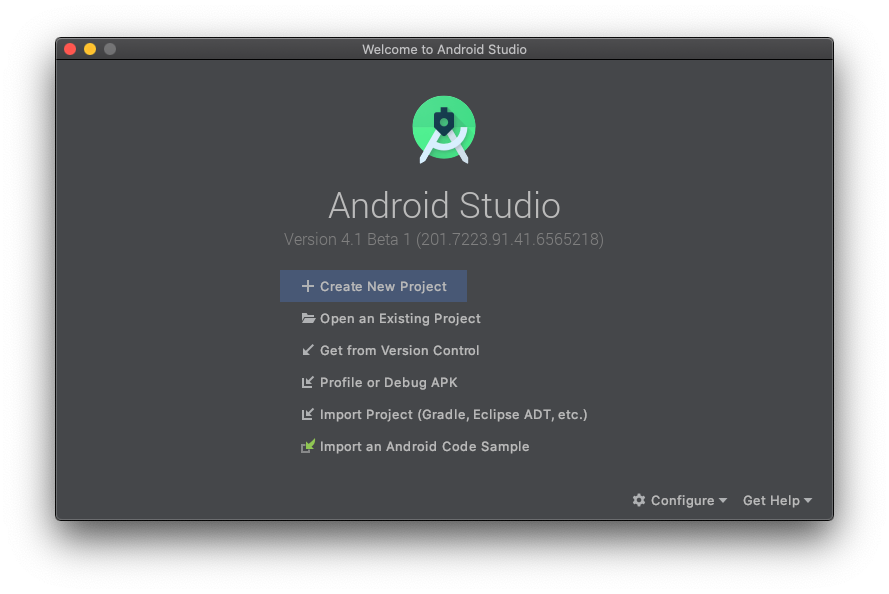
- 開啟 Android Studio
 。載入後,請在彈出式視窗中選取「Open an Existing project」(開啟現有專案):
- 在檔案選取器中,從工作目錄中選擇
TFLClassify/build.gradle。
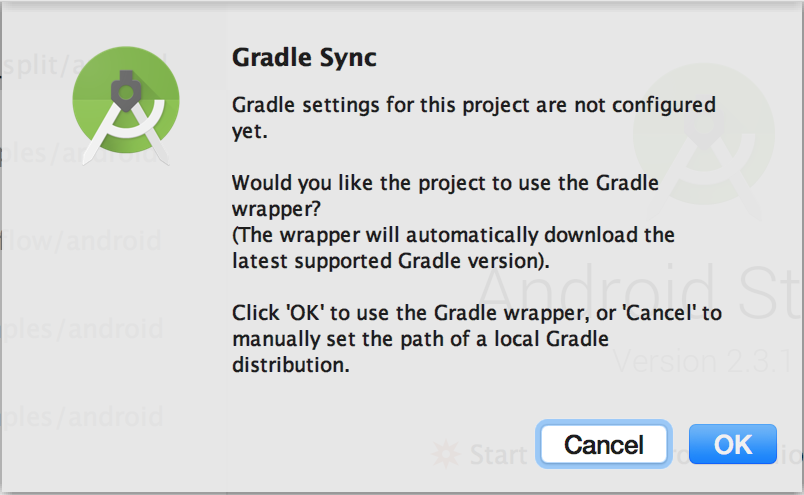
- 首次開啟專案時,您會看到「Gradle Sync」彈出式視窗,詢問是否要使用 Gradle 包裝函式。按一下 [確定]。
- 如果尚未在手機上啟用開發人員模式和 USB 偵錯功能,請啟用這兩項功能。這項設定只需執行一次。請按照這些說明操作。
- 專案和手機都準備就緒後,您可以選取
TFL_Classify.start,然後按下工具列上的執行按鈕 ,在實際裝置上執行應用程式:

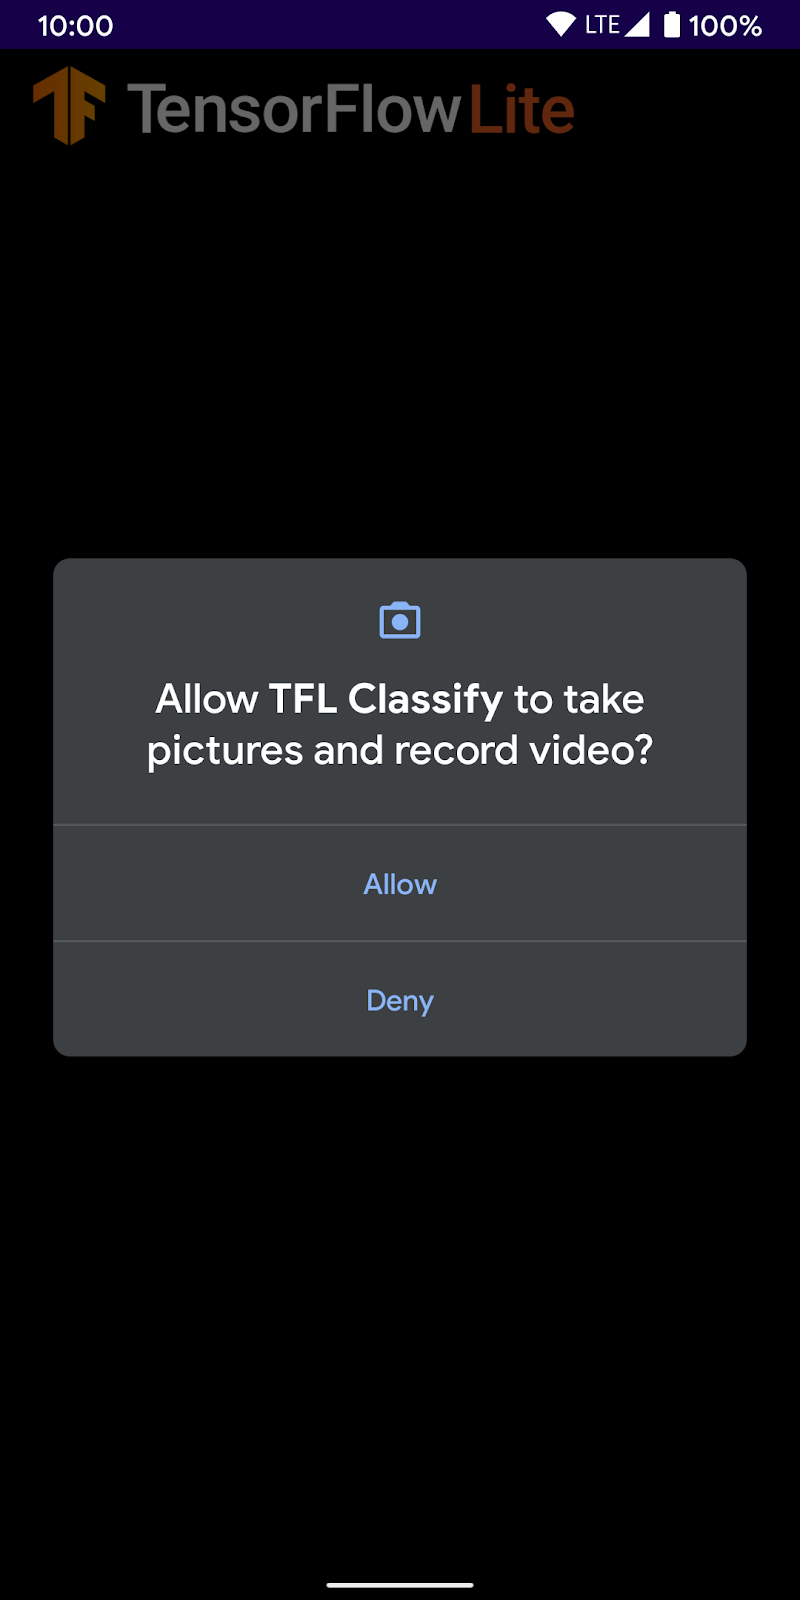
- 接著,允許 Tensorflow 示範應用程式存取攝影機:
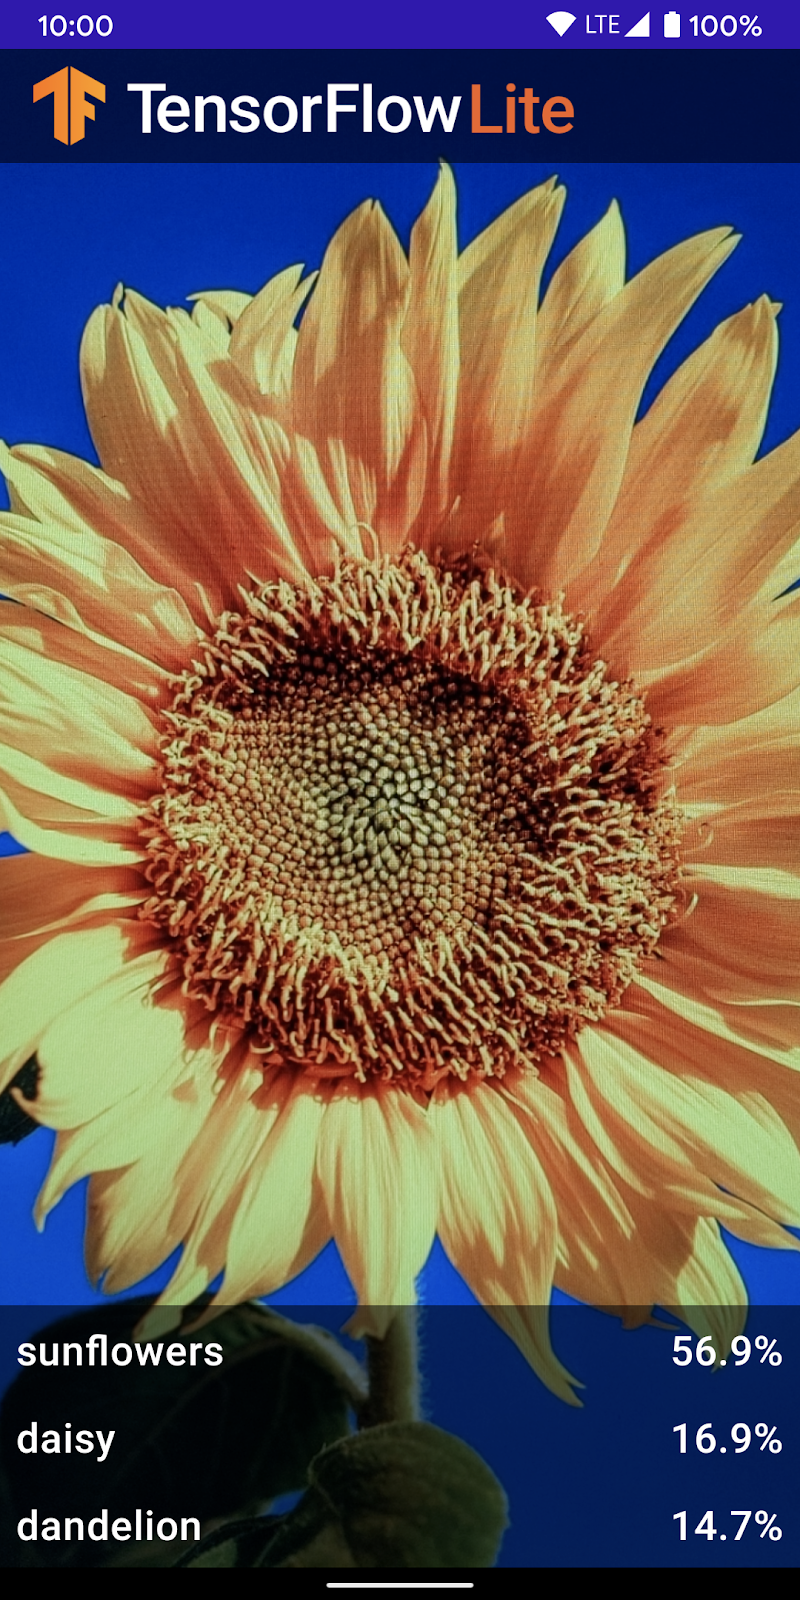
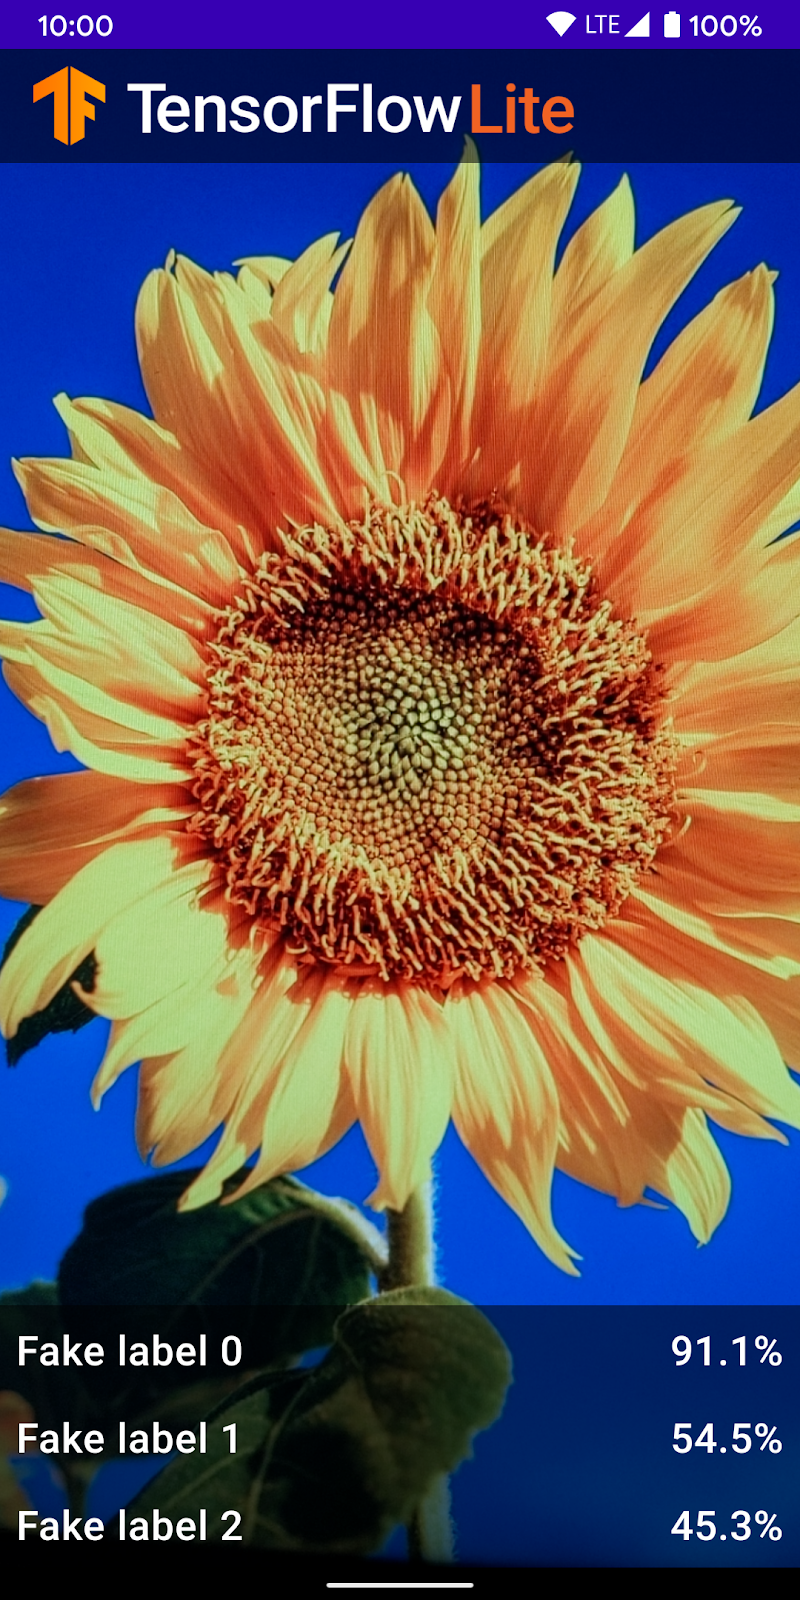
- 手機上會顯示下列畫面,其中的實際結果會以隨機數字取代。
5. 將 TensorFlow Lite 新增至 Android 應用程式
- 在左側的專案探索工具中選取
start模組:
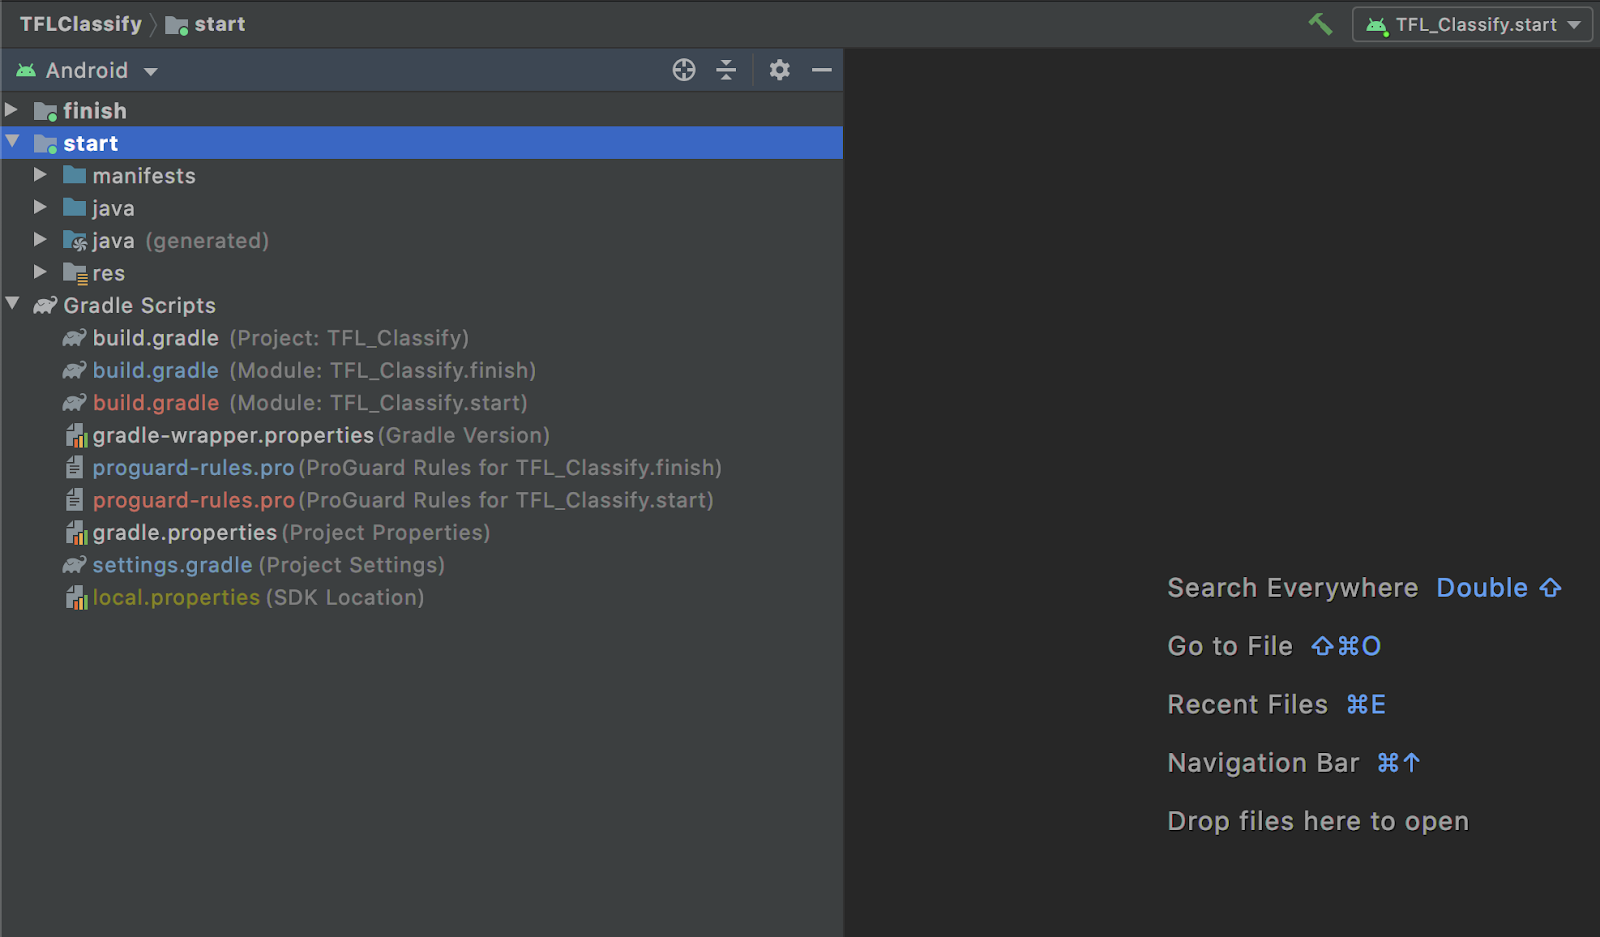
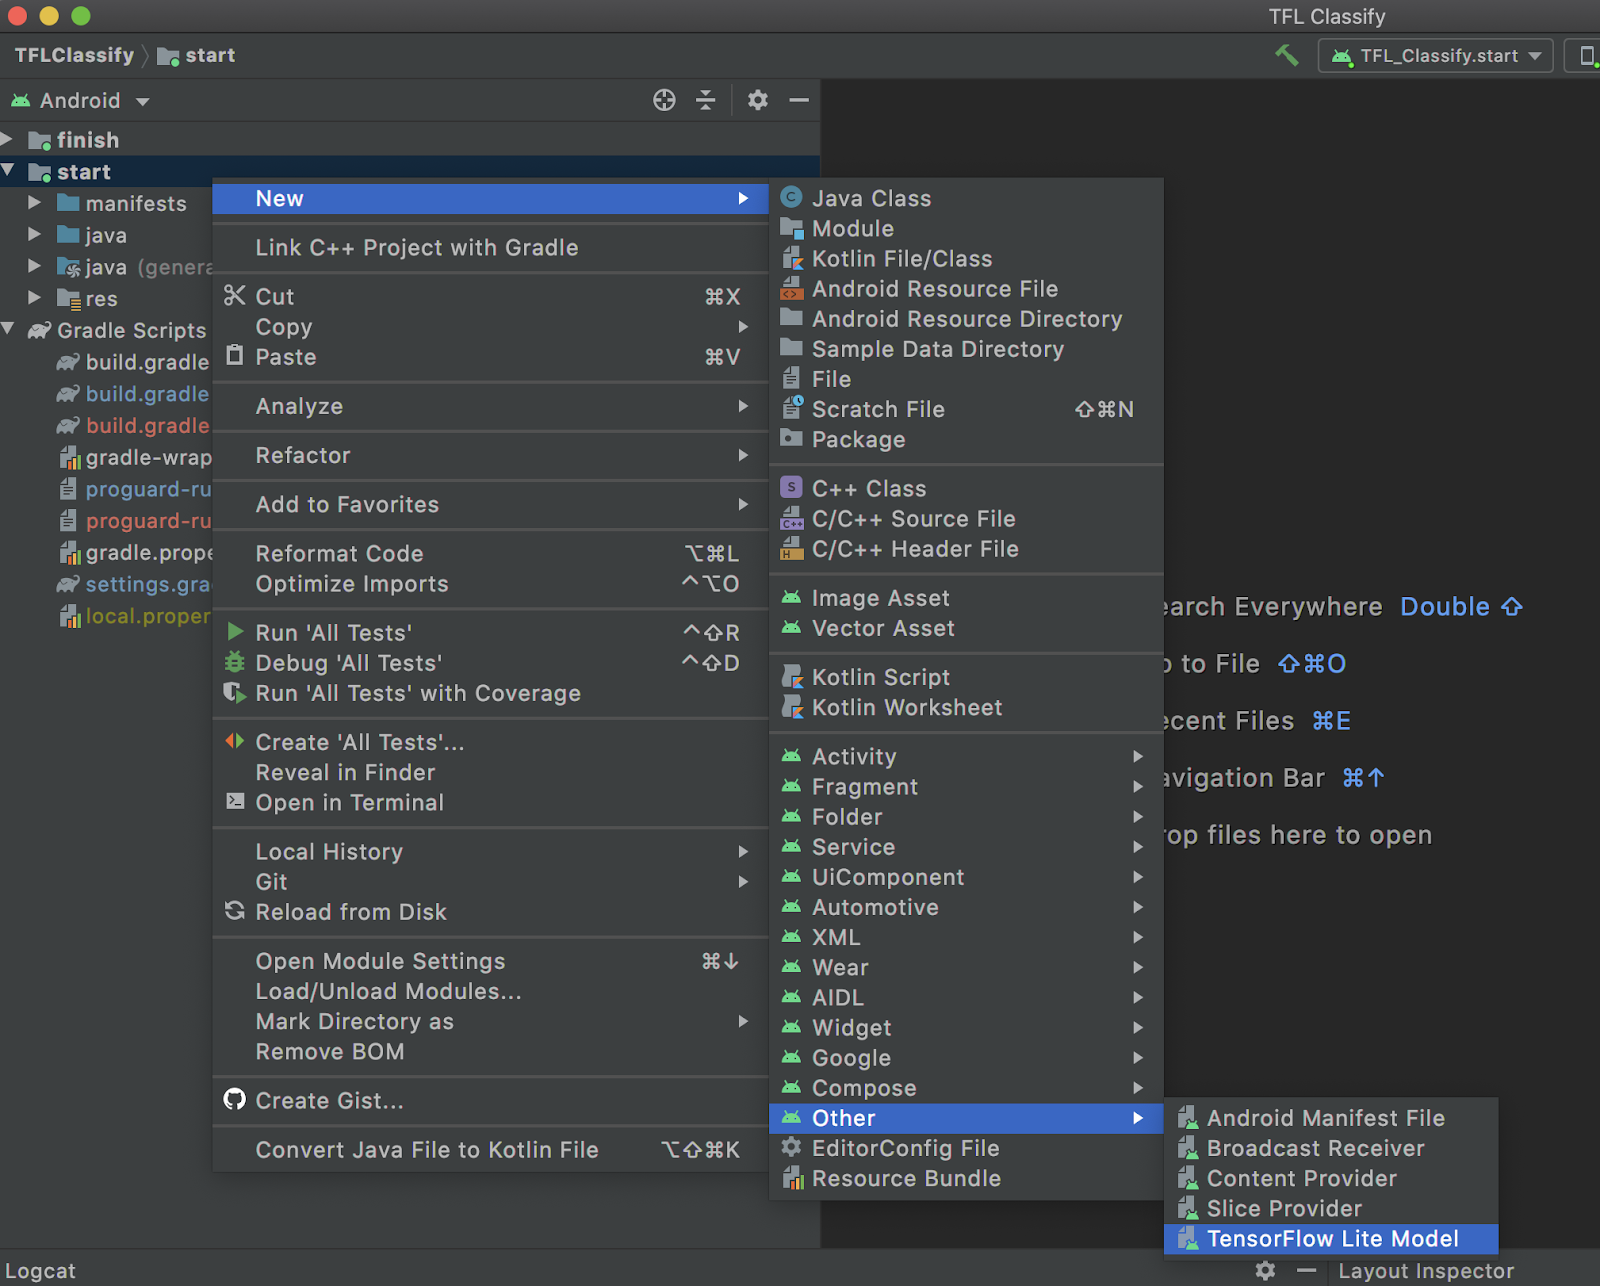
- 在
start模組上按一下滑鼠右鍵,或按一下File,然後依序點選New>Other>TensorFlow Lite Model
- 選取先前下載自訂訓練
FlowerModel.tflite的模型位置。
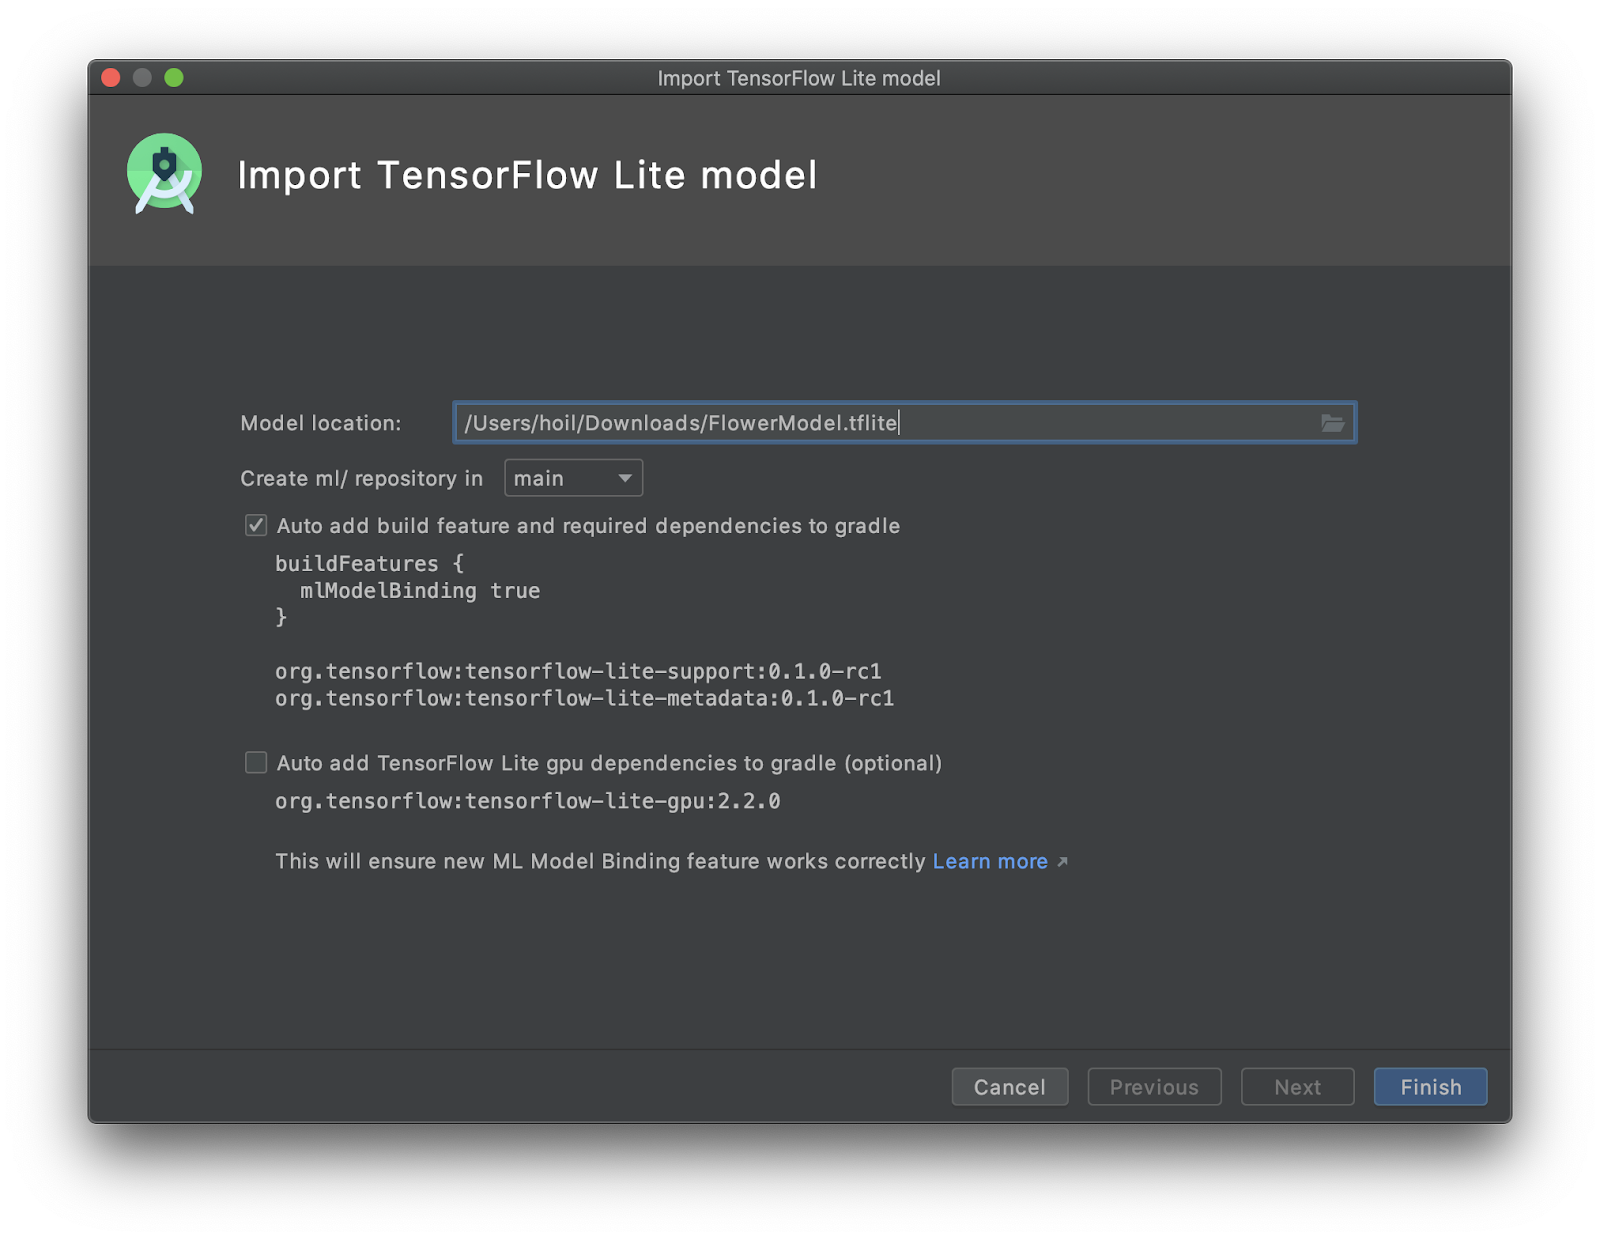
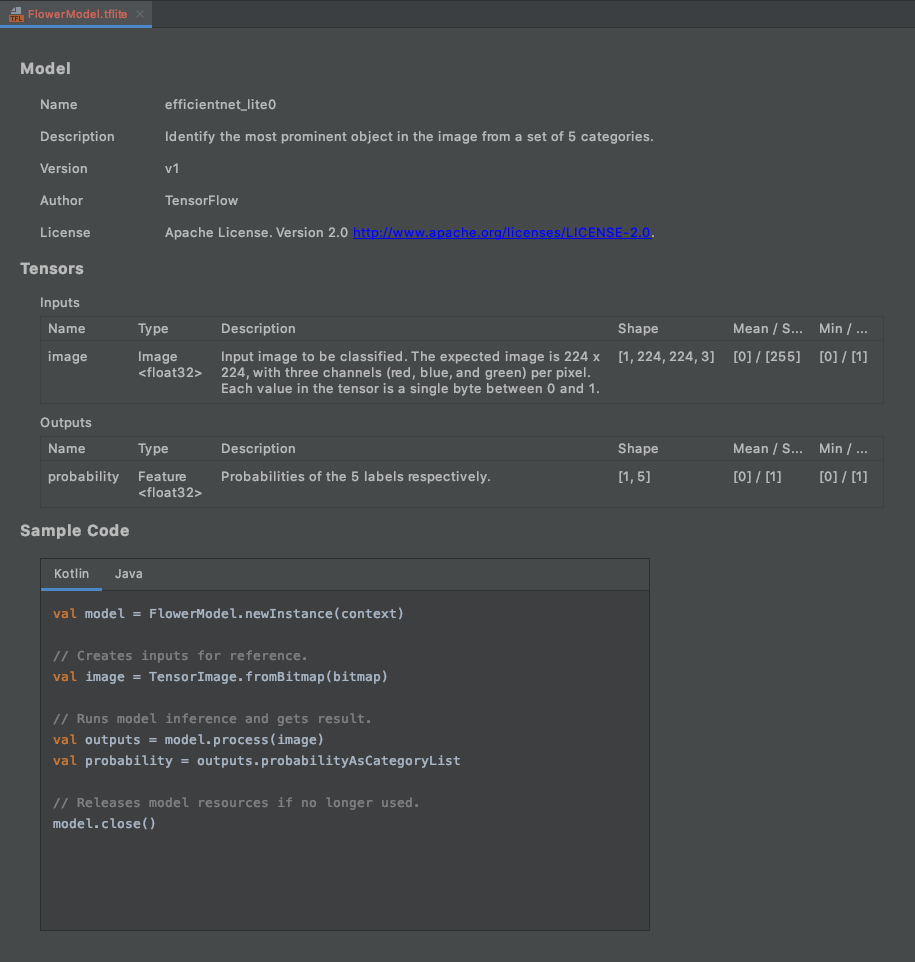
- 按一下「
Finish」。 - 畫面底部會顯示以下內容:FlowerModel.tflite 已成功匯入,並顯示模型的高階資訊,包括輸入 / 輸出,以及一些可供您開始使用的範例程式碼。
6. 選用:檢查所有待辦事項清單
待辦事項清單可讓您輕鬆前往需要更新程式碼研究室的確切位置。您也可以在 Android 專案中使用此功能,提醒自己日後要執行的工作。您可以使用程式碼註解新增待辦事項,並輸入關鍵字 TODO。如要存取 TODO 清單,您可以:
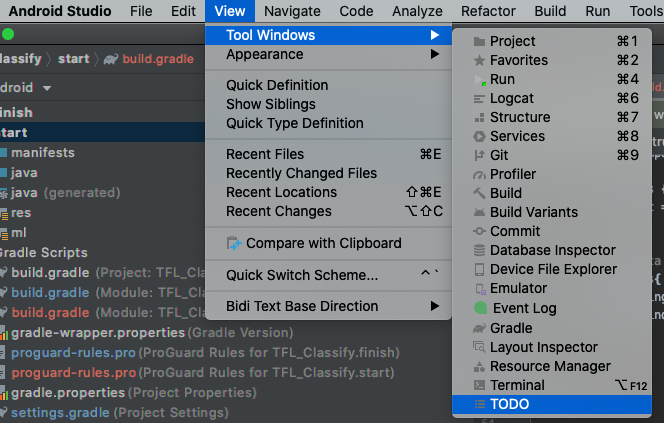
- 查看 TODO 清單,是瞭解我們將要做什麼的絕佳方法。如要執行這項操作,請依序選取頂端選單列中的
View>Tool Windows>TODO
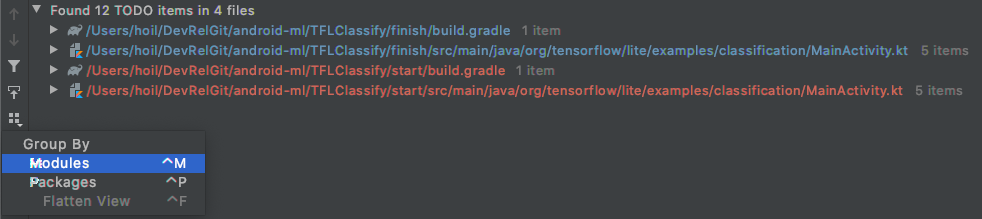
- 根據預設,它會列出所有模組中的所有 TODO,這會造成一點混淆。我們可以按一下 TODO 面板側邊的「依群組」按鈕,然後選擇
Modules,即可只排序開始的 TODO。
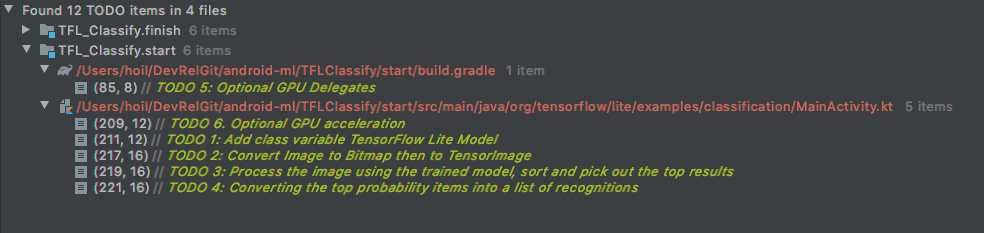
- 展開「start」模組下的所有項目:
7. 使用 TensorFlow Lite 執行自訂模型
- 按一下 TODO 清單中的 TODO 1,或開啟 MainActivity.kt 檔案並找出 TODO 1,然後新增這行程式碼來初始化模型:
private class ImageAnalyzer(ctx: Context, private val listener: RecognitionListener) :
        ImageAnalysis.Analyzer {

  ...
  // TODO 1: Add class variable TensorFlow Lite Model
  private val flowerModel = FlowerModel.newInstance(ctx)

  ...
}
- 在 CameraX Analyzer 的 analyze 方法內,我們需要將相機輸入
ImageProxy轉換為Bitmap,並建立推論程序所需的TensorImage物件。
override fun analyze(imageProxy: ImageProxy) {
  ...
  // TODO 2: Convert Image to Bitmap then to TensorImage
  val tfImage = TensorImage.fromBitmap(toBitmap(imageProxy))
  ...
}
- 處理圖片,並對結果執行下列作業:
- 依據屬性
score下的機率,以最高機率為先,將結果由高至低排序。 - 取得常數
MAX_RESULT_DISPLAY定義的前 k 個結果。您可以視需要變更這個變數的值,以便取得更多或更少的結果。
override fun analyze(imageProxy: ImageProxy) {
  ...
  // TODO 3: Process the image using the trained model, sort and pick out the top results
  val outputs = flowerModel.process(tfImage)
      .probabilityAsCategoryList.apply {
          sortByDescending { it.score } // Sort with highest confidence first
      }.take(MAX_RESULT_DISPLAY) // take the top results

  ...
}
- 將已排序及篩選的結果轉換為資料物件
Recognition,以便透過資料繫結供RecyclerView取用:
override fun analyze(imageProxy: ImageProxy) {
  ...
  // TODO 4: Converting the top probability items into a list of recognitions
  for (output in outputs) {
      items.add(Recognition(output.label, output.score))
  }
  ...
}
- 請將下列幾行註解或刪除,這有助於產生我們先前看到的假結果:
// START - Placeholder code at the start of the codelab. Comment this block of code out.
for (i in 0..MAX_RESULT_DISPLAY-1){
    items.add(Recognition("Fake label $i", Random.nextFloat()))
}
// END - Placeholder code at the start of the codelab. Comment this block of code out.
- 選取
TFL_Classify.start,然後按下工具列上的執行按鈕,即可在實際裝置上執行應用程式:
- 手機上會顯示下列畫面,其中的實際結果會以隨機號碼取代:
8. 選用:使用 GPU 委派程式加速推論
TensorFlow Lite 支援多種硬體加速器,可加快行動裝置上的推論速度。GPU 是 TensorFlow Lite 可透過委派機制運用的加速器之一,而且相當容易使用。
- 開啟
start模組下的 build.gradle,或是按一下 TODO 清單下的 TODO 5,然後新增下列依附元件:
// TODO 5: Optional GPU Delegates
implementation 'org.tensorflow:tensorflow-lite-gpu:2.3.0'
- 返回 MainActivity.kt 檔案,或按一下 TODO 清單中的 TODO 6。將 flowerModel 的簡單初始化作業替換為以下程式碼:取得 GPU 相容性清單的例項,並根據 GPU 是否為清單中的相容性 GPU 來初始化 GPU。否則,請改為啟動 4 個 CPU 執行緒來執行模型:
private class ImageAnalyzer(ctx: Context, private val listener: RecognitionListener) :
        ImageAnalysis.Analyzer {
  ...

  // TODO 1: Add class variable TensorFlow Lite Model
  // Initializing the flowerModel by lazy so that it runs in the same thread when the process
  // method is called.
  private val flowerModel: FlowerModel by lazy{

    // TODO 6. Optional GPU acceleration
    val compatList = CompatibilityList()

    val options = if(compatList.isDelegateSupportedOnThisDevice){
        Log.d(TAG, "This device is GPU Compatible ")
        Model.Options.Builder().setDevice(Model.Device.GPU).build()
    } else {
        Log.d(TAG, "This device is GPU Incompatible ")
        Model.Options.Builder().setNumThreads(4).build()
    }

  ...
}
- 將
options新增至方法輸入內容,藉此變更模型初始化工具以使用此值:
private class ImageAnalyzer(ctx: Context, private val listener: RecognitionListener) :
        ImageAnalysis.Analyzer {

  private val flowerModel: FlowerModel by lazy{

    ...

    // Initialize the Flower Model
    FlowerModel.newInstance(ctx, options)
  }
}
- 選取
TFL_Classify.start,然後按下工具列上的執行按鈕,即可在實體裝置上執行應用程式:
9. 後續步驟
以下提供一些連結,方便您進一步瞭解相關資訊:
- 試試其他 與機器學習模型繫結相容的 TFLite 模型,這些模型可從 tfhub.dev 取得。
- 如要進一步瞭解 TFLite,請參閱 tensorflow.org 上的文件和 程式碼存放區。
- 試試其他 TFLite 預先訓練模型,包括語音熱字詞偵測器和裝置端版智慧回覆。
- 如要進一步瞭解 TensorFlow 的一般資訊,請參閱入門指南文件。