
1. Tổng quan
Cloud Run là một nền tảng được quản lý toàn diện, cho phép bạn chạy mã trực tiếp trên cơ sở hạ tầng có thể mở rộng của Google. Lớp học lập trình này sẽ minh hoạ cách kết nối một ứng dụng Angular trên Cloud Run với cơ sở dữ liệu Firestore bằng cách sử dụng SDK Quản trị viên Node.js.
Trong lớp học lập trình này, bạn sẽ tìm hiểu cách:
- Tạo cơ sở dữ liệu Firestore
- Triển khai một ứng dụng trên Cloud Run để kết nối với cơ sở dữ liệu Firestore
2. Điều kiện tiên quyết
- Nếu chưa có Tài khoản Google, bạn phải tạo Tài khoản Google.
- Sử dụng tài khoản cá nhân thay vì tài khoản công việc hoặc trường học. Tài khoản công việc và tài khoản trường học có thể có các quy định hạn chế khiến bạn không bật được các API cần thiết cho lớp học này.
3. Thiết lập dự án
- Đăng nhập vào Google Cloud Console.
- Bật tính năng thanh toán trong Cloud Console.
- Bạn sẽ mất chưa đến 1 USD để hoàn thành lớp học này về tài nguyên trên đám mây.
- Bạn có thể làm theo các bước ở cuối lớp học này để xoá tài nguyên nhằm tránh bị tính thêm phí.
- Người dùng mới đủ điều kiện dùng thử miễn phí 300 USD.
- Tạo dự án mới hoặc chọn sử dụng lại một dự án hiện có.
4. Mở Trình chỉnh sửa Cloud Shell
- Chuyển đến Trình chỉnh sửa Cloud Shell
- Nếu thiết bị đầu cuối không xuất hiện ở cuối màn hình, hãy mở thiết bị đầu cuối:
- Nhấp vào trình đơn có biểu tượng ba dấu gạch ngang

- Nhấp vào Terminal (Thiết bị đầu cuối)
- Nhấp vào New Terminal (Thiết bị đầu cuối mới)
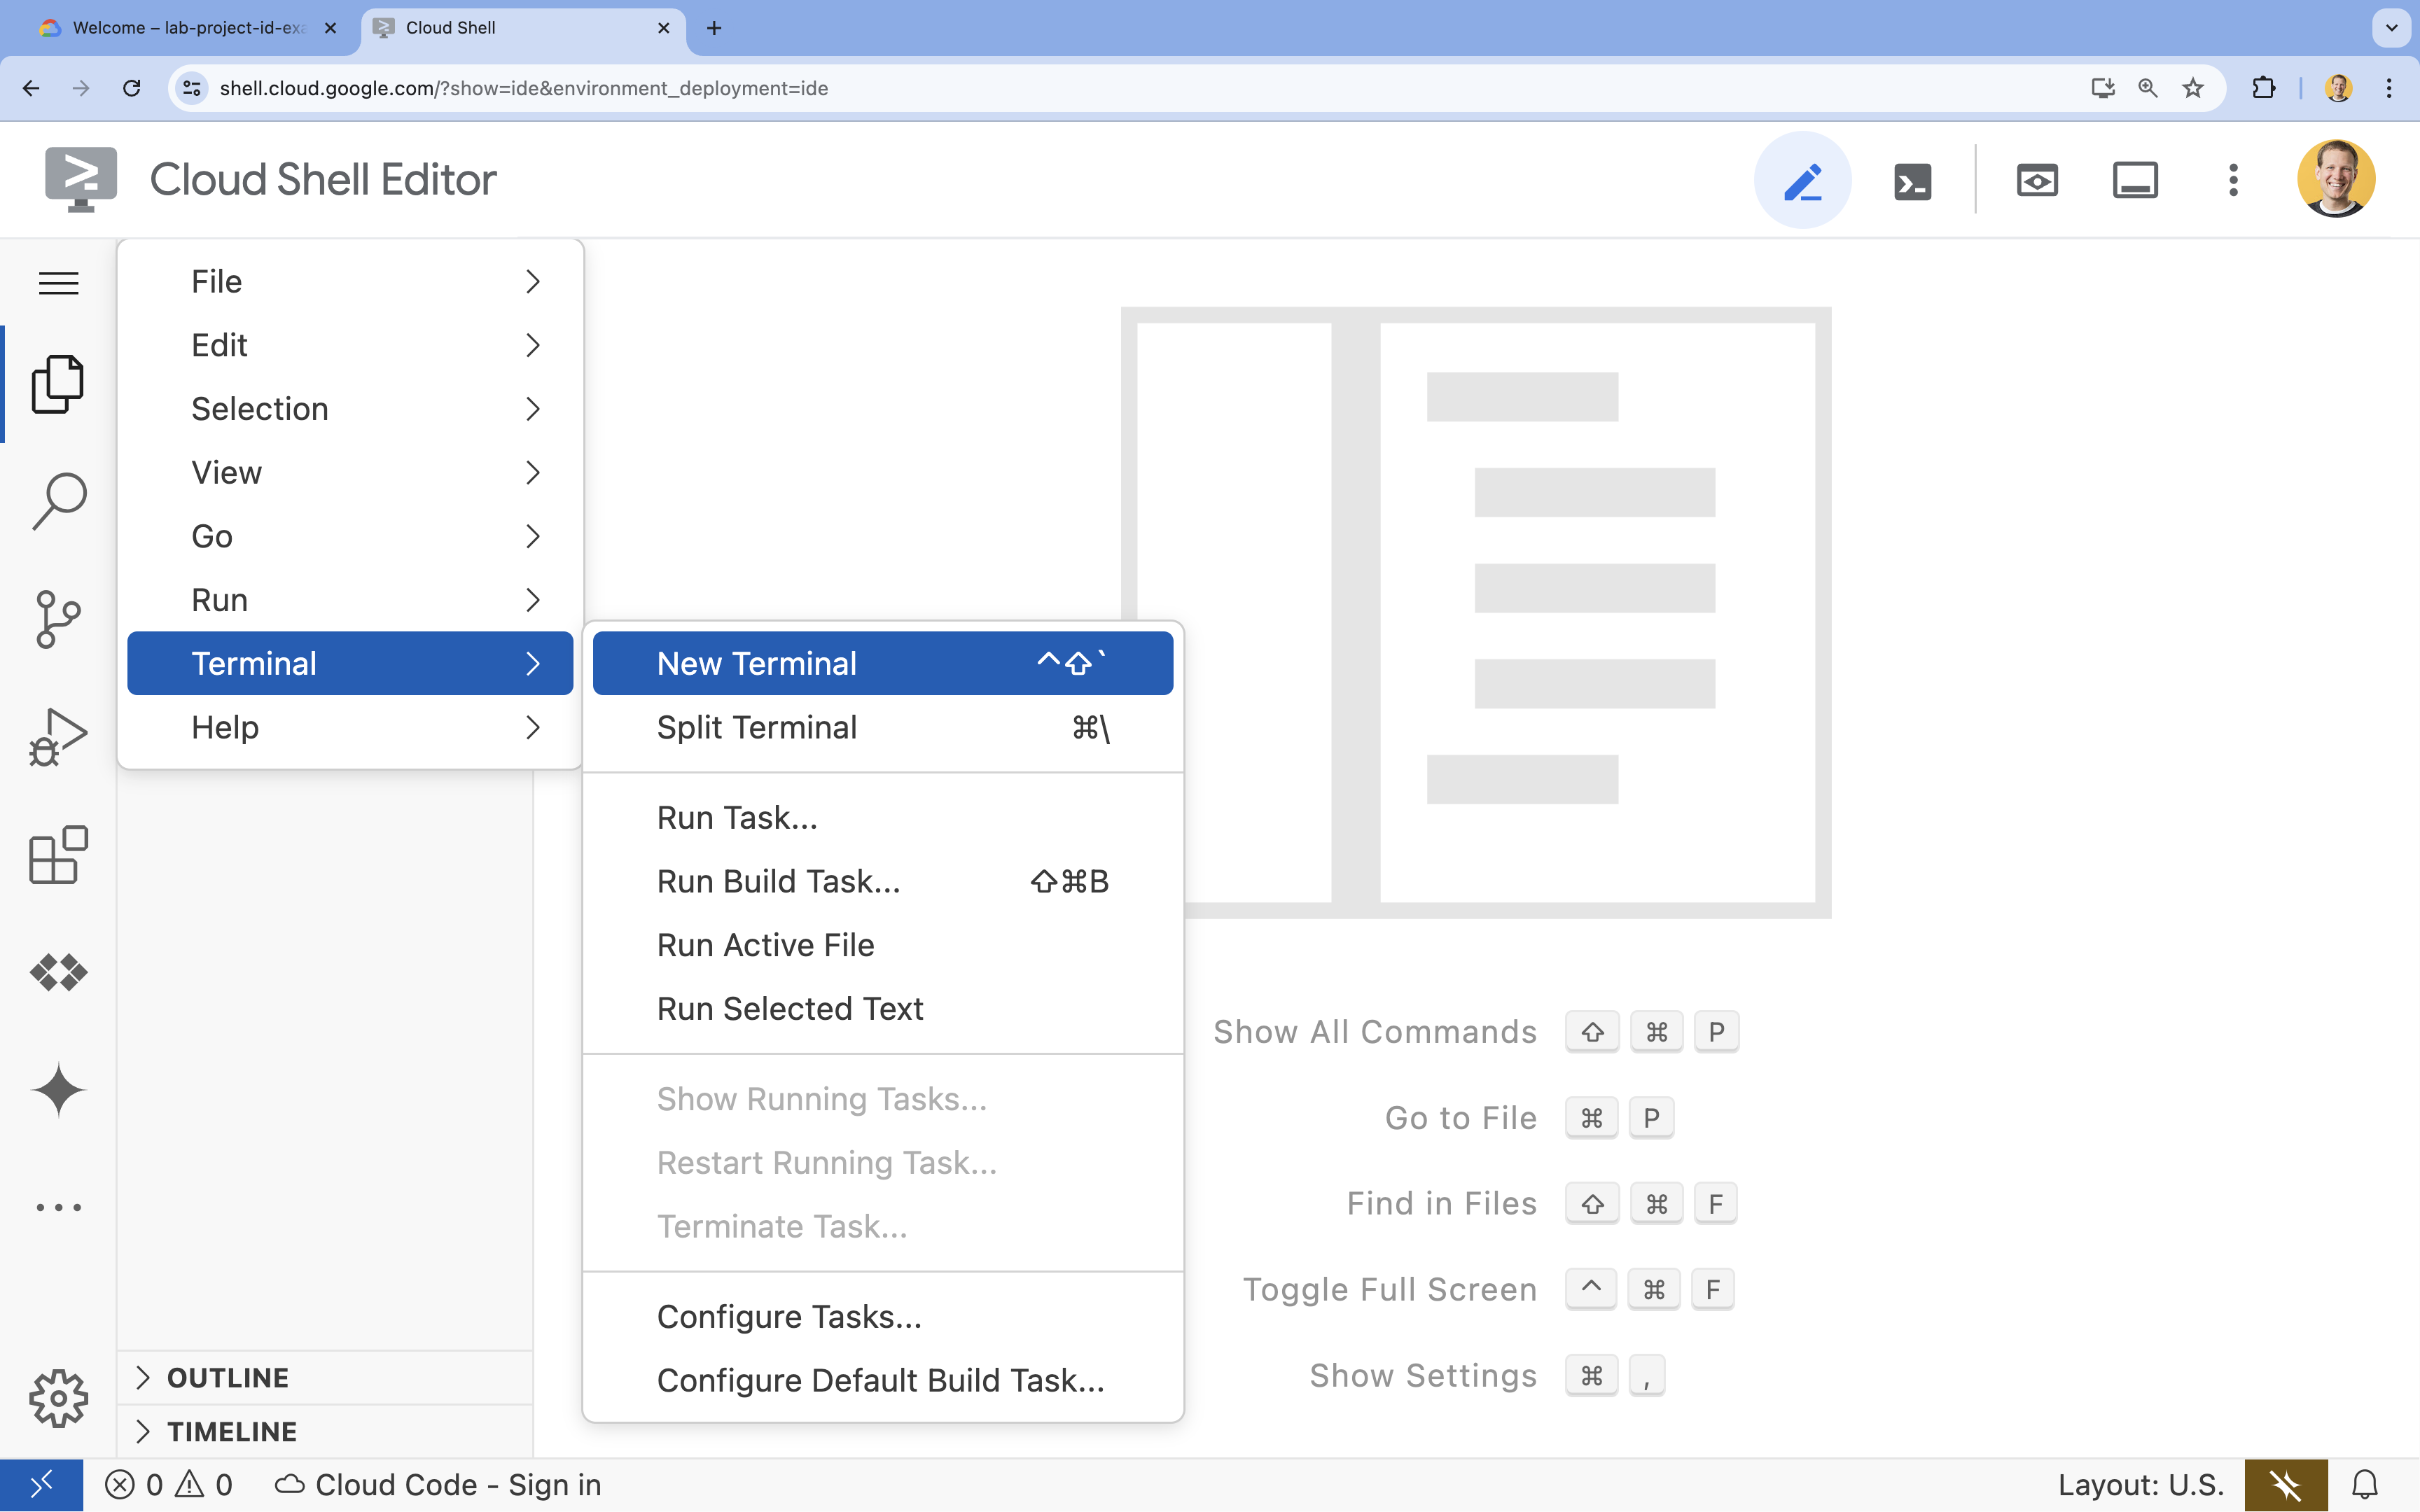
- Nhấp vào trình đơn có biểu tượng ba dấu gạch ngang
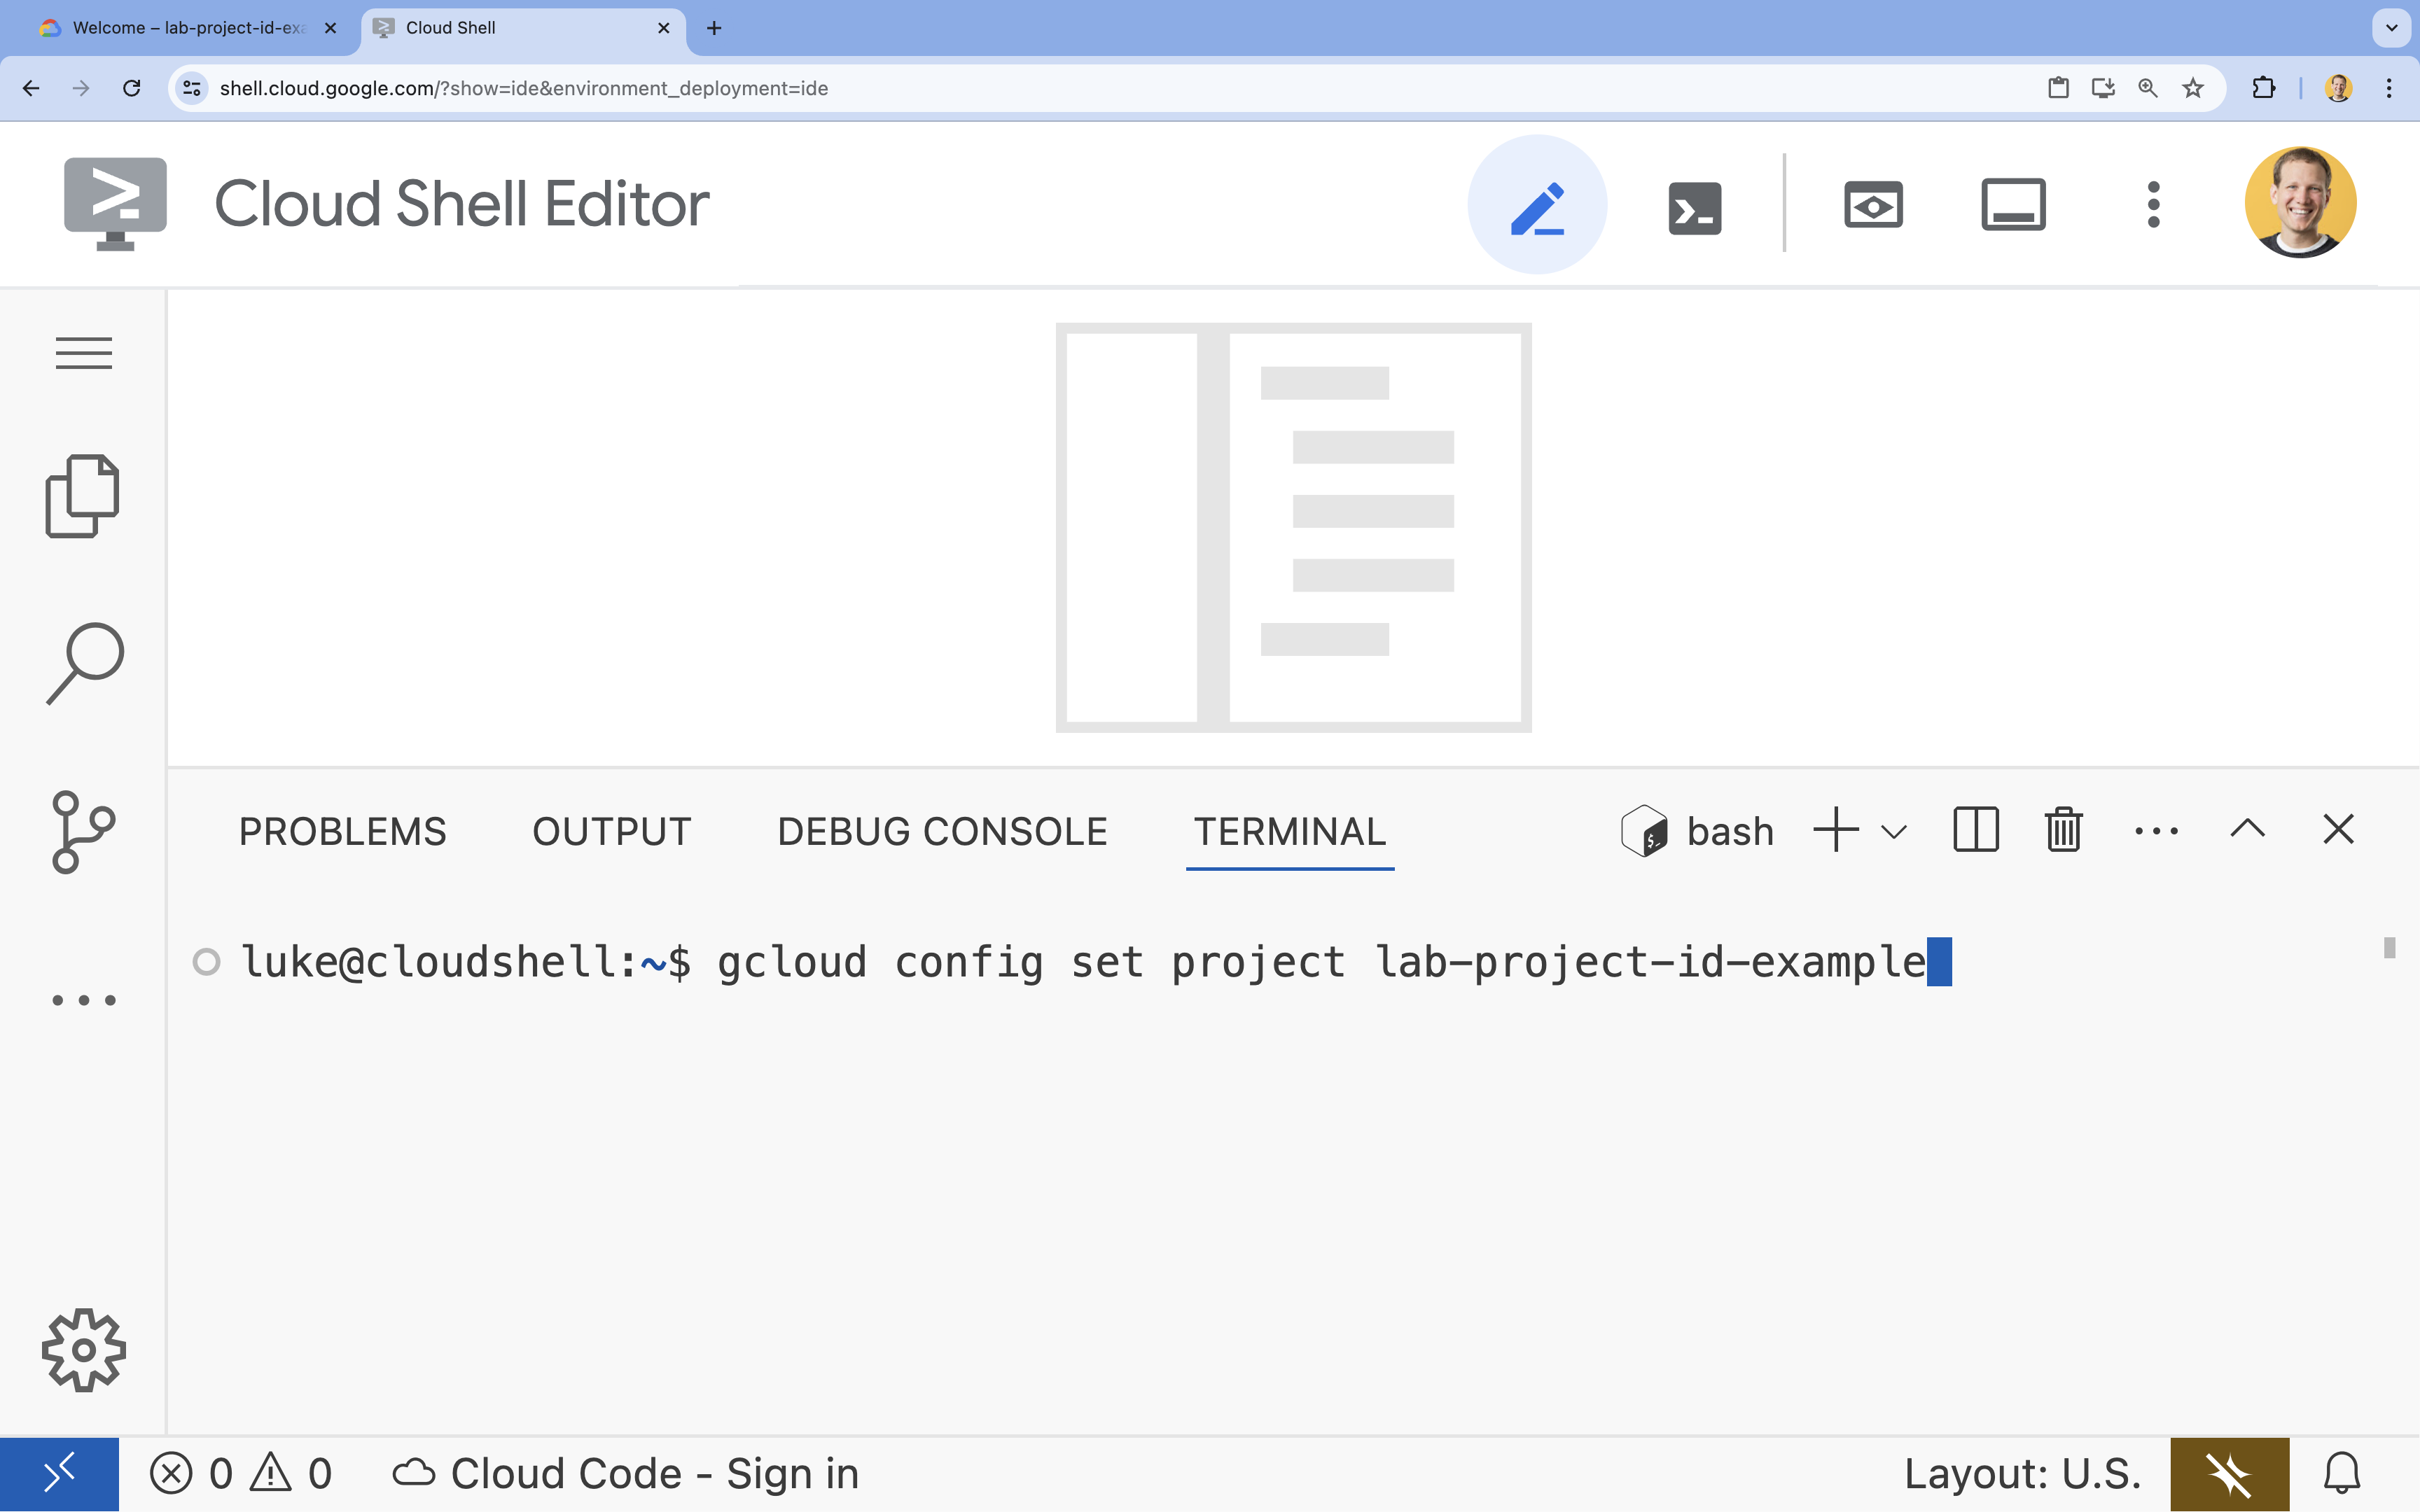
- Trong dòng lệnh, hãy thiết lập dự án bằng lệnh sau:
- Định dạng:
gcloud config set project [PROJECT_ID] - Ví dụ:
gcloud config set project lab-project-id-example - Nếu bạn không nhớ mã dự án của mình:
- Bạn có thể liệt kê tất cả mã dự án bằng:
gcloud projects list | awk '/PROJECT_ID/{print $2}'
- Bạn có thể liệt kê tất cả mã dự án bằng:
- Định dạng:
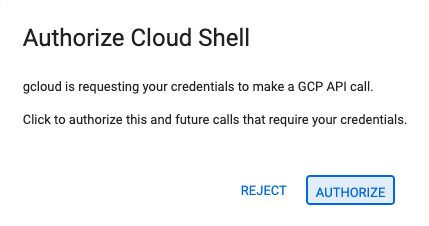
- Nếu bạn được nhắc uỷ quyền, hãy nhấp vào Uỷ quyền để tiếp tục.
- Bạn sẽ thấy thông báo này:
Updated property [core/project].
WARNINGvà được hỏiDo you want to continue (Y/N)?, thì có thể bạn đã nhập mã dự án không chính xác. NhấnN, nhấnEnterrồi thử chạy lại lệnhgcloud config set project.
5. Bật API
Trong dòng lệnh, hãy bật các API:
gcloud services enable \
  firestore.googleapis.com \
  run.googleapis.com \
  artifactregistry.googleapis.com \
  cloudbuild.googleapis.com
Nếu bạn được nhắc uỷ quyền, hãy nhấp vào Uỷ quyền để tiếp tục.
Quá trình thực thi lệnh này có thể mất vài phút, nhưng cuối cùng sẽ tạo ra thông báo thành công tương tự như sau:
Operation "operations/acf.p2-73d90d00-47ee-447a-b600" finished successfully.
6. Tạo cơ sở dữ liệu Firestore
- Chạy lệnh
gcloud firestore databases createđể tạo cơ sở dữ liệu firestoregcloud firestore databases create --location=nam5
7. Chuẩn bị ứng dụng
Chuẩn bị một ứng dụng Next.js phản hồi các yêu cầu HTTP.
- Để tạo một dự án Next.js mới có tên là
task-app, hãy sử dụng lệnh:npx --yes @angular/cli@19.2.5 new task-app \ --minimal \ --inline-template \ --inline-style \ --ssr \ --server-routing \ --defaults - Thay đổi thư mục thành
task-app:cd task-app
- Cài đặt
firebase-adminđể tương tác với cơ sở dữ liệu Firestore.npm install firebase-admin
- Mở tệp
server.tstrong Trình chỉnh sửa Cloud Shell:cloudshell edit src/server.tsserver.tsnày.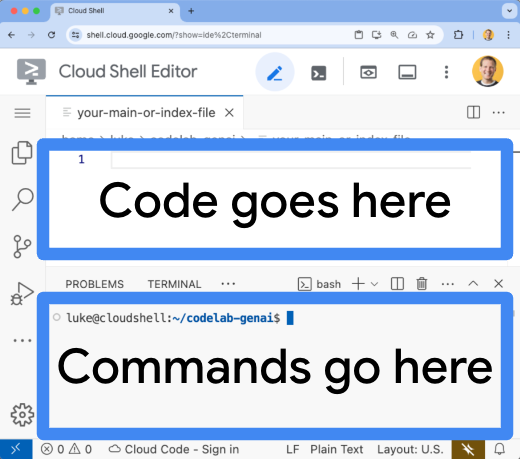
- Xoá nội dung hiện có của tệp
server.ts. - Sao chép mã sau và dán vào tệp
server.tsđã mở:import { AngularNodeAppEngine, createNodeRequestHandler, isMainModule, writeResponseToNodeResponse, } from '@angular/ssr/node'; import express from 'express'; import { dirname, resolve } from 'node:path'; import { fileURLToPath } from 'node:url'; import { initializeApp, applicationDefault, getApps } from 'firebase-admin/app'; import { getFirestore } from 'firebase-admin/firestore'; type Task = { id: string; title: string; status: 'IN_PROGRESS' | 'COMPLETE'; createdAt: number; }; const credential = applicationDefault(); // Only initialize app if it does not already exist if (getApps().length === 0) { initializeApp({ credential }); } const db = getFirestore(); const tasksRef = db.collection('tasks'); const serverDistFolder = dirname(fileURLToPath(import.meta.url)); const browserDistFolder = resolve(serverDistFolder, '../browser'); const app = express(); const angularApp = new AngularNodeAppEngine(); app.use(express.json()); app.get('/api/tasks', async (req, res) => { const snapshot = await tasksRef.orderBy('createdAt', 'desc').limit(100).get(); const tasks: Task[] = snapshot.docs.map(doc => ({ id: doc.id, title: doc.data()['title'], status: doc.data()['status'], createdAt: doc.data()['createdAt'], })); res.send(tasks); }); app.post('/api/tasks', async (req, res) => { const newTaskTitle = req.body.title; if(!newTaskTitle){ res.status(400).send("Title is required"); return; } await tasksRef.doc().create({ title: newTaskTitle, status: 'IN_PROGRESS', createdAt: Date.now(), }); res.sendStatus(200); }); app.put('/api/tasks', async (req, res) => { const task: Task = req.body; if (!task || !task.id || !task.title || !task.status) { res.status(400).send("Invalid task data"); return; } await tasksRef.doc(task.id).set(task); res.sendStatus(200); }); app.delete('/api/tasks', async (req, res) => { const task: Task = req.body; if(!task || !task.id){ res.status(400).send("Task ID is required"); return; } await tasksRef.doc(task.id).delete(); res.sendStatus(200); }); /** * Serve static files from /browser */ app.use( express.static(browserDistFolder, { maxAge: '1y', index: false, redirect: false, }), ); /** * Handle all other requests by rendering the Angular application. */ app.use('/**', (req, res, next) => { angularApp .handle(req) .then((response) => response ? writeResponseToNodeResponse(response, res) : next(), ) .catch(next); }); /** * Start the server if this module is the main entry point. * The server listens on the port defined by the `PORT` environment variable, or defaults to 4000. */ if (isMainModule(import.meta.url)) { const port = process.env['PORT'] || 4000; app.listen(port, () => { console.log(`Node Express server listening on http://localhost:${port}`); }); } /** * Request handler used by the Angular CLI (for dev-server and during build) or Firebase Cloud Functions. */ export const reqHandler = createNodeRequestHandler(app); - Mở tệp
angular.jsontrong Trình chỉnh sửa Cloud Shell:cloudshell edit angular.json"externalDependencies": ["firebase-admin"]vào tệpangular.json. - Xoá nội dung hiện có của tệp
angular.json. - Sao chép mã sau và dán vào tệp
angular.jsonđã mở:{ "$schema": "./node_modules/@angular/cli/lib/config/schema.json", "version": 1, "newProjectRoot": "projects", "projects": { "task-app": { "projectType": "application", "schematics": { "@schematics/angular:component": { "inlineTemplate": true, "inlineStyle": true, "skipTests": true }, "@schematics/angular:class": { "skipTests": true }, "@schematics/angular:directive": { "skipTests": true }, "@schematics/angular:guard": { "skipTests": true }, "@schematics/angular:interceptor": { "skipTests": true }, "@schematics/angular:pipe": { "skipTests": true }, "@schematics/angular:resolver": { "skipTests": true }, "@schematics/angular:service": { "skipTests": true } }, "root": "", "sourceRoot": "src", "prefix": "app", "architect": { "build": { "builder": "@angular-devkit/build-angular:application", "options": { "outputPath": "dist/task-app", "index": "src/index.html", "browser": "src/main.ts", "polyfills": [ "zone.js" ], "tsConfig": "tsconfig.app.json", "assets": [ { "glob": "**/*", "input": "public" } ], "styles": [ "src/styles.css" ], "scripts": [], "server": "src/main.server.ts", "outputMode": "server", "ssr": { "entry": "src/server.ts" }, "externalDependencies": ["firebase-admin"] }, "configurations": { "production": { "budgets": [ { "type": "initial", "maximumWarning": "500kB", "maximumError": "1MB" }, { "type": "anyComponentStyle", "maximumWarning": "4kB", "maximumError": "8kB" } ], "outputHashing": "all" }, "development": { "optimization": false, "extractLicenses": false, "sourceMap": true } }, "defaultConfiguration": "production" }, "serve": { "builder": "@angular-devkit/build-angular:dev-server", "configurations": { "production": { "buildTarget": "task-app:build:production" }, "development": { "buildTarget": "task-app:build:development" } }, "defaultConfiguration": "development" }, "extract-i18n": { "builder": "@angular-devkit/build-angular:extract-i18n" } } } } }
"externalDependencies": ["firebase-admin"]
- Mở tệp
app.component.tstrong Trình chỉnh sửa Cloud Shell:cloudshell edit src/app/app.component.tsapp.component.tsnày. - Xoá nội dung hiện có của tệp
app.component.ts. - Sao chép mã sau và dán vào tệp
app.component.tsđã mở:import { afterNextRender, Component, signal } from '@angular/core'; import { FormsModule } from '@angular/forms'; type Task = { id: string; title: string; status: 'IN_PROGRESS' | 'COMPLETE'; createdAt: number; }; @Component({ selector: 'app-root', standalone: true, imports: [FormsModule], template: ` <section> <input type="text" placeholder="New Task Title" [(ngModel)]="newTaskTitle" class="text-black border-2 p-2 m-2 rounded" /> <button (click)="addTask()">Add new task</button> <table> <tbody> @for (task of tasks(); track task) { @let isComplete = task.status === 'COMPLETE'; <tr> <td> <input (click)="updateTask(task, { status: isComplete ? 'IN_PROGRESS' : 'COMPLETE' })" type="checkbox" [checked]="isComplete" /> </td> <td>{{ task.title }}</td> <td>{{ task.status }}</td> <td> <button (click)="deleteTask(task)">Delete</button> </td> </tr> } </tbody> </table> </section> `, styles: '', }) export class AppComponent { newTaskTitle = ''; tasks = signal<Task[]>([]); constructor() { afterNextRender({ earlyRead: () => this.getTasks() }); } async getTasks() { const response = await fetch(`/api/tasks`); const tasks = await response.json(); this.tasks.set(tasks); } async addTask() { await fetch(`/api/tasks`, { method: 'POST', headers: { 'Content-Type': 'application/json' }, body: JSON.stringify({ title: this.newTaskTitle, status: 'IN_PROGRESS', createdAt: Date.now(), }), }); this.newTaskTitle = ''; await this.getTasks(); } async updateTask(task: Task, newTaskValues: Partial<Task>) { await fetch(`/api/tasks`, { method: 'PUT', headers: { 'Content-Type': 'application/json' }, body: JSON.stringify({ ...task, ...newTaskValues }), }); await this.getTasks(); } async deleteTask(task: any) { await fetch('/api/tasks', { method: 'DELETE', headers: { 'Content-Type': 'application/json' }, body: JSON.stringify(task), }); await this.getTasks(); } }
Ứng dụng hiện đã sẵn sàng để triển khai.
8. Triển khai ứng dụng trên Cloud Run
- Chạy lệnh dưới đây để triển khai ứng dụng của bạn lên Cloud Run:
gcloud run deploy helloworld \ --region=us-central1 \ --source=. - Nếu được nhắc, hãy nhấn
YvàEnterđể xác nhận rằng bạn muốn tiếp tục:Do you want to continue (Y/n)? Y
Sau vài phút, ứng dụng sẽ cung cấp một URL để bạn truy cập.
Chuyển đến URL để xem ứng dụng của bạn hoạt động. Mỗi khi truy cập vào URL hoặc làm mới trang, bạn sẽ thấy ứng dụng công việc.
9. Xin chúc mừng
Trong lớp học lập trình này, bạn đã tìm hiểu cách thực hiện các việc sau:
- Tạo phiên bản Cloud SQL cho PostgreSQL
- Triển khai một ứng dụng trên Cloud Run để kết nối với cơ sở dữ liệu Cloud SQL
Dọn dẹp
Cloud SQL không có cấp miễn phí và sẽ tính phí nếu bạn tiếp tục sử dụng. Bạn có thể xoá dự án trên Google Cloud để tránh bị tính thêm phí.
Mặc dù Cloud Run không tính phí khi bạn không sử dụng dịch vụ, nhưng bạn vẫn có thể phải trả phí để lưu trữ hình ảnh vùng chứa trong CSDL cấu phần phần mềm. Việc xoá dự án trên Google Cloud sẽ dừng tính phí cho tất cả tài nguyên được sử dụng trong dự án đó.
Xoá dự án nếu bạn muốn:
gcloud projects delete $GOOGLE_CLOUD_PROJECT
Bạn cũng có thể xoá các tài nguyên không cần thiết khỏi ổ đĩa cloudshell. Bạn có thể:
- Xoá thư mục dự án của lớp học lập trình:
rm -rf ~/task-app - Cảnh báo! Bạn không thể huỷ thao tác tiếp theo! Nếu muốn xoá mọi thứ trên Cloud Shell để giải phóng dung lượng, bạn có thể xoá toàn bộ thư mục gốc. Hãy lưu mọi thứ bạn muốn giữ lại ở nơi khác.
sudo rm -rf $HOME
Tiếp tục học hỏi
- Triển khai ứng dụng Next.js toàn bộ ngăn xếp lên Cloud Run bằng Cloud SQL cho PostgreSQL bằng Trình kết nối Node.js Cloud SQL
- Triển khai ứng dụng Angular toàn bộ ngăn xếp lên Cloud Run bằng Cloud SQL cho PostgreSQL bằng Trình kết nối Node.js Cloud SQL
- Triển khai ứng dụng Angular toàn stack lên Cloud Run bằng Firestore bằng SDK quản trị Node.js
- Triển khai ứng dụng Next.js toàn stack lên Cloud Run bằng Firestore bằng SDK quản trị Node.js